A Camera Slider With A Twist

“Scope creep” is often derided as an obstacle between your idea and the delivery of a finished project. That may be, but sometimes the creep is the whole point. It’s how we end up with wonderful builds like this multi-axis differential camera slider.

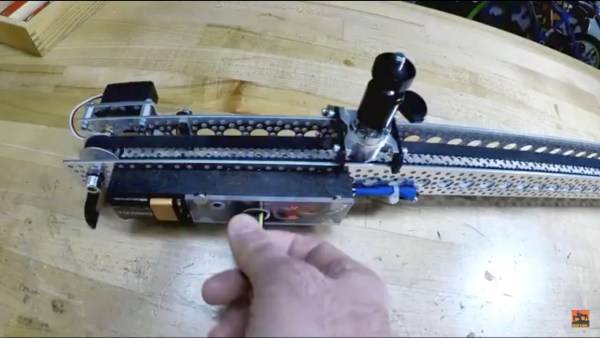
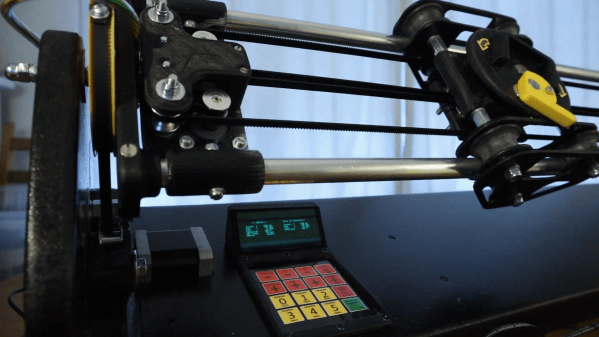
We mention scope creep because that’s what [Jan Derogee] blames for this slider’s protracted development time, as well as its final form. The design is a bit unconventional in that it not only dollies the camera left and right but also works in pan and tilt axes, and it does this without putting any motors on the carriage. Instead, the motors, which are located near the end of the slider rails, transmit power to the carriage via loops of 217timing belt. It’s a little like the CoreXY mechanism; rotating the motors in the same direction and speed slides the carriage, while moving them in opposite directions pans the camera. A Sparkfun Pro Micro in the controller coordinates the motors for smooth multi-axis motion, and the three steppers — there’s a separate motor for the tilt axis — sound really cool all working at the same time. Check out the video below for the full story.

We’ve seen a few fun projects from [Jan] before. Check out his linear clock, the persistence of phosphorescence display, or his touchpad for retrocomputers.

Continue reading “A Camera Slider With A Twist”

Hackaday Podcast 087: Sound-Shattering Gliders, Pressing Dashcam Buttons, And Ratcheting Up Time

Hackaday editors Mike Szczys and Elliot Williams dish up a hot slice of the week’s hardware hacks. We feature a lot of clocks on Hackaday, but few can compare to the mechanical engineering elegance of the band-saw-blade-based ratcheting clock we swoon over on this week’s show. We’ve found a superb use of a six-pin microcontroller, peek in on tire (or is that tyre) wear particles, and hear the sounds of 500 mph RC gliders. It turns out that 3D printers are the primordial ooze for both pumping water and positioning cameras. This episode comes to a close by getting stressed out over concrete.

Take a look at the links below if you want to follow along, and as always, tell us what you think about this episode in the comments!

Take a look at the links below if you want to follow along, and as always, tell us what you think about this episode in the comments!

Direct download (60 MB or so.)

Continue reading “Hackaday Podcast 087: Sound-Shattering Gliders, Pressing Dashcam Buttons, And Ratcheting Up Time”

RC Car Becomes Cable Cam

The prevalence of drones has made airborne photography much more widespread, especially among hobby photographers and videographers. However, drone photos aren’t without their problems. You have to deal with making the drone follow the shot which can be difficult unless you have a very expensive one. Worse, you can’t really fly a drone through heavily wooded or otherwise obstructed terrain.

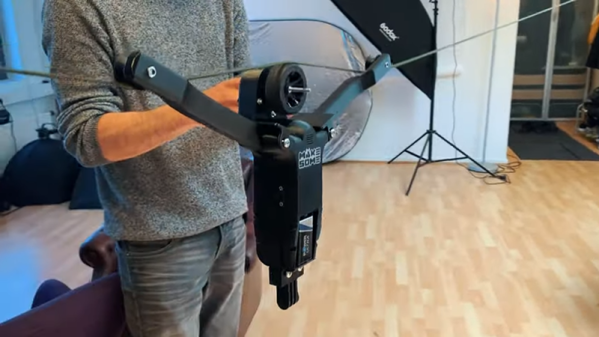
[Makesome’s] friend faced these issues and wanted to buy a cable cam — a mount for the camera that could go back and forth on a cable strung between two trees or other structures. Instead of a design from scratch, they decided to cannibalize a cheap RC car along with an HP printer and the effect — as you can see in the video below — is pretty good.

Repurposing toys is an honored tradition and, after all, what do you need but a motor that goes forward and reverses? We can’t help but notice though that toy hacking is much easier now that you can 3D print custom widgets to connect everything together.

Continue reading “RC Car Becomes Cable Cam”

Object Tracking Camera Slider Gets The Nice Shots

In this day and age, where all leisure activities must be duly captured and monetized online, camera sliders are hot items. Many start with a simple manual build, before graduating to something motorized for more flexibility. [Saral Tayal] took things a step further, implementing a basic tracking mode for even sweeter shots. 

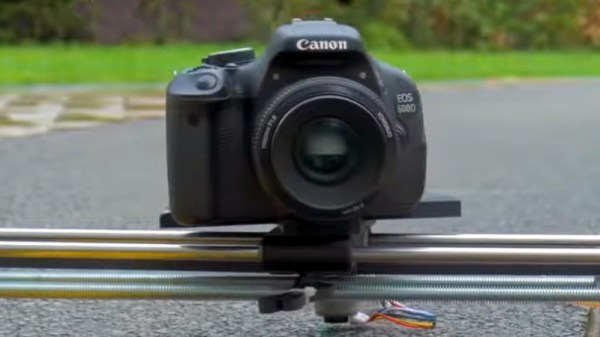
The build is mechanically simple, relying on 8mm steel rods and linear bearings more typically found in 3D printers. An Arduino Uno is pressed into service to run the show, outfitted with an OLED screen to run the interface. A RoboClaw motor controller is used to control the geared DC motors used, one controlling the linear motion, the other the rotation of the camera.

With encoders fitted to the motors, the RoboClaw controller enables the Arduino to track the position and rotation of the slider as it moves. The slider then can be given the position of an object relative to itself. With a little maths, it will rotate the camera to track the object as it moves along.

It’s a simple addition to the typical slider build that greatly increases the variety of shots that can be achieved. There are plenty of ways to go about building a slider, too, as we’ve seen before. Video after the break.
Continue reading “Object Tracking Camera Slider Gets The Nice Shots”

An Easy Camera Slider Build

As smartphone cameras improve with each new generation, making quality video content is getting easier all the time. This means it takes a little more to stand out, so it pays to get creative with your cinematography. A slider is a great way to get some different shots, and you can build one pretty cheaply too (Youtube link, embedded below).

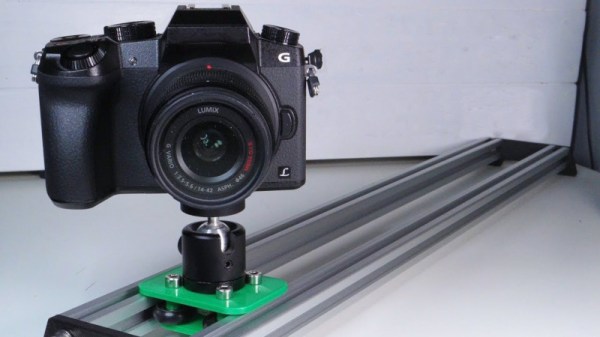
For smooth motion, [Nikodem Bartnik] used aluminium extrusion for the rails, along with some roller bearing wheels designed to suit. The wheels are built into a 3D printed carriage, which is also fitted with a spherical clamping camera mount. It’s all wrapped up with some socket head cap screws and 3D printed brackets to tie it all together.

Dimensional accuracy is key to the smooth operation of a slider, so you’ll want to have your printer set up well if you’re going to attempt this one. [Nikodem] demonstrates the slider is capable of taking the weight of an mid-range SLR with a tastefully sized lens, but if you’re going for something telephoto, you might want to go for something bigger. You could also consider a motorized rig instead. Video after the break.

Continue reading “An Easy Camera Slider Build”

Motorize Your Camera Slider, The Hacker Way

Camera sliders are a fantastic tool for those who wish to shoot beautiful and smooth panning video, or take expressive time-lapse shots. They can also be remarkably expensive, which creates an incentive for the DIYer to innovate at home. [Richard] wanted a motorized slider and didn’t want to break the bank, and thus, a build was born.

Starting with an existing non-motorized camera slider makes things easier, though there’s no reason [Richard]’s techniques couldn’t be applied to a completely DIY build. A NEMA stepper motor is fitted to the frame, and connected to the camera shuttle with a toothed belt. The stepper is controlled by an Arduino, which allows for both timelapse and smooth panning modes, and can be controlled with an IR remote sourced from Amazon. The slider is also interfaced with a Processing sketch, which gives a graphical representation of the slider’s current position on the laptop’s screen, which helps for setting up a shot.

[Richard] has shared the code and a shopping list, and is confident that the build can be completed for under $100. That’s a satisfying price given the quality of shots possible with a good slider.

We see plenty of slider builds here, including this impressive pantograph-type build. Video after the break.

[Thanks to Baldpower for the tip!]

Continue reading “Motorize Your Camera Slider, The Hacker Way”

Improved camera slider controls

Improving Controls For A Camera Slider Kit

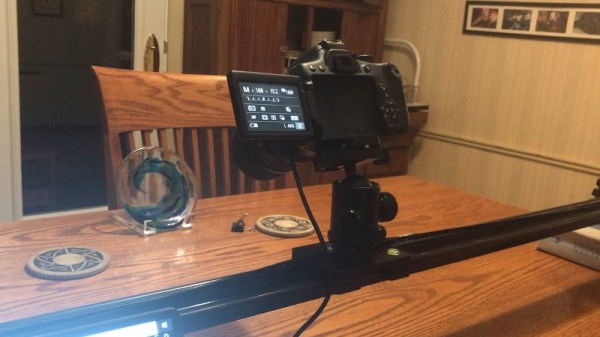
We’ve all gone through it. You buy a kit or even an assembled consumer item, and it’s either not quite right or it’s only a part of what you need. Either you do a fix, or you add to it. In [Jeremy S. Cook’s] case, he’d been working for a while with a camera slider kit which came with just the slider. He’d added a motor and limit switches but turning it on/off and reversing direction were still done by manipulating alligator clips. Now he’s put together some far better, and more professional-looking controls.

He started by replacing the DC motor with a servo motor modified for continuous rotation. Then he built a circuit around an Arduino Nano for controlling the motor and put it all in a carefully made box which he bolted to the side of the slider. A switch built into the box turns it on and off, and a potentiometer sets the direction of the slider. While not necessarily new, we do like when we see different approaches being taken, and in this case, he’s using magnets to not only hold the case’s cover on for easy access, but also a couple of them to hold the 9-volt battery in place. Check out his construction process and the new slider in action in the video below.

Continue reading “Improving Controls For A Camera Slider Kit”