Fixing A C64 With A Cheap $20 Oscilloscope

Modern computers are so fast and complex that we would seldom try and fix them on a component level with simple DIY tools. Working on an early 1980s computer is much easier by comparison, with the fastest signals often in the single-MHz range. [Sayaka] demonstrates this by using a cheap $20 oscilloscope to troubleshoot and repair a Commodore 64.

After powering it up for the first time, the C64 displays a BASIC prompt, but none of the keys seem to work. [Sayaka] did what good hackers do, and immediately disassembled it to try and figure out the problem, suspecting the CIA chip as a likely culprit.

[Sayaka] elected to purchase a cheap DS0138 oscilloscope kit to help troubleshoot the C64. It’s not the most capable thing, with a bandwidth of just 200 KHz, but it’s enough to do some work on an old retro machine. After probing around to check a number of signals, she noted that the CIA’s pins seemed to be very oxidized and suffering poor conductivity. All it took from there was a resolder job, and the computer was repaired.

We’ve seen other cheap scopes with altogether more impressive specs, too. Video after the break. Continue reading “Fixing A C64 With A Cheap $20 Oscilloscope”

Autonomous Racing Drones Are Starting To Beat Human Pilots

Even with all the technological advancements in recent years, autonomous systems have never been able to keep up with top-level human racing drone pilots. However, it looks like that gap has been closed with Swift – an autonomous system developed by the University of Zurich’s Robotics and Perception Group.

Previous research projects have come close, but they relied on optical motion capture settings in a tightly controlled environment. In contrast, Swift is completely independent of remote inputs and utilizes only an onboard computer, IMU, and camera for real-time for navigation and control. It does however require a pretrained machine learning model for the specific track, which maps the drone’s estimated position/velocity/orientation directly to control inputs. The details of how the system works is well explained in the video after the break.

The paper linked above contains a few more interesting details. Swift was able to win 60% of the time, and it’s lap times were significantly more consistent than those of the human pilots. While human pilots were often faster on certain sections of the course, Swift was faster overall. It picked more efficient trajectories over multiple gates, where the human pilots seemed to plan one gate in advance at most. On the other hand human pilots could recover quickly from a minor crash, where Swift did not include crash recovery.

The final results are impressive, especially given that all the processing and sensing comes from the drone. However, it still requires a well mapped track, so a human pilot should still come out on top given limited information about a new track. It would also be interesting to see how it handles large courses with gates that are much further apart.

Continue reading “Autonomous Racing Drones Are Starting To Beat Human Pilots”

Simple STM32 Frequency Meter Handles Up To 30MHz With Ease

[mircemk] had previously built a frequency counter using an Arduino, with a useful range up to 6 MHz. Now, they’ve implemented a new design on a far more powerful STM32 chip that boosts the measurement range up to a full 30 MHz. That makes it a perfect tool for working with radios in the HF range.

The project is relatively simple to construct, with an STM32F103C6 or C8 development board used as the brains of the operation. It’s paired with old-school LED 7-segment displays for showing the measured frequency. Just one capacitor is used as input circuitry for the microcontroller, which can accept signals from 0.5 to 3V in amplitude. [mircemk] notes that the circuit would be more versatile with a more advanced input circuit to allow it to work with a wider range of signals.

It’s probably not the most accurate frequency counter out there, and you’d probably want to calibrate it using a known-good frequency source once you’ve built it. Regardless, it’s a cheap way to get one on your desk, and a great way to learn about measuring and working with time-varying signals. You might like to take a look at the earlier build from [mircemk] for further inspiration. Video after the break.

Continue reading “Simple STM32 Frequency Meter Handles Up To 30MHz With Ease”

Building A Woodworking Lathe From Scratch

Today, cheap dodgy machine tools are more readily available than ever. Sometimes though, there’s great value in putting a simple and rugged version of your own, as demonstrated by [bartworker]’s woodworking lathe build. 

The core of the build is a hefty wooden base, something that is a core component of any good machine tool. It was built from a large beam sourced from a ship supply house, and originally used to hold a sturdy vice. It eventually gained a motor from a cement mixer when [bartworker] decided it should be converted into a lathe. From there, it was further equipped with a sliding support for larger workpieces, allowing [bartworker] to lathe some seriously big stock.

The lathe is very much an ever-evolving thing, and [bartworker] has used it to share the joys of woodworking with his family and friends. As a demonstration of its abilities, the lathe was able to produce a handsome handle for [bartworker]’s axe.

As this story shows, the only thing better than a tool you build yourself is one that your friends get to enjoy too! Meanwhile, if you’ve been whipping up your own machinery, don’t hesitate to drop us a line!

Hackaday Prize 2023: This Differential Scope Probe Is Smarter Than It Looks

A differential probe, a device for measuring the voltage between two points in a circuit rather than the voltage between a point and ground, it an extremely useful addition to any electronics bench. Inside such a probe you’ll usually find a fancy op-amp working as a differential amplifier, and for correct operation they require careful adjustment to null out DC bias and achieve the maximum common mode rejection. We particularly like [Craig D]’s probe, because these adjustments are taken care of automatically by a microcontroller.

The analogue path provides a lesson for anyone interested in instrumentation signal path design, with the signal conditioning and compensation circuits feeding an AD8130 differential amplifier. Another amplifier samples the output voltage and feeds it to the ADC in the microcontroller. Common mode adjustment is taken care of by a digital potentiometer chip, and DC offset by the microcontroller’s DAC. Controlling all this is an ATSAMD10 chip, and the power is derived from the scope’s USB interface.

All in all it’s an extremely well-executed device, and one we’d be happy to have on our bench at any time. It’s by no means the first differential probe we’ve brought you, here’s another.


A Raspberry Pi 5 Is Better Than Two Pi 4s

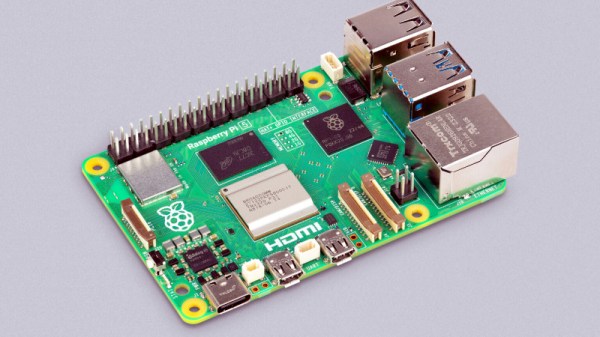
What’s as fast as two Raspberry Pi 4s? The brand-new Raspberry Pi 5, that’s what. And for only a $5 upcharge (with an asterisk), it’s going to the new go-to board from the British House of Fruity Single-Board Computers. But aside from the brute speed, it also has a number of cool features that will make using the board easier for a number of projects, and it’s going to be on sale in October. Raspberry Pi sent us one for review, and if you were just about to pick up a Pi 4 for a project that needs the speed, we’d say that you might wait a couple weeks until the Raspberry Pi 5 goes on sale.

Twice as Nice

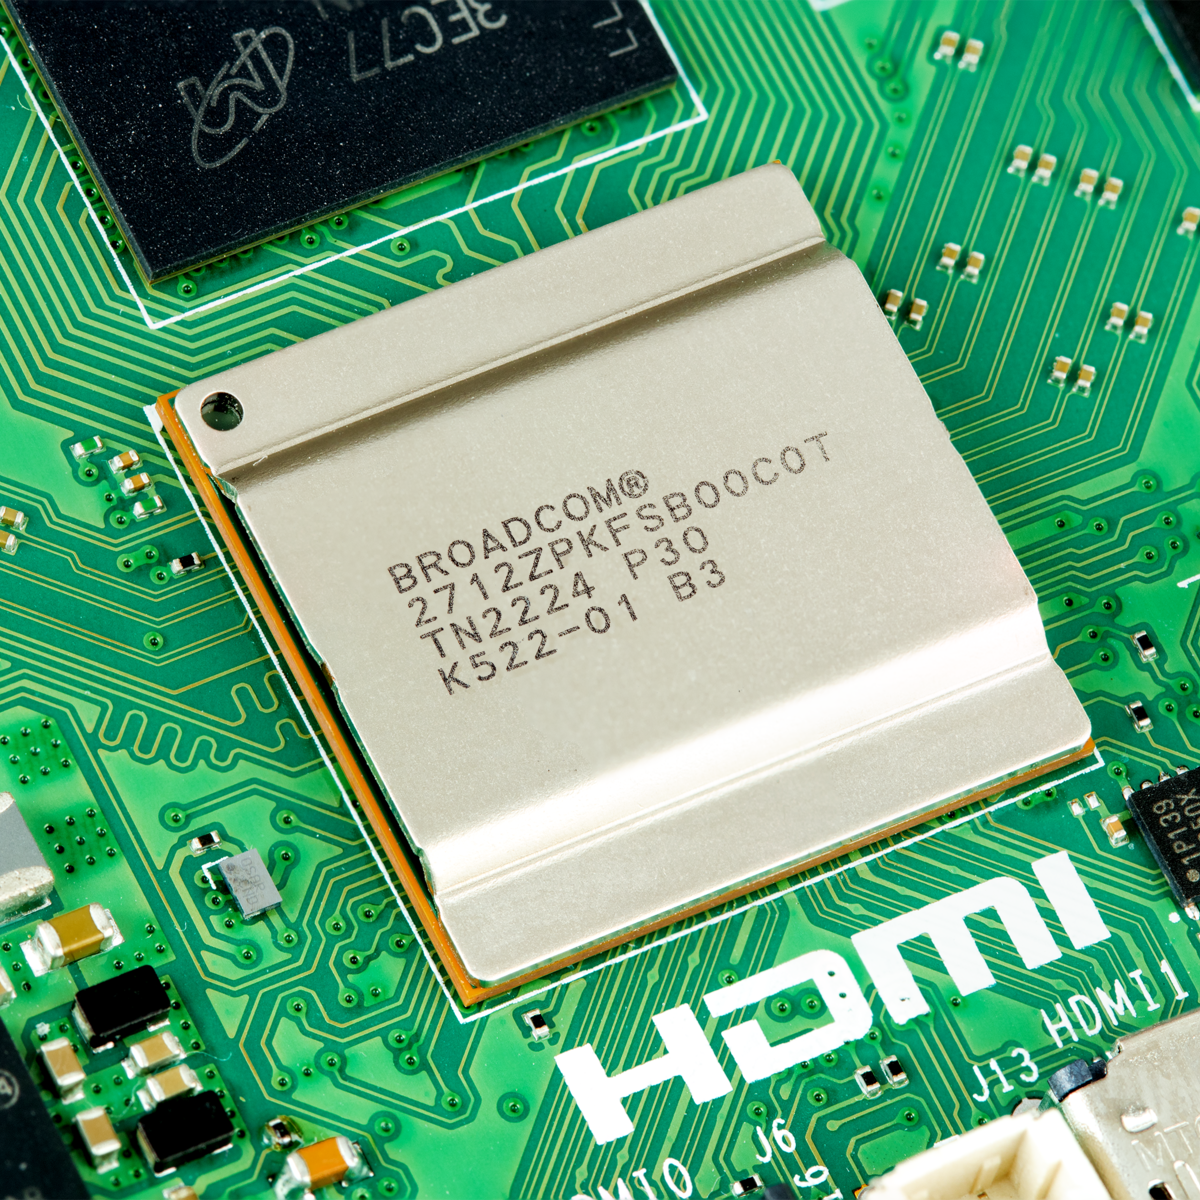
On essentially every benchmark, the Raspberry Pi 5 comes in two to three times faster than the Pi 4. This is thanks to the new Broadcom BCM2712 system-on-chip (SOC) that runs four ARM A76s at 2.4 GHz instead of the Pi 4’s ARM A72s at 1.8 GHz. This gives the CPUs a roughly 2x – 3x advantage over the Pi 4. (Although the Pi 4 was eminently overclockable in the CM4 package.)

The DRAM runs at double the clock speed. The video core is more efficient and pushes pixels about twice as fast. The new WiFi controller in the SOC allows about twice as much throughput to the same radio. Even the SD card interface is capable of running twice as fast, speeding up boot times to easily under 10 sec – maybe closer to 8 sec, but who’s counting?

Heck, while we’re on factors of two, there are now two MIPI camera/display lines, so you can do stereo imaging straight off the board, or run a camera and external display simultaneously. And it’s capable of driving two 4k HDMI displays at 60 Hz.

There are only two exceptions to the overall factor-of-two improvements. First, the Gigabyte Ethernet remains Gigabyte Ethernet, so that’s a one-ex. (We’re not sure who is running up against that constraint, but if it’s you, you’ll want an external network adapter.) But second, the new Broadcom SOC finally supports the ARM cryptography extensions, which make it 45x faster at AES, for instance. With TLS almost everywhere, this keeps crypto performance from becoming the bottleneck. Nice.

All in all, most everything performance-related has been doubled or halved appropriately, and completely in line with the only formal benchmarks we’ve seen so far, it feels about twice as fast all around in our informal tests. Compared with a Pi 400 that I use frequently in the basement workshop, the Pi 5 is a lot snappier.

Continue reading “A Raspberry Pi 5 Is Better Than Two Pi 4s”

The Questionable Benefits Of Paying More For Air Quality Monitors

Does paying more for air quality monitors (AQMs) make sense? This was the question which [Achim Haug] at the Air Gradient project sought to answer, with the answer being a rather revealing ‘not at all’. Using data from the independent South Coast Air Quality Management District agency (South Coast AQMD), a plot was created of a range of commercially available AQMs for PM2.5 pollutants and their performance against a reference monitor. Here a value of 1.00 would mean performance equal to the (expensive, calibrated) reference.

R2 vs Price. Data Source: South Coast AQMD Data

This plot shows clearly that paying more for an AQM does not get you better performance, with the reason for this explored in a follow-up article by [Achim], where a range of AQMs are checked for which PM2.5 sensors they actually use. Perhaps unsurprisingly, most AQMs use the same PM2.5 sensors, with the sensor module not really affecting the cost of the AQM as they all cost about $10-20 in bulk.

Rather it seems that the other sensors (for CO2, NO2 and other measurements) along with features such as WiFi, LoRa determine much of the price tag. For getting good measurements, properties such as airflow over the sensors, the implemented compensation algorithms are probably the main things you want to look at when purchasing (or building)  an AQM.

(Heading image: particulate matter sizes, relative to a human hair. Credit: California ARB)