Some of the off-brand video game consoles and even accessories for the major brands can leave a lot to be desired. Whether it’s poor build quality or a general lack of support or updates, there are quite a few things on the market not worth anyone’s time or money. [Jonathan] was recently handed just such a peripheral, a toy game controller originally meant for a small child, but upon further inspection it turned into a surprisingly hackable platform, capable of plenty of IoT-type tasks.
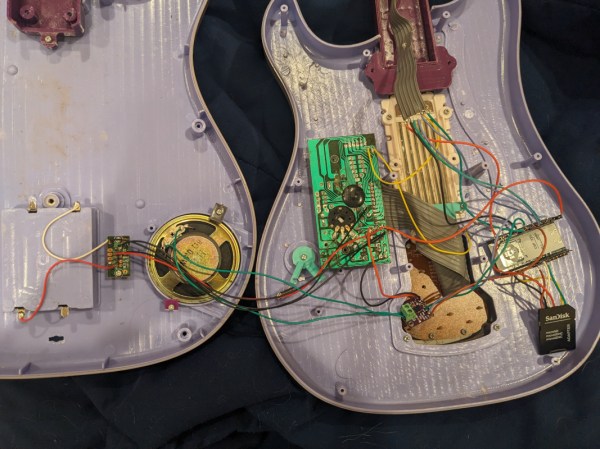
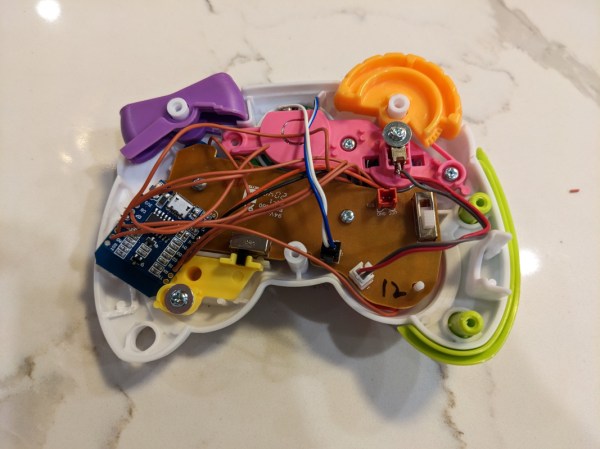
The controller itself was easily disassembled, and the functional buttons within were wired to a Wemos D1 Mini instead of the originally-planned ESP32 because of some wiring irregularities and the fact that the Wemos D1 Mini having the required amount of I/O. It’s still small enough to be sealed back inside the controller as well, powered by the batteries that would have powered the original controller.
For the software, [Jonathan] is using MQTT to register button presses with everything easily accessible over Wi-Fi, also making it possible to update the software wirelessly. He was able to use it to do a few things as proof-of-concept, including playing a game in PyGame and controlling a Sonos speaker, but for now he’s using it to control an LED sculpture. With something this easily modified, though, it would be pretty straightforward to use it instead for a home automation remote control, especially since it is already set up to use MQTT.
Continue reading “Toy Gaming Controller Makes The Big Leagues”