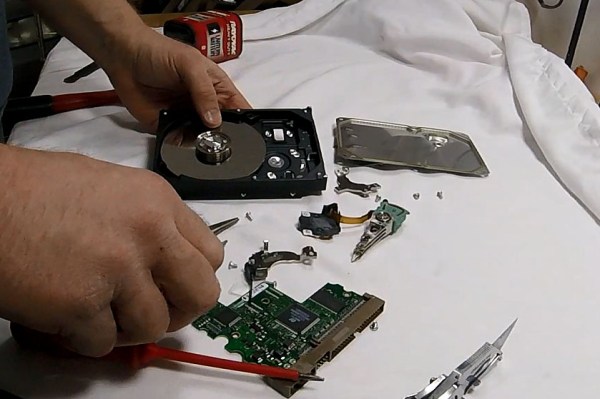
Have any dead hard drives kicking around? Hackaday alum [Jeremy Cook] shows how easy it is to disassemble a hard drive to scavenge its goodies. The hardest part is having the patience and the tools to get past all those screws that stand between you and the treasure inside.
The case screws are frequently of the Torx variety. Any self-respecting hacker probably has one or two of these already, but if you’re in the market, [Jeremy] recommends a nice set that looks way better than ours. Once the case is open, you can find rare earth magnets, bearings, and one or more platters.
Those terrifically strong magnets are good for all kinds of projects. Glue a couple of them to the back of an attractive piece of wood, mount it on the kitchen wall, and you have yourself a knife block. Keep a couple on the bench to temporarily magnetize tools. Use them to build a pickup to amplify a cigar box guitar or thumb piano. Or run the pickup into a small amplified speaker and wave it like a stethoscope near your electronics to hear them hum. As far as liberating the magnets goes, [Jeremy] resorted to clamping his in a vise and using a hammer and chisel to pry it away from the actuator hardware.
You’ve no doubt seen clocks made from old hard drives that were kept mostly intact. Many makers including [Jeremy] will extract the shiny platters to use as bases for clock faces and engrave the numbers, etch them, or glue them on. Those platters also make excellent chimes. Even if you just hang one platter off of a finger and tap it with a fingernail, it sounds really nice.
If simple chimes don’t really butter your muffin, there are all kinds of sonic projects for dead hard drives. How about making a microphone or speakers? Maybe an HDD MIDI controller or a synthesizer is more your speed. Speaking of synths, watch [Jeremy] take a hard drive apart to some sweet sounds after the break.
Continue reading “Hard Drive Disassembly Is Easy And Rewarding”


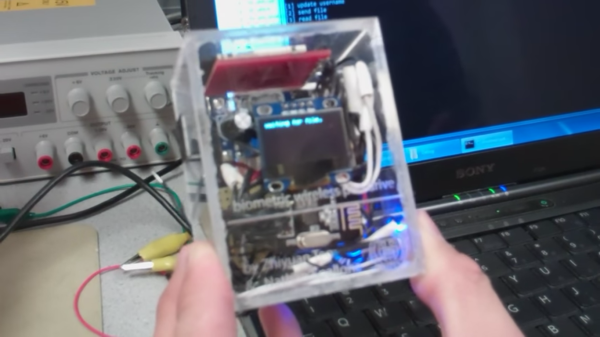
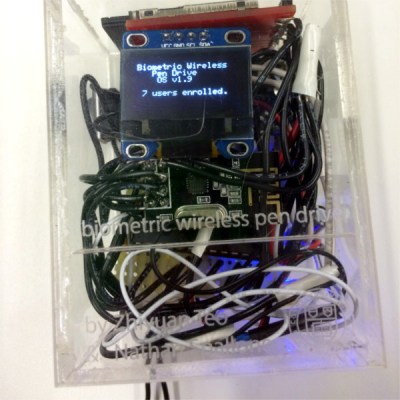 Their solution can be used by up to 20 different people who each get a slice of an SD card in the storage unit There are two physical pieces, a base station and the wireless storage unit itself. The base station connects to the host PC over USB and contains an Arduino for serial pass-through and an nRF24L01+ module for communicating with the storage side. The storage drive’s components are crammed inside a clear plastic box. This not only looks cool, it negates the need for cutting out ports to mount the fingerprint sensor and the OLED. The sensor reads the user’s credentials through the box, and the authentication status is displayed on an OLED. Files are transferred to and from the SD card over a second nRF24L01+ through the requisite PIC32.


