Projectile Speed Sensor

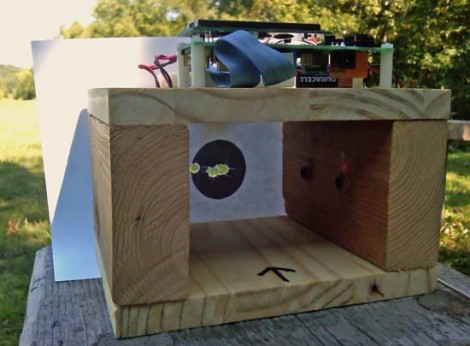
[Mike] built a sensor rig to measure projectile speed. The setup uses a tunnel with two sensors in it. Each consists of a laser diode on one side focused on a photodiode in the other. The two are monitored by an op amp and measured by an ATmega128 microcontroller. When the beams are broken the elapsed time between the two events is measured in order to calculate speed. There is a setting to adjust the calibration for a range of speeds, which came in quite handy as [Mike] initially tested the device with rubber bands before moving on to a pellet gun and then a rifle.

It seems like he’s tempting fate by shooting a target just a few inches below his exposed circuitry but his marksmanship prevailed. We’ve seen bullet speed detectors in the past, used just for the delight of seeing how fast the projectile is moving, and also to capture an impact at just the right instant.

Equinox Clock

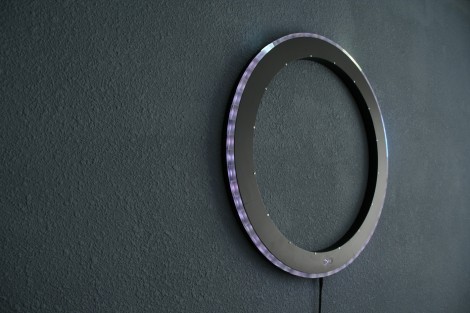
The Equinox clock is made up of simple parts but a combination of fine design and precision make it a gem of a timepiece. The guts are made up of an Arduino, a DS1307 real time clock, twelve LED drivers, and sixty RGB LEDs. These combine with a capacitive touch interface to tell the time using three lit blocks for the hours, one for the minutes, and a fading block for the seconds. See for yourself after the break.

To our delight, [Bram Knaapen] shared the specifics of the case. The black ring that makes up the body was laser cut and spray painted. He uses small blocks of acrylic that have been sandblasted to diffuse the light. This is also a great example of clean circuitry using interconnects between the different circuit boards.

We always enjoy seeing clocks no matter what level of finish is involved, but great design is something that makes us want to hang a project on the wall rather than stow it in a parts bin.

Continue reading “Equinox Clock”

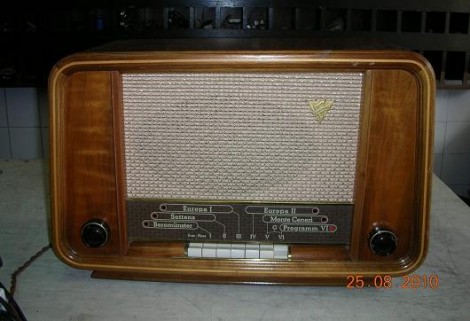
1953 Radio Includes Tubes, AM, FM, And MP3

This vintage radio can play AM, FM, and MP3, all with a classic sound. Inside you’ll find a new AM radio tube-amp, providing the functionality you’d expect from the device. The rest of it comes from a conglomeration of parts; an FM receiver board from another radio and an MP3 player with remote control and USB connector. The classic sound we mentioned above comes from an AM modulator. That’s right, the auxiliary audio boards aren’t connected directly, but are broadcast on the AM band so that your latest MC Lars album has the same sound quality as the traffic report.

Check out this similar project from last year that adds RDS to a vintage radio.

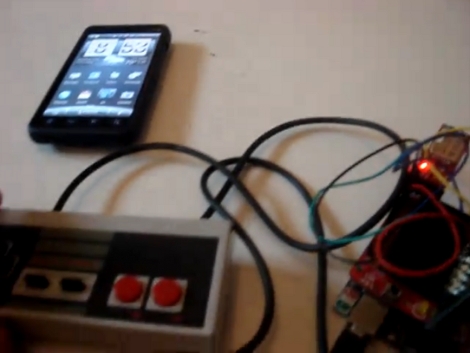
Using An NES Controller On An Android Phone

[Sk3tch] rigged up a way to use an original NES controller with Android. He bought the controller and a breakout board for it at DEFCON. By combining the controller, an Arduino, and a blueSMIRF BlueTooth module the controller can be used as a keyboard on his Android device. In the video after the break he demonstrates pairing the devices and playing Super Mario Bros. 3 in an emulator.

He calls this Alpha quality but it certainly looks like it works well. In the beta version we’d love to see all of the extra electronics inside the controller case like those USB mods.

Continue reading “Using An NES Controller On An Android Phone”

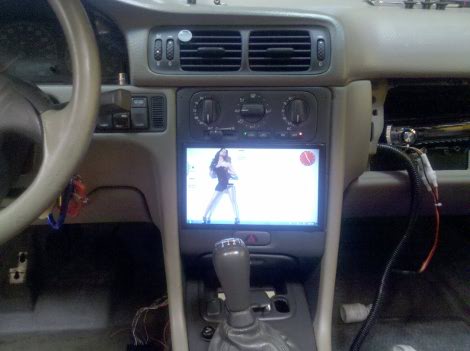
Car Computer Requires PIN For Ignition

[Ben’s] added some nice goodies to his Volvo in the form of an in-dash computer. The system monitors two pressure sensors for boost and vacuum, as well as reading RPM, O2, and exhaust directly. All of this is tied into the touch interface running on an eeePC 900A. But our favorite feature is that the system requires you to enter a PIN to start the ignition. The forum post linked above is short on details so we asked [Ben] if he could tell us more. Join us after the break for a demonstration video as well as [Ben’s] rundown on the system.

Continue reading “Car Computer Requires PIN For Ignition”

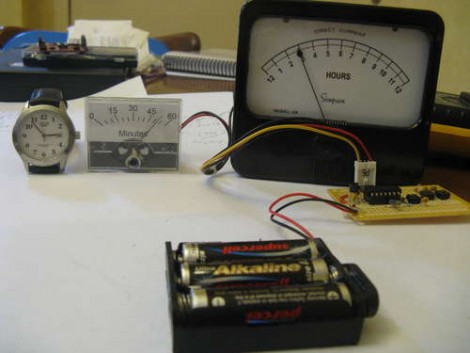
Meter Clock Using The TI Launchpad

Here’s an analog meter clock using an MSP430G2211 microcontroller. [Doug Paradis] chose this processor because it is the lesser of the two that come with the TI Launchpad. The parts count is fairly low too; a clock crystal, two analog meters, a few buttons, and a voltage regulator.

He’s done a nice job putting this together. We challenge you to give this a try yourself and build on [Doug’s] features. We really liked the calibration subroutine in [Alan’s] multi meter clock. It would be fun to implement that functionality and store the calibration code in the MSP’s flash memory. You can use our ported garage door opener code if you need an example of how to store data in flash.

Firmware Hacking On Behringer Midi Devices

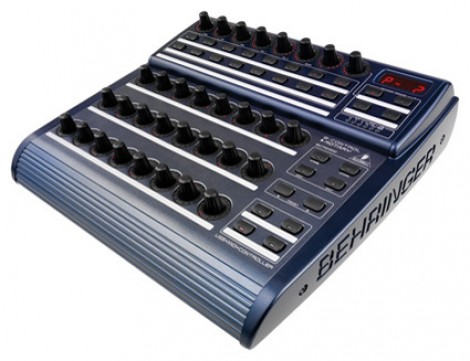
A new project called the Unofficial Behringer Control Development Kit lets you tweak or completely replace the firmware on the popular devices. The proof of concept demo shows a custom message scrolling on the 4-character 7-segment display but you can do with the device is only limited by how well you can code for the ARM processor inside. Development takes place using the GNU ARM toolchain but don’t worry, you don’t have to crack the case open to program the chip. The BCR2000 and BCF2000 models supported by the project both run bootloaders that allow firmware updates via midi commands. There’s even a recovery mode if you screw something up. Just make sure you have a direct midi connection for recovery, the USB port won’t work for that purpose. If you need a shove to get you started there’s a nice little example file in the repository.

[Thanks Bjonnh]