Spring has sprung at the Jersey Shore, and for retrocomputer aficionados that can only mean one thing — the Vintage Computer Festival East is imminent. The East Coast’s premier event for classic computers and associated electronics kicks off tomorrow at the InfoAge Science and History Museum in Wall, NJ, and continues until Sunday. If you’re in the Northeast United States, and frankly, even if you aren’t, you’d be hard-pressed to find a better opportunity to experience the unique charms of early computer technology.
 VCF East is three days of talks, workshops, and exhibits focusing on computers of a bygone area. For the uninitiated, that might seem like an odd thing to fixate on. But those who’ve visited a VCF event in the past know just how fascinating the technology of this era can be. You’ll see first-hand not only the unique machines that never quite caught on with the mainstream but the pioneering software and hardware engineering that laid the groundwork for our modern way of life. Plus, a little bit of everything in between. Just take a look at this year’s schedule; even the most experienced of graybeards would have a hard time walking away from VCF East without knowing a bit more than when they came in.
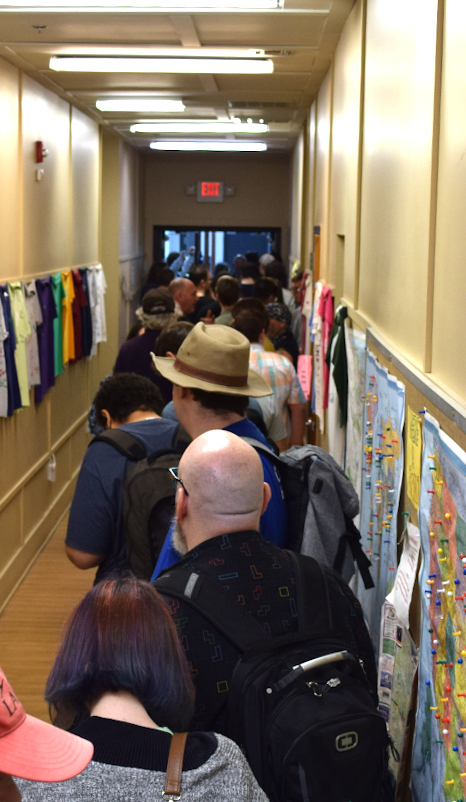
Part of what makes the Vintage Computer Festival so great is right in the name — it’s very literally a festival. This isn’t some sterile museum environment where you’re forced to look at a dusty piece of hardware through a half-inch of bulletproof glass. It’s a celebration, and everyone’s invited. Many of the exhibits will give you an opportunity to go hands-on with rare pieces of original hardware, and every presenter you talk to will be more than happy to explain what they’ve come to show off and answer any questions you might have.
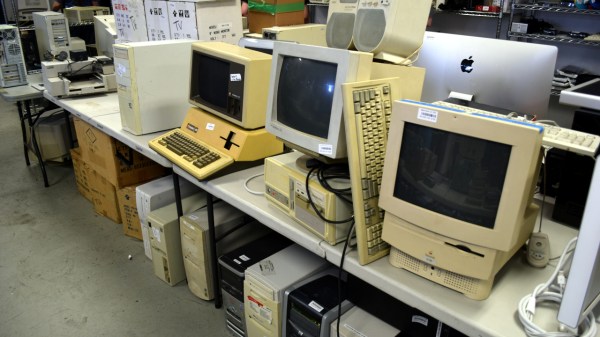
 In addition to the more educational aspects of VCF, there are also the vendor and consignment areas, which offer a myriad of opportunities to convert your money into devices that whir and blink. From classic gaming systems to unusual components that perhaps only a handful of people in the world could still identify at a glance, the only things you won’t find are the jacked-up prices and shipping costs you’d get from eBay.
Of course, the organizers realize that not everyone can get to the tropical paradise that is New Jersey in April. As such, VCF East will offer an online component that includes an official Discord server and three different live streams for the talks held on Friday, Saturday, and Sunday. That said, there won’t be any streaming video from the show floor itself, so unfortunately, you won’t be able to see any of the exhibits or workshops. That said, you can always count on there being several VCF wrap-up videos posted to YouTube by the usual retrocomputing suspects, to say nothing of the coverage you’ll be seeing on these pages.
Whether you’re there in person or experiencing it vicariously through the videos and articles posted by others, the Vintage Computer Festival East is a can’t-miss event for anyone who has a passion for computers and would like to learn more about how they became what they are today. Hackaday will be there — join us, won’t you?
Continue reading “Vintage Computer Festival East Returns This Weekend” →