Since NASA’s Mariner spacecraft made the first up-close observations of Mars in 1964, humanity has lobbed a long line of orbiters, landers, and rovers towards the Red Planet. Of course, it hasn’t all been smooth sailing. History, to say nothing of the planet’s surface, is littered with Martian missions that didn’t quite make the grade. But we’ve steadily been getting better, and have even started to push the envelope of what’s possible with interplanetary robotics through ambitious craft like the Ingenuity helicopter.
Yet, after nearly 60 years of studying our frigid neighbor, all we have to show for our work boils down to so many 1s and 0s. That’s not to say the data we’ve collected, both from orbit and on the surface, hasn’t been extremely valuable. But scientists on Earth could do more with a single Martian rock than any robotic rover could ever hope to accomplish. Even still, not so much as a grain of sand has ever been returned from the planet’s dusty surface.
But if everything goes according to plan, that’s about to change. Within the next decade, NASA and the European Space Agency (ESA) hope to bring the first samples of Martian rocks, soil, and atmospheric gases back to Earth using a series of robotic vehicles. While it’s still unclear when terrestrial scientists should expect delivery of this interplanetary bounty, the first stage of the program is already well underway. The Perseverance rover has started collecting samples and storing them in special tubes for their eventual trip back to Earth. By 2028, another rover will be deployed to collect these samples and load them into a miniature rocket for their trip to space.
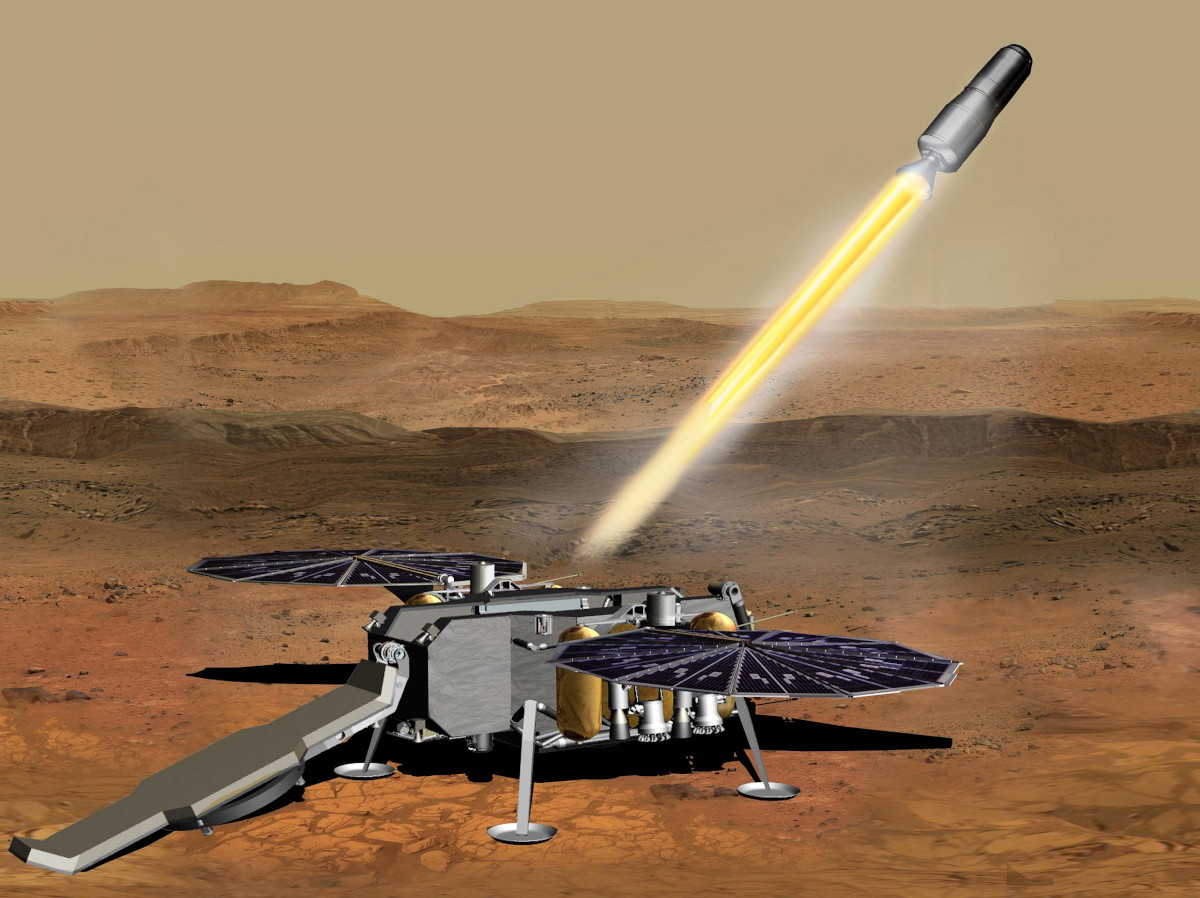
Just last week NASA decided to award the nearly $200 million contract to build that rocket, known officially as the Mars Ascent Vehicle (MAV), to aerospace giant Lockheed Martin. The MAV will not only make history as the first rocket to lift off from a celestial body other than the Earth, but it’s arguably the most critical component of the sample return mission; as any failure during launch will mean the irrevocable loss of all the samples painstakingly recovered by Perseverance over the previous seven years.
To say this mission constitutes a considerable technical challenge would be an understatement. Not only has humanity never flown a rocket on another planet, but we’ve never even attempted it. No matter what the outcome, once the MAV points its nose to the sky and lights its engines, history is going to be made. But while it will be the first vehicle to make the attempt, engineers and scientists have been floating plans for a potential Martian sample return mission for decades. Continue reading “NASA Taps Lockheed To Bring Back A Piece Of Mars”