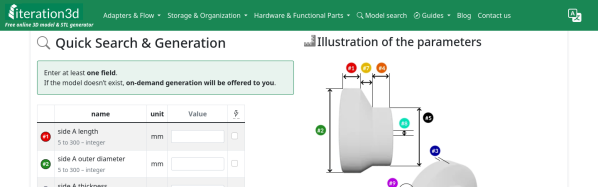
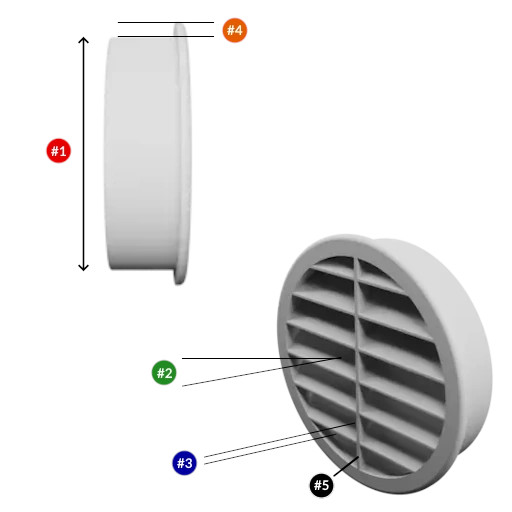
It’s happened to all of us: you find the perfect model for your needs — a bracket, a box, a cable clip, but it only comes in STL, and doesn’t quite fit. That problem will never happen if you’re using Iteration3D to get your models, because every single thing on the site is fully-parametric, thanks to an open-source toolchain leveraging 123Dbuilds and Blender.
Blender gives you preview renderings, including colors where the models are set up for multi-material printing. Build123D is the CAD behind the curtain — if you haven’t heard of it, think OpenSCAD but in Python, but with chamfers and fillets. It actually leverages the same OpenCascade that’s behind everyone’s other favorite open-source CAD suite, FreeCAD. Anything you can do in FreeCAD, you can do in Build123D, but with code. Except you don’t need to learn the code if the model is on Iteration3D; you just set the parameters and push a button to get an STL of your exact specifications.
 The downside is that, as of now, you are limited to the hard-coded templates provided by Iteration3D. You can modify their parameters to get the configuration and dimensions you need, but not the pythonic Build123D script that generates them. Nor can you currently upload your own models to be shared and parametrically altered, like Thingiverse had with their OpenSCAD-based customizer. That said, we were told that user-uploads are in the pipeline, which is great news and may well turn Iteration3D into our new favorite.
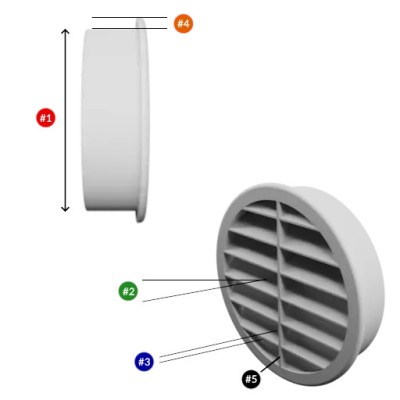
Right now, if you’re looking for a box or a pipe hanger or a bracket, plugging your numbers into Iteration3D’s model generator is going to be a lot faster than rolling your own, weather that rolling be done in OpenSCAD, FreeCAD, or one of those bits of software people insist on paying for. There’s a good variety of templates — 18 so far — so it’s worth checking out. Iteration3D is still new, having started in early 2025, so we will watch their career with great interest.
Going back to the problem in the introduction, if Iteration3D doesn’t have what you need and you still have an STL you need to change the dimensions of, we can help you with that.
Thanks to [Sylvain] for the tip!