Let’s face it, nobody likes scrubbing, but what option do you have? You can’t exactly break out the grinder to clean off the remains of last nights dinner… right? Well, maybe not a grinder, but thanks to this hack by [Markus Opitz], you can use an oscillating tool.
It’s a simple enough hack: [Markus] modeled the attachment for his Bosch oscillating tool in Tinkercad, and created a bracket to hold a large metal binder clip. The clip attaches with a screw, and can hold whatever scrubbing pad your carpel-tunnel afflicted hands can’t bear to hold on to. He’s using a self-cleaning stainless-steel sponge.
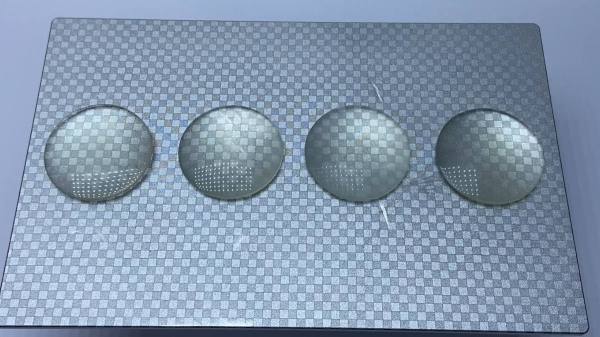
One nice touch is a pair of protective lips on the jaws of the metal clip, to keep it from accidentally scratching the delicate surface under care. Of course if you have a drill or a Dremel handy you can buy attachments for polishing disks of various grits, but what’s the fun in that? Doing the dishes with a hacked-together oscillating tool just somehow seems more fun. Plus this way you can’t accidentally produce an engine-turning pattern.
We don’t seem to have featured many hacks for these fun, buzzing, multi-purpose tools, so if you’ve got one send us a tip. We did feature an oscillating cutter for CNC once, but that was fully DIY.

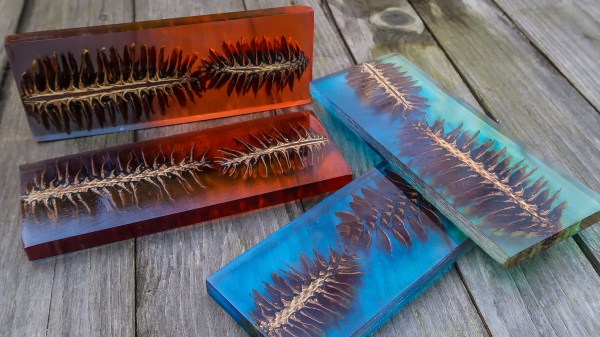
 Briefly, the process is to first bake the pine cones to remove any moisture. Then they get coated in a heat-activated resin for stabilizing, which is a process that infuses and pre-seals the pine cones for better casting results. The prepped pine cones go into molds, clear resin is mixed with coloring and poured in. The resin cures inside a pressure chamber, which helps ensure that it gets into every nook and cranny while also causing any small air bubbles introduced during mixing and pouring to shrink so small that they can’t really be seen. After that is cutting, then sanding and polishing. It’s an excellent overview of the entire process.