Like many of us of a certain vintage, [Dillan Stock] at The Stock Pot is nostalgic for VHS tapes. It’s not so much the fuzzy picture or the tracking issues we miss, but the physical experience the physical medium brought to movie night. To recreate that magic, [Dillan] made a Modern VHS with NFC and ESPHome.
NFC tags are contained in handsomely designed 3D printed cartridges. You can tell [Dillan] put quite a bit of thought into the industrial design of these: there’s something delightfully Atari-like about them, but they have the correct aspect ratio to hold a miniaturized movie poster as a label. They’re designed to print in two pieces (no plastic wasted on supports) and snap together without glue. The printed reader is equally well thought out, with print-in-place springs for that all important analog clunk.
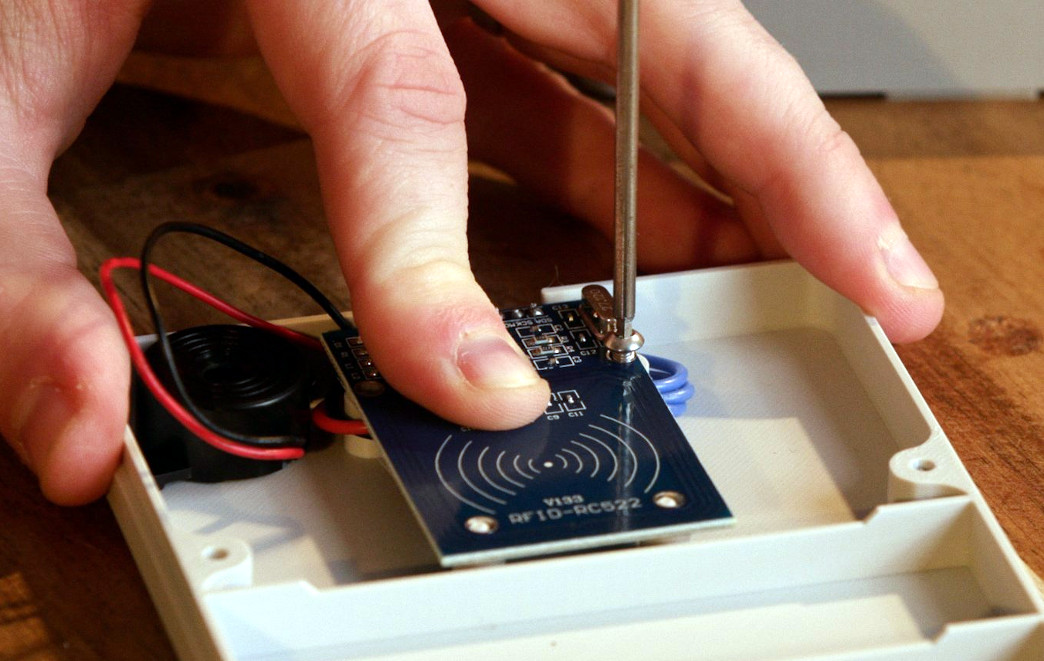 Electronically, the reader is almost as simple as the cartridge: it holds the NFC reader board and an ESP32. This is very similar to NFC-based audio players we’ve featured before, but it differs in the programming. Here, the ESP32 does nothing related directly to playing media: it is simply programmed to forward the NFC tag id to ESPHome. Based on that tag ID, ESPHome can turn on the TV, cue the appropriate media from a Plex server (or elsewhere), or do… well, literally anything. It’s ESPHome; if you wanted to make this and have a cartridge to start your coffee maker, you could.
If this tickles your nostalgia bone, [Dillan] has links to all the code, 3D files and even the label templates on his site. If you’re not sold yet, check out the video below and you might just change your mind. We’ve seen hacks from The Stock Pot before, everything from a rebuilt lamp to an elegant downspout and a universal remote.
Continue reading “Reliving VHS Memories With NFC And ESPHome”