Echo and reverb are now electronic audio effects done in a computer or an integrated circuit, but originally they were achieved through mechanical means. Reverb units used springs, and echo units used loops of magnetic tape. As a musician hankering after a mechanical tape echo unit, [Adam Paul] was left with no choice but to build his own. We featured an early prototype, but now he’s back with a finished version that’s intended to be replicated by other musicians.
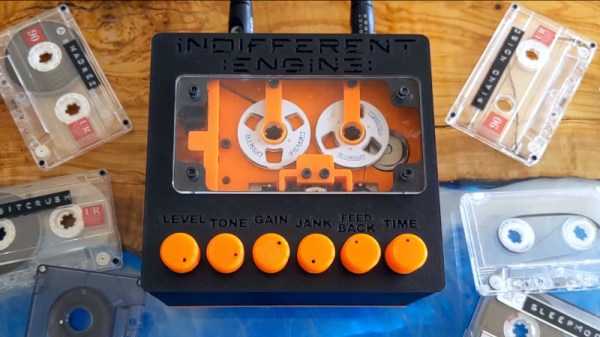
The unit takes a cassette mechanism from one of the last still-manufactured players available through the usual sources. It splits record and play heads, with the normal cassette replaced with a tape loop made from extra-thick computer tape. A custom PCB replaces most of the electronics, and the auto-reverse system is disabled.
The result is a functional tape echo system, as can be seen in the video below the break. This is ready to build yourself, with everything on a GitHub repository and an extremely comprehensive build guide, so do any of you fancy a go?