LED cubes were once an exercise in IO mastery, requiring multiplexing finesse in order to drive arrays of many LEDs. Going RGB only increased the challenge. This build from [DIY GUY Chris] shows how much easier it is these days, when every LED has a smart addressable controller on board, and serves as a great sci-fi prop to boot.
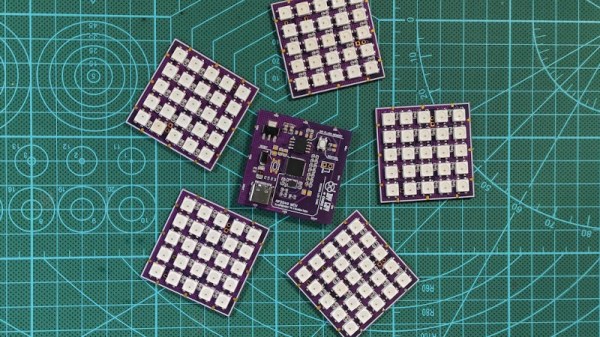
Yes, the build relies on the venerable WS2812B addressable LEDs, soldered up in 5×5 grids on each of the six faces of the cube. Running the show is the Raspberry Pi RP2040 microcontroller, sourced here as an individual part rather than in its development board form. An SPI memory chip is on board for the code, along with a USB-C connector for programming. Signals pass around the cube via soldered connections along the edges of the custom PCBs that make up the faces of the solid.
Sitting on its 3D printed stand, the cube glows brightly while drawing a full 2 amps of power. [Chris] coded up a variety of animations, from simple color breathing routines to frantic dazzle animations sure to captivate any cyberpunk thieves that come to steal your magic glowing artifact.
If rectangular prisms aren’t your fancy, though, you can always consider building yourself a glowing D20 instead. Video after the break.
Continue reading “2022 Sci-Fi Contest: Glowing LED Cubes Make Captivating Artifacts”

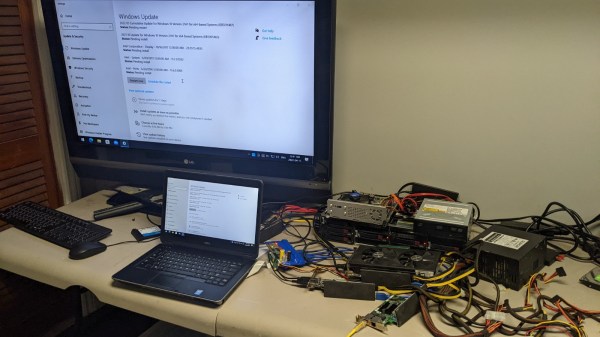
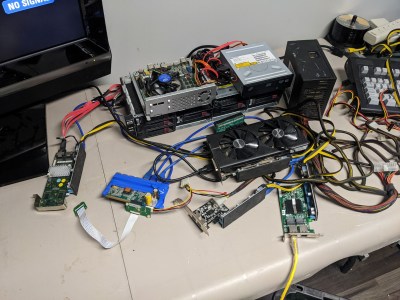 Now, there’s a reason why we don’t see more of such hacks. This seems to be a Latitude E5440 and the card is plugged into a mini-PCIe slot, which means the entire contraption is bound by a single PCI-E Gen2 x1 link, heavily offsetting the gains you’d get from an external GPU when, say, gaming. However, when it comes to the types and amount of peripherals, this is unbeatable – if you want to add an external GPU, high-speed networking and a SAS controller to the same computer that you usually lug around, there isn’t really a dock station you can buy for that!