The development of the turbojet engine was a gamechanger in aviation, as no longer would aircraft designers have to struggle with ever larger and more complex piston engines, nor would propellers keep planes stuck below the speed of sound. However, the turbojet is an exacting device, demanding the utmost of materials in order to work successfully. [Integza] discovered just this in his quest to build one at home.
Unlike most home jet engine builds, this one doesn’t use a turbocharger or go with a simpler pulse jet design – though [Integza] has built those, too. This is a proper radial-flow turbojet design. The build uses a 3D-printed compressor, which is possible as it doesn’t have to deal with much heat. However, for the turbine, [Integza] realised that plastic wouldn’t cut it. After experiments with ceramic resins failed too, a 3D printed jig was instead built to allow sheet metal to easily be crafted into a workable turbine. Other internal components were made out of concrete for heat resistance, and a combustion chamber welded up out of steel.
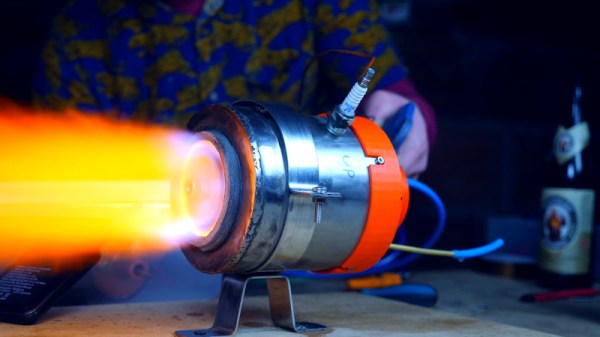
The engine did run after several attempts, albeit for just ten seconds before components started to melt. While the engine is a long way off being flight ready, it goes to show just how hard it is to build even a bench-running turbojet. Even major world powers have struggled with this problem over the years. Video after the break.
Continue reading “Prototyping A Turbojet Engine In The Home Shop”