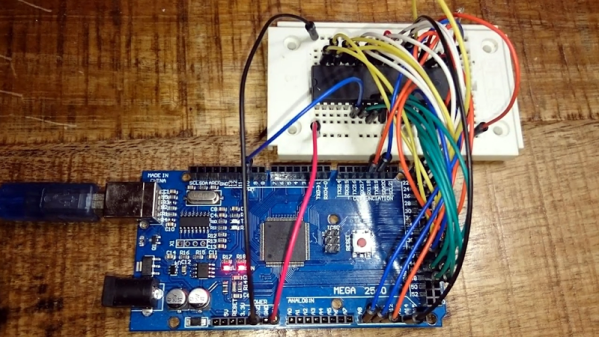
The Z80 is one of those old CPUs that is both obtainable and easy to work with — at least in some versions. [Doctor Volt] put together what may be the simplest possible setups to get a working Z80 system. He has the processor, of course. But everything else — clock, memory, and power — are from an Arduino Mega 2560. You could argue that’s two chips, but the board actually has several chips on it. On the other hand, you could probably pull off the same stunt with a bare ATMega 2560.
We’ve seen this done before, but usually with a few more support chips. If you are a purist, [Doctor Volt] also has some Z80 and CP/M experiments where the Arduino only acts as a disk drive for the computer and there are only two support chips. There are three videos for both projects that you can see below.
You really should learn to read Morse code. But if you can’t — or even if you can, and just want a break — you can always get a computer to do it. For example, [jmharvey1] has a decoder that runs on a cheap Bluepill dev board.
The device uses a touchscreen and a few common components. The whole thing cost about $16. You can see it at work along with a description of the project in the video below.
Smart homes come with a lot of perks, not least among which is the ability to monitor the goings-on in your home, track them, and make trends. Each piece of monitoring equipment, such as sensors or cameras, is another set of wires that needs to be run and another “thing” that needs to be maintained on your system. There are sometimes clever ways of avoiding sensors, though, while still retaining the usefulness of having them.
In this build, [squix] uses existing sensors for electricity metering that he already had in order to alert him when his oven is pre-heated. The sensor is a Shelly 3EM, and the way that it interfaces with his home automation is by realizing that his electric oven will stop delivering electricity to the heating elements once it has reached the desired temperature. He is able to monitor the sudden dramatic decrease in electricity demand at his house with the home controller, and use that decrease to alert him to the fact that his oven is ready without having to install something extra like a temperature sensor.
While this particular sensor may only be available in some parts of Europe, we presume the idea would hold out across many different sensors and even other devices. Even a small machine learning device should be able to tell what loads are coming on at what times, and then be programmed to perform functions based on that data.
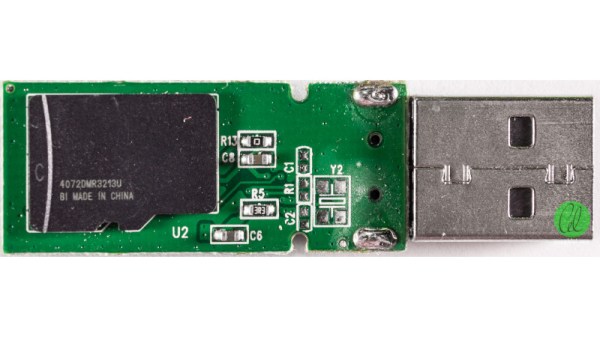
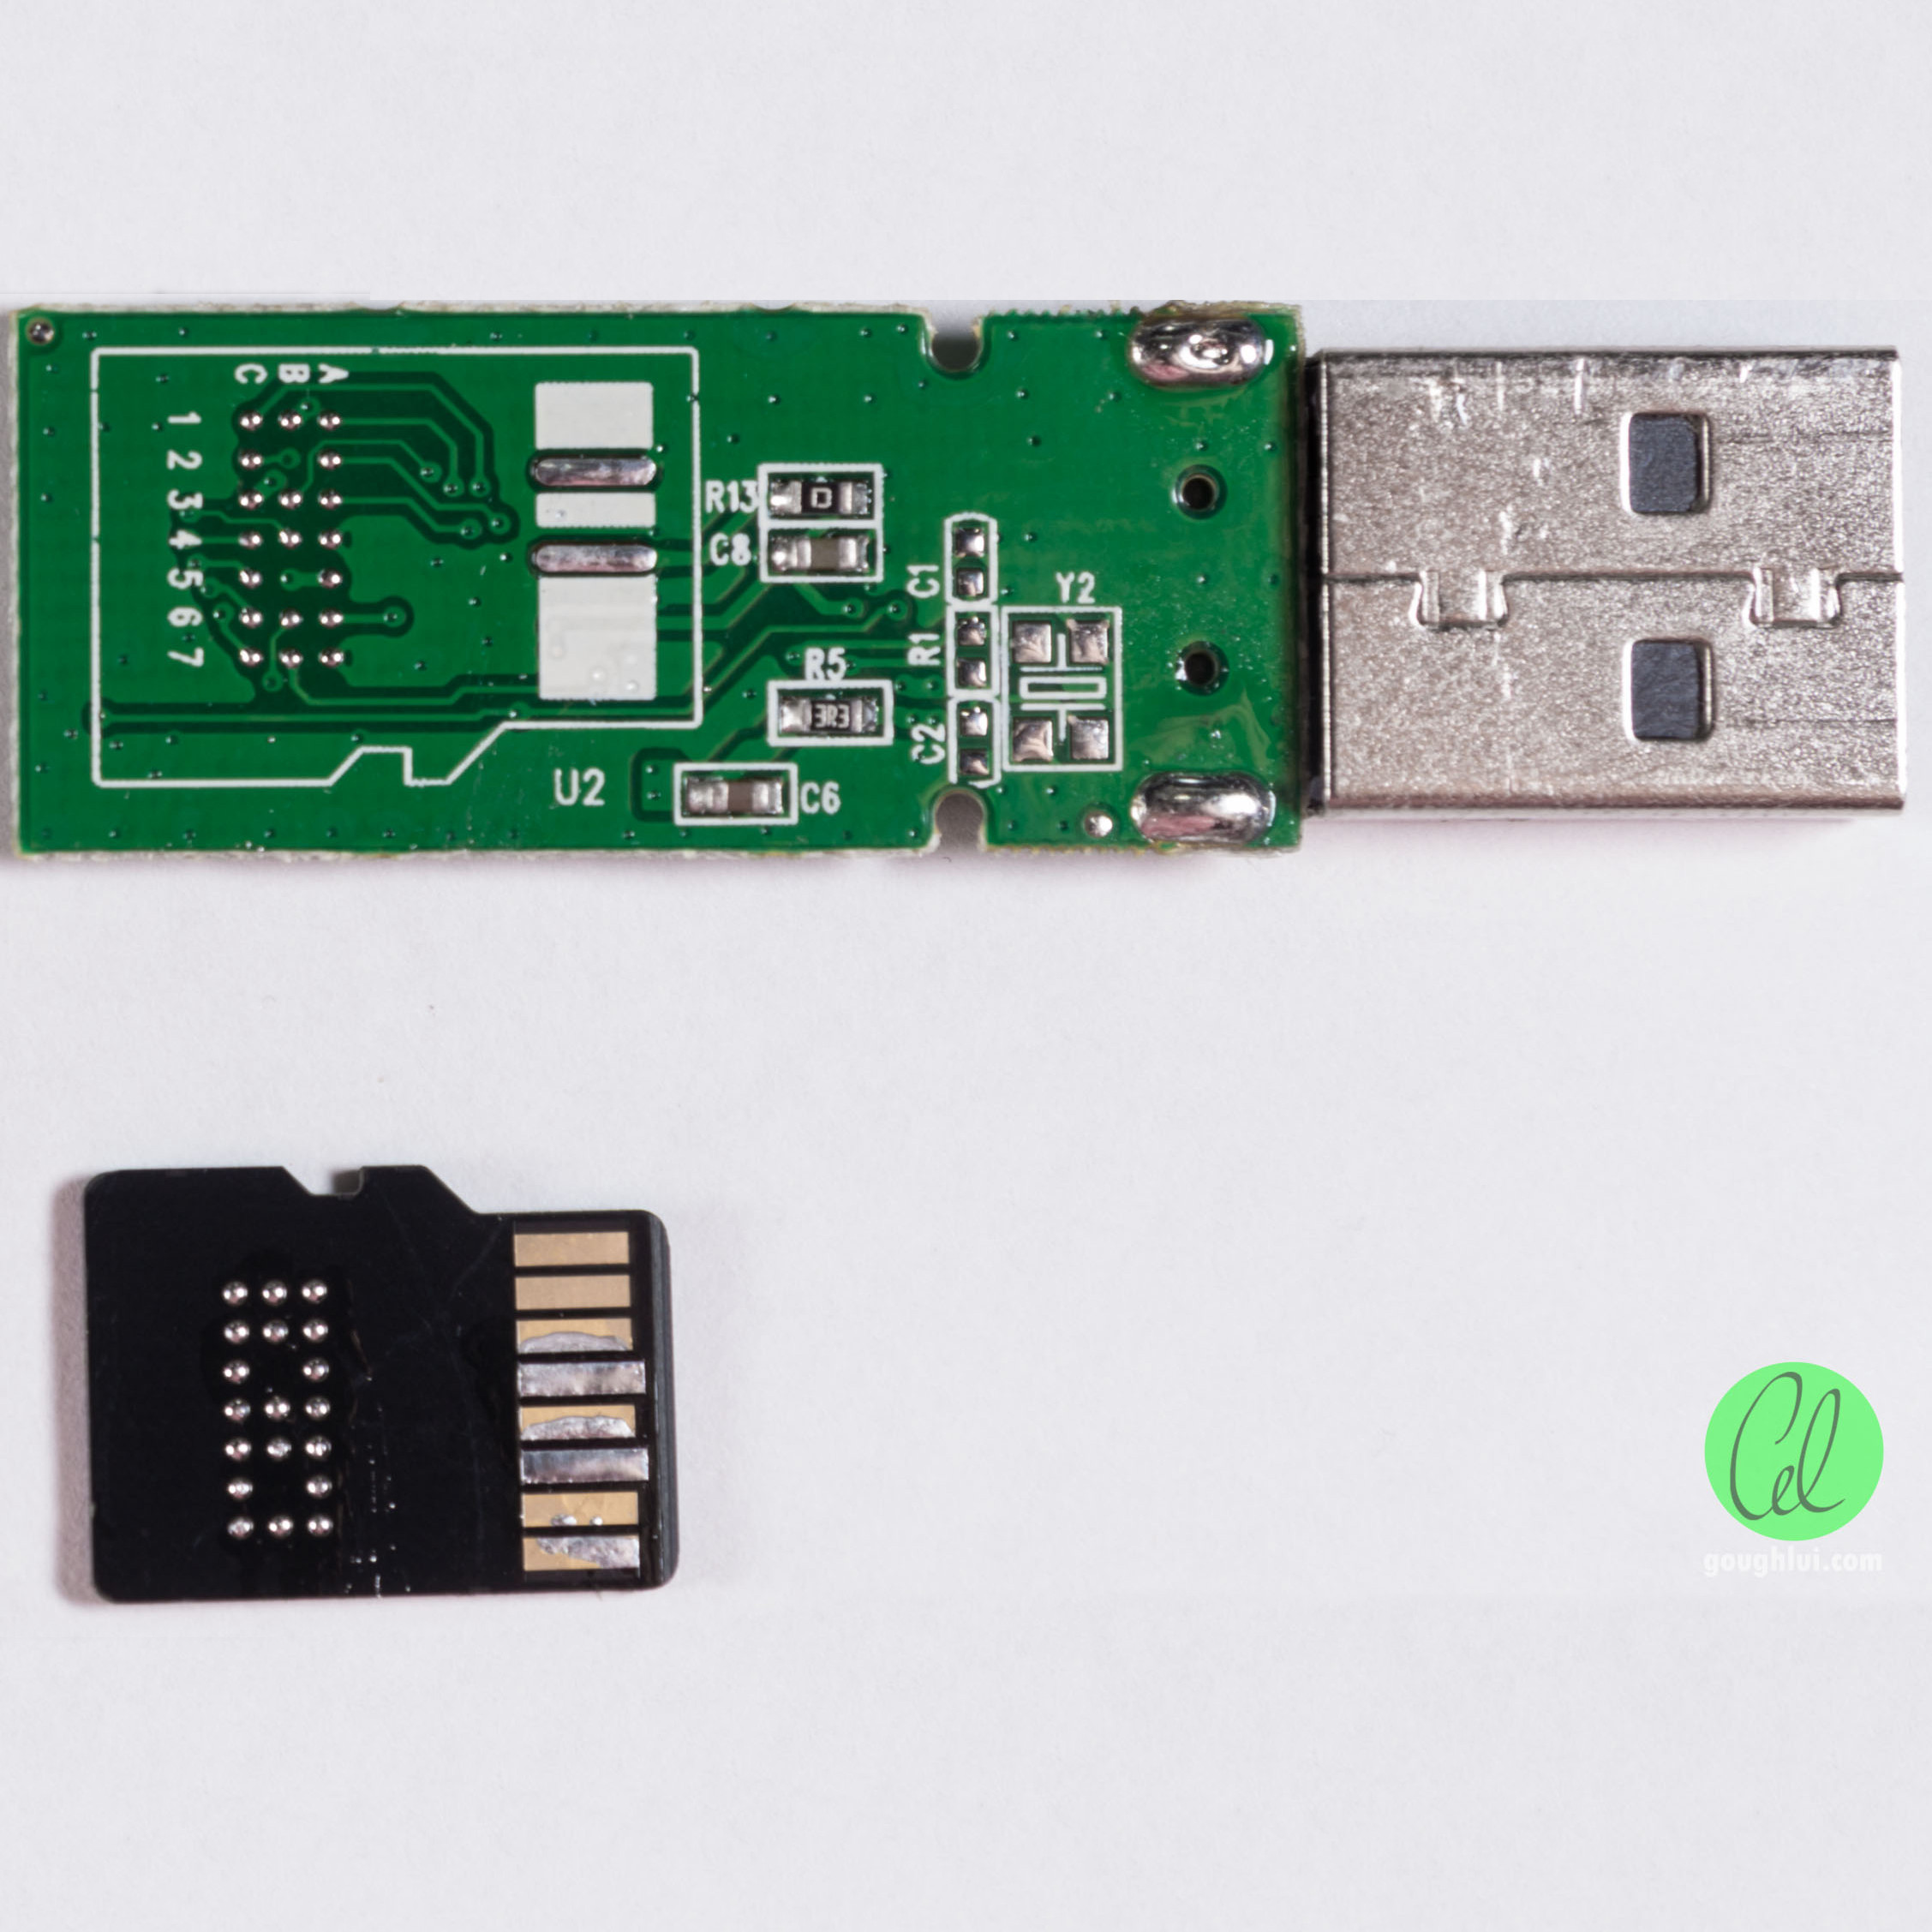
Inside the Comsol 8GB USB stick, [Gough] found an entire microSD card. One might be led to think this is a card reader and microSD masquerading as a normal flash drive, but the reality is far different. Instead, the drive contains a Flash memory controller which addresses the microSD card as raw NAND, through test points normally covered up on consumer-grade cards. The drive appears to be manufactured from factory second microSD cards that don’t pass the normal tests to be onsold to the public.
Armed with software obtained through spurious channels, [Gough] is able to dive deeper into the guts of the flash drive. The engineering tools allow the card to be optimised for capacity or speed, and different levels of error correction. It’s even possible to have the flash drive emulate a U3 CD ROM drive for OS installs and other purposes.
It’s a great dive into how USB drives work on a low level, and how the firmware and hardware work together. We’ve seen other flash drive hacks before too – like this simple recovery trick!
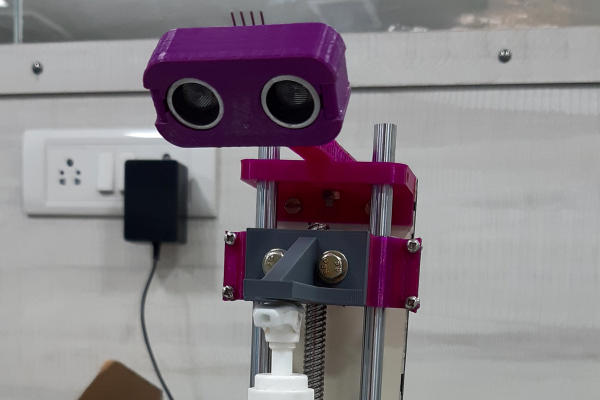
When it comes to cleaning your hands, [Arnov Sharma] is not messing around. He built an automatic soap dispenser using ultrasonic sensors, a stepper motor for activating the pump, and 3D printed components for housing a bottle of soap – a spectacular display of over-engineering. At least he won’t be needing to stand in line at the supermarket for motion detection soap dispensers anytime soon.
Initially, he had the idea to build the dispenser using a common servo motor-based method. This would involve activating motors to push down on the plunger for the soap bottle to dispense soap. Instead, he for a different approach that ended up being fairly straightforward in theory, although the execution is pretty involved.
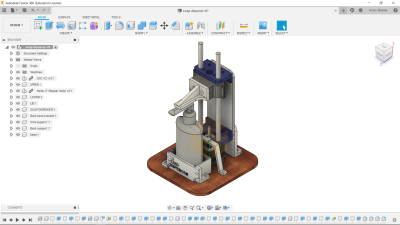
Model of the soap dispenser made in Fusion 360
He started off by 3D printing the compartment where the soap bottle would sit and the structural support for the Z-axis rail that would be pushing down on the soap bottle. It’s similar to the type of linear actuator you might find in a 3D printer or PCB mill, where a motor controls a rotating screw that moves the carriage across a belt. (We presume the linear rail came first, and the ultrasonic soap dispenser second.)
In this build, there are two additional rods added to help support the lever pressing down on the soap dispenser.
The setup is controlled by an Arduino, which triggers the movement from the linear actuator if it receives a signal from an ultrasonic sensor. He’s added the model files and Arduino code for other makers curious about building a similar project. Check out his video for the soap dispenser in action – the stepper motor definitely makes for a much more powerful plunge than you might expect.
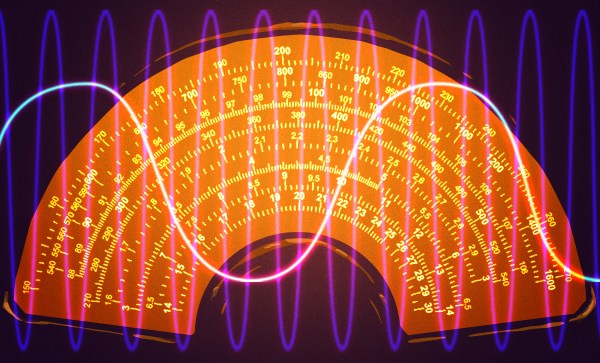
Modern radio receivers have a distinct advantage over the common early designs which I covered in my previous article. Most of the receivers you will have worked with over the past couple decades are designs by Edwin Armstrong; regenerative, superregenerative, or most commonly superheterodyne. These are distinguished by a few fascinating key traits that bring both benefits and drawbacks.
Today let’s dive into Mr. Armstrong’s receivers. I’ll also talk about DC receivers which, despite the name, are not made to listen to batteries. These are receivers you are much more likely to encounter in modern equipment.
Regenerative and Superregenerative
The regenerative receiver is all about doing more with less. You still see some of these in simple applications like RF remote controls. The idea derives from how an oscillator works. In a simple way of thinking, an oscillator is an amplifier with enough positive feedback that any tiny signal at the right frequency will amplify and then, through feedback, continue to output over and over. If everything were perfect, then, an oscillator would have infinite gain at a given frequency.
Hackaday editors Elliot Williams and Mike Szczys are enamored by this week’s fabrication hacks. There’s a PCB mill that isolates traces by scratching rather than cutting. You won’t believe how awesome this angle-cutter jig is at creating tapered augers for injection molding/extruding plastic. And you may not need an interactive way to cut foam, but the art from the cut pieces is more than a mere shadow of excellence. Plus we gab about a clever rotary encoder circuit, which IDE is the least frustrating, and the go-to tools for hard drive recovery.
Take a look at the links below if you want to follow along, and as always, tell us what you think about this episode in the comments!
Take a look at the links below if you want to follow along, and as always, tell us what you think about this episode in the comments!