This may surprise younger readers, but there was once a time when the reality programming on The Weather Channel was simply, you know, weather. It used to be no more than a ten-minute wait to “Local on the Eights”, with simple text crawls of local conditions and forecasts that looked like they were taken straight from the National Weather Service feed. Those were the days, and sadly they seem to be gone forever.
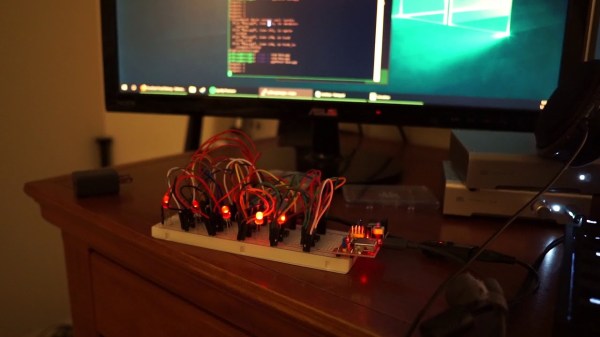
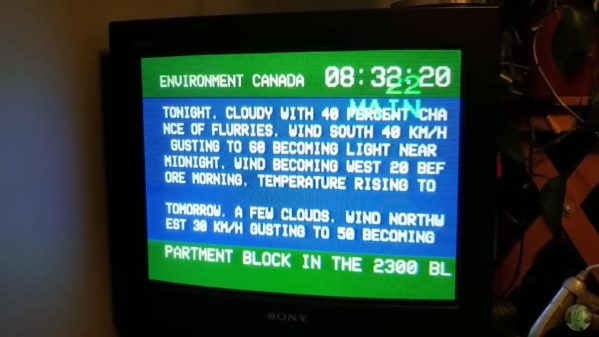
Or perhaps not, if this retro weather channel feed has anything to say about it. It’s the product of [probnot] and consists of a simple Python program that runs on a Raspberry Pi. Being from Winnipeg, [probnot] is tapping into Environment Canada for local weather data, but it should be easy enough to modify to use your local weather provider’s API. The screen is full of retro goodness, from the simple color scheme to the blocky white text; the digital clock and local news crawl at the bottom complete the old school experience. It doesn’t appear that the code supports the period-correct smooth jazz saxophone, but that too should be a simple modification.
All jibing aside, this would be a welcome addition to the morning routine. And for the full retro ride, why not consider putting it in an old TV case?
Continue reading “Relive The Glory Days Of Cable TV With This Retro Weather Feed”