It’s fair to say that the hearts and minds of Hackaday readers lie closer to the technology centres of Shenzhen or Silicon Valley than they do to the soybean fields of Minnesota. The common link is the desire to actually own the hardware we buy. Among those working the soil there has been a surge in demand (and consequently a huge price rise) in 40-year-old tractors.
Second-hand farm machinery prices have made their way to the pages of Hackaday due to an ongoing battle between farmers and agricultural machinery manufacturers over who has the right to repair and maintain their tractors. The industry giant John Deere in particular uses the DMCA and end-user licensing agreements to keep all maintenance in the hands of their very expensive agents. It’s a battle we’ve reported on before, and continues to play out across the farmland of America, this time on the secondary market. Older models continue to deliver the freedom for owners to make repairs themselves, and the relative simplicity of the machines tends to make those repairs less costly overall.
Tractors built in the 1970s and 80s continue to be reliable and have the added perk of predating the digital shackles of the modern era. Aged-but-maintainable machinery is now the sweetheart of farm sales. It confirms a trend I’ve heard of anecdotally for a few years now, that relatively new tractors can be worth less than their older DMCA-free stablemates, and it’s something that I hope will also be noticed in the boardrooms. Perhaps this consumer rebellion can succeed against the DMCA where decades of activism and lobbying have evidently failed.
They just don’t build ’em like they used to.
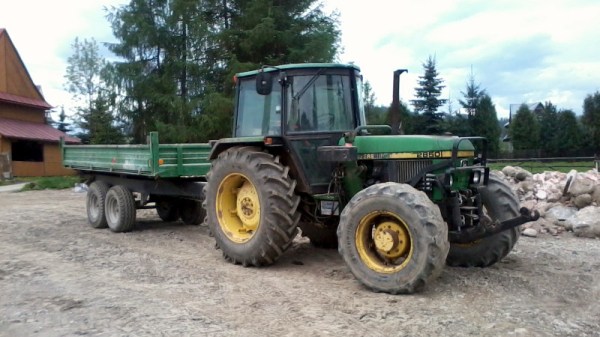
[Image Source: John Deere 2850 by Raf24 CC-BY-SA 3.0]
[Via Hacker News]