By the time this goes to press, DEFCON 27 will pretty much be history. But badgelife continues, and it’d be nice to have a way of keeping track of all the badges offered. Martin Lebel stepped up to the challenge with a DEF CON 27 badgelife tracker. He’s been tracking the scene since March, and there are currently more than 170 badges, tokens, and shitty add-ons listed. Gotta catch ’em all!
Nice tease, Reuters. We spotted this story about the FAA signing off on beyond-visual-line-of-sight, or BVLOS, operation of a UAV. The article was accompanied by the familiar smiling Amazon logo, leading readers to believe that fleets of Amazon Prime Air drones would surely soon darken the skies with cargoes of Huggies and Tide Pods across the US. It turns out that the test reported was conducted by the University of Alaska Fairbanks along an oil pipeline in the Last Frontier state, and was intended to explore medical deliveries and pipeline surveillance for the oil industry. The only mention of Amazon was that the company reported they’d start drone deliveries in the US “in months.” Yep.
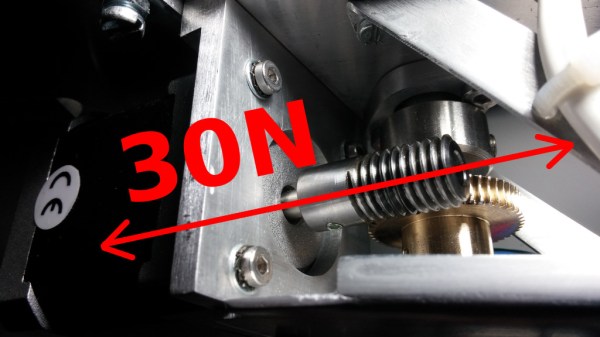
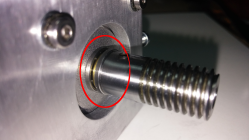
Ever wonder what it takes to get your widget into the market? Between all the testing and compliance requirements, it can be a real chore. Nathaniel tipped us off to a handy guide written by his friend Skippy that goes through the alphabet soup of agencies and regulations needed to get a product to market – CE, RoHS, WEEE, LVD, RED, CE for EMC. Take care of all that paperwork and you’ll eventually get a DoC and be A-OK.
A French daredevil inventor made the first crossing of the English Channel on a hoverboard on Sunday. Yes, we know it’s not an “actual” hoverboard, but it’s as close as we’re going to get with the physics we have access to right now, and being a stand-upon jet engine powered by a backpack full of fuel, it qualifies as pretty awesome. The report says it took him a mere 20 minutes to make the 22-mile (35-km) crossing.
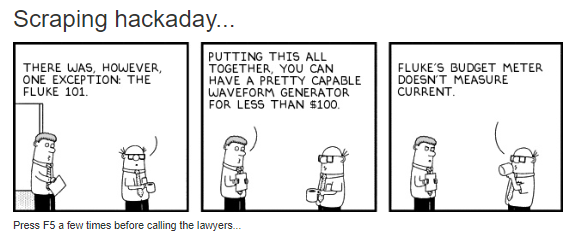
We had a grand time last week around the Hackaday writing crew’s secret underground lair with this delightful Hackaday-Dilbert mashup-inator. Scroll down to the second item on the page and you’ll see what appears to be a standard three-panel Dilbert strip; closer inspection reveals that the text has been replaced by random phrases scraped from a single Hackaday article. It looks just like a Dilbert strip, and sometimes the text even makes sense with what’s going on in the art. We’d love to see the code behind this little gem. The strip updates at each page load, so have fun.
And of course, the aforementioned secret headquarters is exactly what you’d picture – a dark room with rows of monitors scrolling green text, each with a black hoodie-wearing writer furiously documenting the black arts of hacking. OpenIDEO, the “open innovation practice” of global design company IDEO, has issued a challenge to “reimagine a more compelling and relatable visual language for cybersecurity.” In other words, no more scrolling random code and no more hoodies. Do you have kinder, gentler visual metaphors for cybersecurity? You might win some pretty decent prizes for your effort to “represent different terms and ideas in the cybersecurity space in an accessible and compelling way.”