You’d be hard pressed to find an aircraft that wasn’t designed and tested without extensive use of simulation. Whether it’s the classic approach of using a scale model in a wind tunnel or more modern techniques such as computational fluid dynamics, a lot of testing happens before any actual hardware gets bolted together. But at some point the real deal needs to get a shakedown flight, and historically a favorite testing ground has been the massive dry lake beds in the Western United States. The weather is always clear, the ground is smooth, and there’s nobody for miles around.
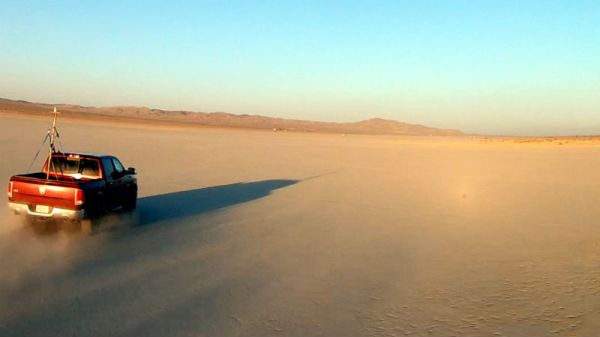
 Thanks to [James] and [Tyler] at Propwashed, that same classic lake bed approach to real-world testing has now been brought to the world of high performance quadcopter gear. By mounting a computer controlled thrust stand to the back of their pickup truck and driving through the El Mirage dry lake bed in the Mojave Desert, they were able to conduct realistic tests on how different propellers operate during flight. The data collected provides an interesting illustration of the inverse relationship airspeed has with generated thrust, but also shows that not all props are created equal.
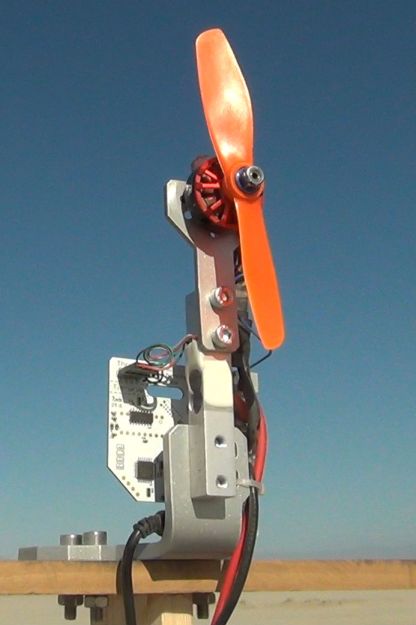
The first post in the series goes over their testing set-up and overall procedure. On a tower in the truck’s bed a EFAW 2407 2500kV motor was mounted on a Series 1520 thrust stand by RCBenchmark. This stand connects to the computer and offers a scripted environment which can be used to not only control the motor but monitor variables like power consumption, RPM, and of course thrust. While there was some thought given to powering the rig from the truck’s electrical system, in the end they used Turnigy 6000mAh 4S battery packs to keep things simple.
A script was written for the thrust stand which would ramp the throttle from 0% up to 70% over 30 seconds, and then hold it at that level for 5 seconds. This script was run when the truck was at a standstill, and then repeated with the truck travelling at increasingly faster speeds up to 90 MPH. This procedure was repeated for each of the 15 props tested, and the resulting data graphed to compare how they performed.
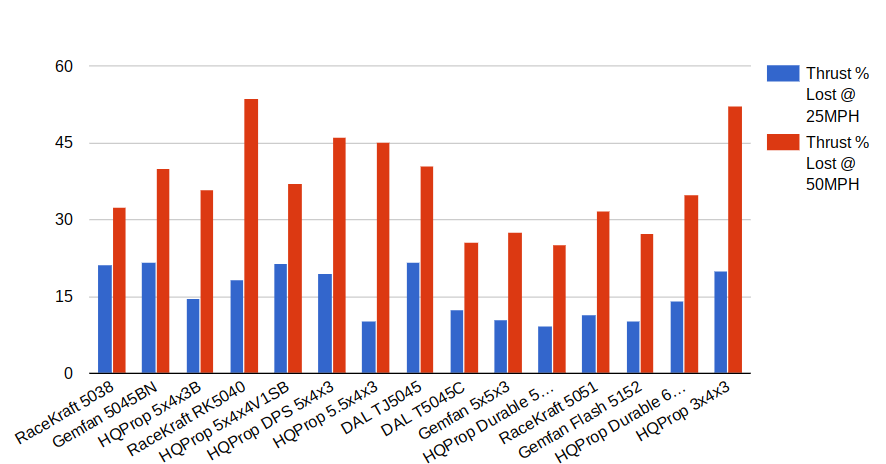
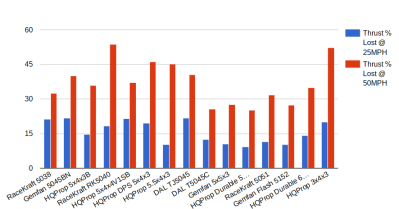 The end result was that lower pitch props with fewer blades seemed to be the best overall performers. This isn’t a huge surprise given what the community has found through trial and error, but it’s always good to have hard data to back up anecdotal findings. There were however a few standout props which performed better at high speeds than others, which might be worth looking into if you’re really trying to push the envelope in terms of airspeed.
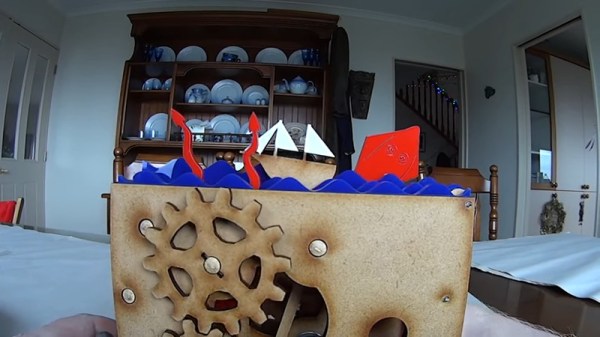
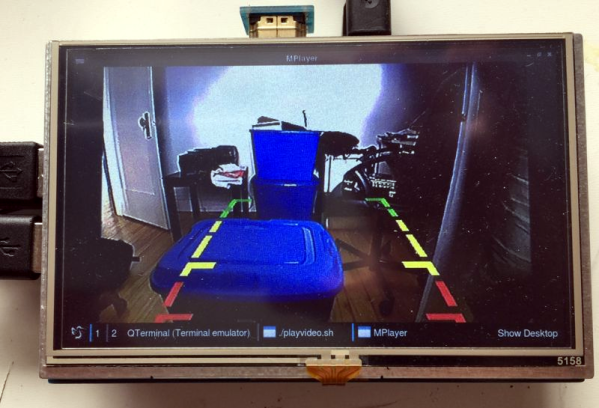
As quadcopters (or “drones”, if you must) have exploded in popularity, we’re starting to see more and more research and experimentation done with RC hardware. From a detailed electrical analysis of hobby motors to quantifying the latency of different transmitters.