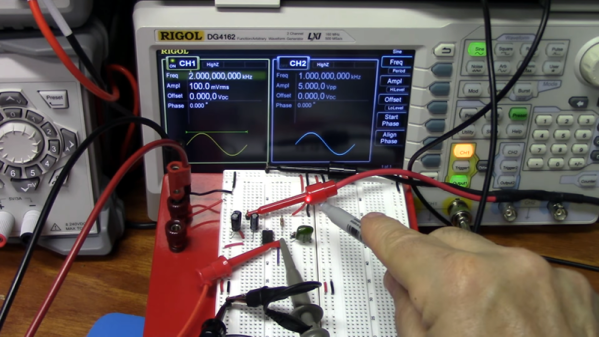
The phase locked loop, or PLL, is a real workhorse of circuit design. It is a classic feedback loop where the phase of an oscillator is locked to the phase of a reference signal using an error signal in the same basic way that perhaps a controller would hold a temperature or flow rate in a physical system. That is, a big error will induce a big change and little errors induce little changes until the output is just right. [The Offset Volt] has a few videos on PLLs that will help you understand their basic operation, how they can multiply frequencies (paradoxically, by dividing), and even demodulate FM radio signals. You can see the videos below.
The clever part of a PLL can be found in how it looks at the phase of two signals. For signals to be totally in phase, they must be at the same frequency and also must ebb and peak at the same point. It should be clear that if the frequency isn’t the same the ebbs and peaks can’t line up for any length of time. By detecting how much the signals don’t line up, an error voltage can be generated. That error voltage is used to adjust the output oscillator so that it matches the reference oscillator.
Of course, it wouldn’t be very interesting if the output frequency had to be the same as the reference frequency. The clever trick comes by dividing the output frequency. For example, a 100 MHz crystal oscillator is difficult to design. But taking a voltage-controlled oscillator at 100 MHz (nominal) and dividing its output by 100 will give you a signal you can lock to a 1 MHz crystal oscillator which is, of course, trivial to build.
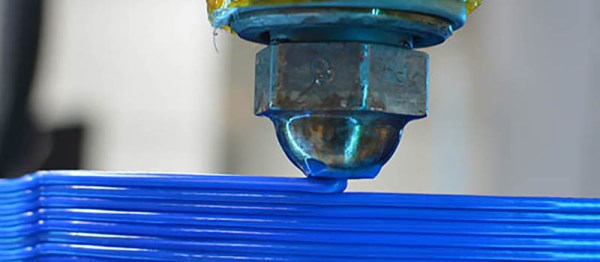
 Regular readers of Hackaday should have heard of MRRF, the Midwest RepRap Festival, and the greatest 3D printer convention on the planet. There’s a reason it’s so good: it’s not a trade show. It’s simply everyone in the business and a ton of cool people heading out to the middle of Indiana one weekend per year and simply dorking out. All the heavy hitters were at MRRF last year, from [Prusa], to E3D, to [Brook] of Printrbot. The 3D Printing YouTubers made it out, and the entire event was simply a thousand or so people who were the best at what they do just hanging out.


 Our guest for this week’s Hack Chat will be Limor “Ladyada” Fried, the founder of Adafruit, and someone who needs no introduction but we’re going to do it anyway. Adafruit began as a weird side project selling exact reproductions of the Roland TB-303, building cell phone jammers, and making guides to build your own USB power bank before USB power banks were a thing. This has grown into Adafruit, a company with over 100 employees in the heart of New York City, one of the best places for learning and making electronics, and a place that does everything Open Source with zero loans or VC money. By any objective measure, Adafruit has become the most successful business story to come out of the Maker Movement, however nebulously that can be defined.


