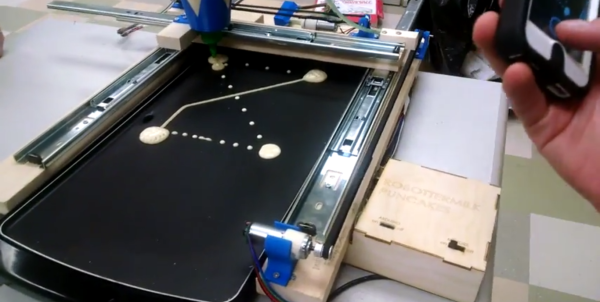
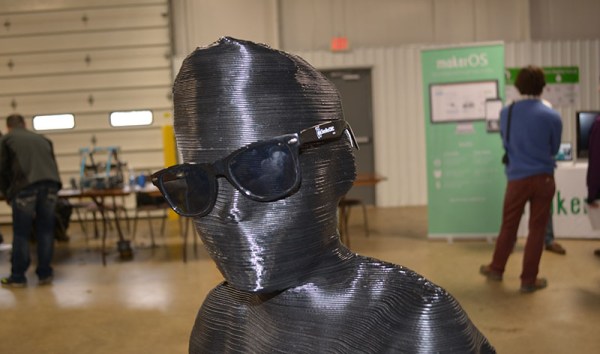
As far as locations for the Midwest RepRap Festival go, it’s not exactly ideal. This is a feature, not a bug, and it means only the cool people come out to the event. There were a few people travelling thousands of miles across an ocean, just to show off some cool things they built.
Two Colors, One Nozzle
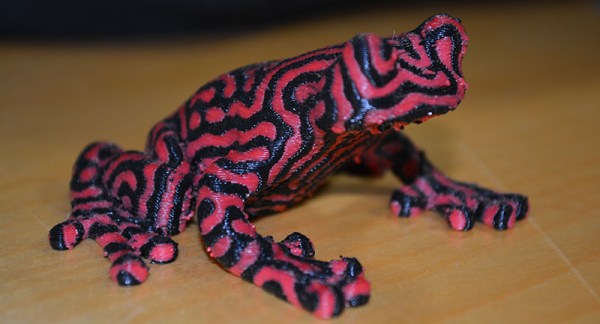
[Sanjay] and [Josh] from E3D came all the way from merry olde England to show off a few of their wares. The star of their show was the Cyclops extruder, a dual-extrusion hot end that’s two input, one output. Yes, two colors can come out of one nozzle.
If you see a printer advertised as being dual extrusion, what you’re going to get is two extruders and two hot ends. This is the kludgy way to do things – the elegant solution is to make two colors come out of one nozzle.
The guys from E3D were showing off a few prints from their Cyclops nozzle that does just that, including a black and red poison dart frog, and a blue and white octopus. The prints looked amazing, and exactly what you would expect from a two-color print.
Rumor has it the development of the Cyclops involved extruding two colors, freezing the nozzle, and putting it in the mill just to see how the colors mixed. I didn’t see those pictures, but there’s a lot of work that went into this hot end.
The Power of Two Extruders
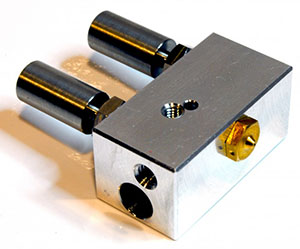
[Martin] of bondtech.se came to MRRF all the way from Sweden. He was there showing off his new extruder.
The extruder uses a normal stepper motor, but instead of the usual knurled or threaded feed wheel and bearing to push filament though, he’s using two counter-rotating feed wheels attached to a planetary gear system. That’s a lot of torque that doesn’t distort or strip the filament. When you consider all the weird filaments that are coming out – ninjaflex, and even 3D printable machinable wax filament, this is extremely interesting.
Even if your filament isn’t exactly 1.75 or 3mm in diameter, this setup will still reliably push plastic; there is a bolt that will move one of the feed wheels in and out 0.4mm.
[Martin] had a pair of his extruders hooked up to a strain gauge, and it’s strong enough to lift your printer off the table without stripping the filament. Here’s a video of that demo from the bondtech page.