Over at the University of Wisconsin’s Undergraduate Projects Lab (UPL) there’s been a way to check whether this room is open for general use by CS undergraduates and others practically for most of the decades that it has existed. Most recently [Andrew Moses] gave improving on the then latest, machine vision-based iteration a shot. Starting off with a historical retrospective, the 1990s version saw a $15 camera combined with a Mac IIcx running a video grabber, an FTP server and an HP workstation that’d try to fetch the latest FTP image.
As the accuracy of this system means the difference between standing all forlorn in front of a closed UPL door and happily waddling into the room to work on some projects, it’s obvious that any new system had to be as robust as possible. The machine vision based version that got installed previously seemed fancy: it used a Logitech C920 webcam, a YOLOv7 MV model to count humanoids and a tie into Discord to report the results. The problem here was that this would sometimes count items like chairs as people, and there was the slight issue that people in the room didn’t equate an open door, as the room may be used for a meeting.
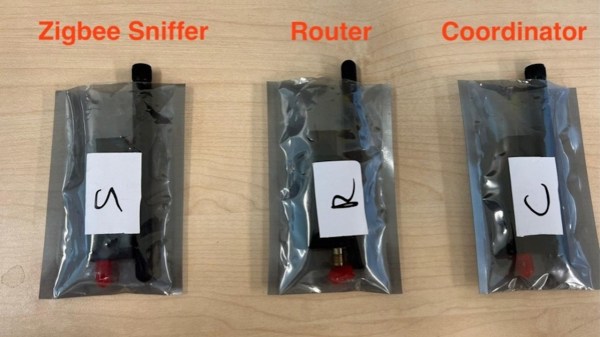
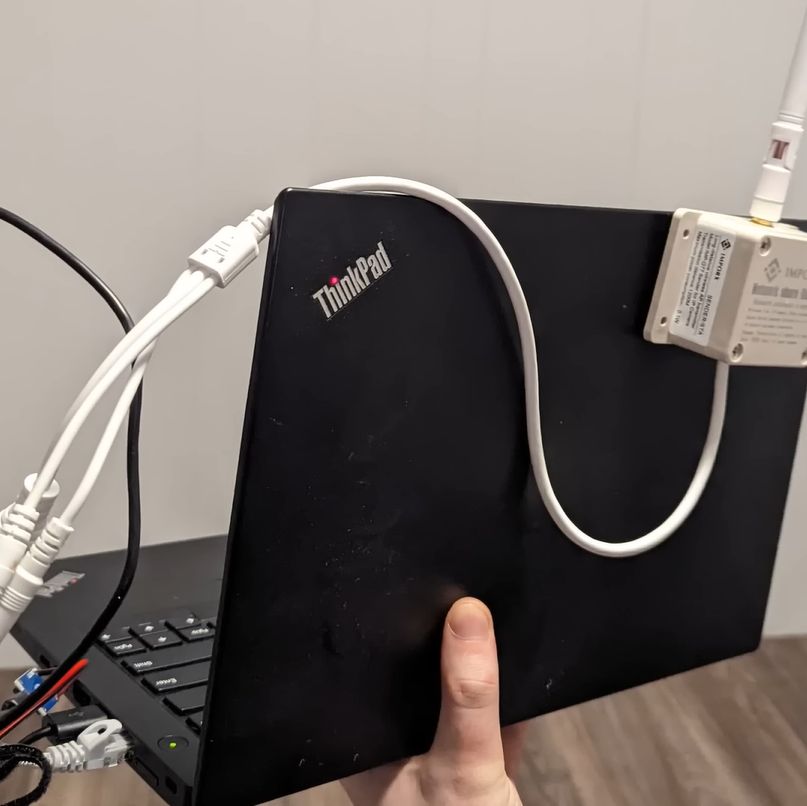
Thus the solution was changed to keeping track of whether the door was open, using a sensor on the two doors into the room. Sadly, the captive-portal-and-login-based WiFi made the straightforward approach with a reed sensor, a magnet and an ESP32 too much of a liability. Instead the sensor would have to communicate with a device in the room that’d be easier to be updated, ergo a Zigbee-using door sensor, Raspberry Pi with Zigbee dongle and Home Assistant (HA) was used.
One last wrinkle was the need to use a Cloudflare-based tunnel add-on to expose the HA API from the outside, but now at long last the UPL door status can be checked with absolute certainty that it is correct. Probably.
Featured image: The machine vision-based room occupancy system at UoW’s UPL. (Credit: UPL, University of Wisconsin)