It is probably fair to say that as Hackaday readers, you will all be people with the ability to make things. Some of you can make incredible things, as your writers we are in constant awe of the projects that pass through our hands. But even if you feel that your skills in the maker department aren’t particularly elite, you’ll have a propensity for work in this direction or you wouldn’t be here.
Most of the craft we feature involves technologies that are still very modern indeed to the majority of the population. We for example know that the first 3D printers were built decades ago and that we take them for granted on our benches, but to the Man In The Street they are still right up there with flying cars and time-travelling police telephone boxes.
We use 3D printers and microcontrollers because they are the tools of our age, but how different might our crafts have been if we’d been born a few centuries ago? Apprenticed to a master craftsman as teenagers, we (well, at least you boys!) would have learned a single craft to a high level of expertise, making by hand the day-to-day products of life in those times.
The Industrial Revolution brought mechanisation and mass production, and today very few of the products you use will be hand-made. There may still be a few craftsmen with the skills to produce them by hand, but in the face of the mass-produced alternative there is little business for them and they are in inevitable decline. In an effort to do something about this and save what skills remain, the Heritage Crafts Association in the UK has published a list of dying crafts, that you can view either alphabetically, or by category of risk.
It’s a list with a British flavour as you might expect from the organisation behind it, after all for example hand stitched cricket balls are not in high demand in the Americas. But it serves also as a catalogue of some fascinating crafts, as well as plenty that will undoubtedly be of interest to Hackaday readers. Making hand-made planes, saws, or spades, for example, or at least where this is being written, coracle making.
As your Hackaday scribe this is close to home, a blacksmith carrying on her father’s business can’t earn enough to live in Southern England while an electronic engineer and technical journalist can. Eventually there will be one less blacksmith plying the craft, and though his tools and some of his skills will live on here, the business will not. Take a look at the list of crafts, do any of you have them? Or do you know of any craftspeople who have any of the skills listed, that the HCA might not know about? Let us know in the comments.
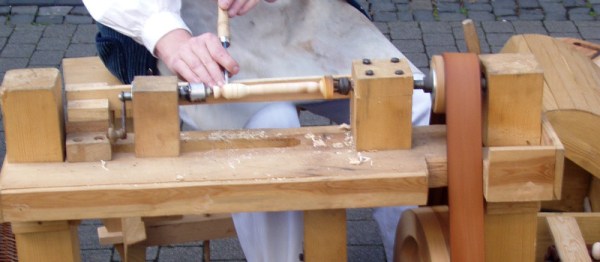
Treadle lathe image: Patrick-Emil Zörner (Paddy) [CC BY-SA 2.0].