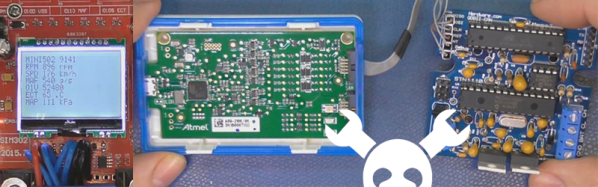
The usual way of adding GPS capabilities to a project is grabbing an off-the-shelf GPS module, plugging it into a UART, and reading the stream of NMEA sentences coming out of a serial port. Depending on how much you spend on a GPS module, this is fine: the best modules out there start up quickly, and a lot of them recognize the logical AND in ITAR regulations.
For [Mike], grabbing an off-the-shelf module is out of the question. He’s building his own GPS receiver from the ground up using a bit of hardware and FPGA hacking. Already he’s getting good results, and he doesn’t have to futz around with those messy, ‘don’t build ballistic missiles’ laws.
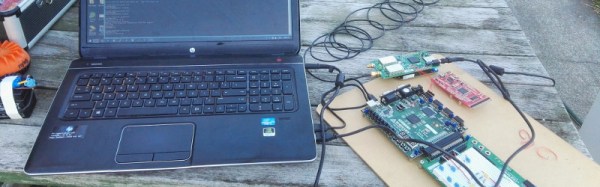
The hardware for this build includes a Kiwi SDR ‘cape’ for the BeagleBone and a Digilent Nexus-2 FPGA board. The SDR board captures raw 1-bit samples taken at 16.268 MHz, and requires a full minute’s worth of data to be captured. That’s at least 120 Megabytes of data for the FPGA to sort through.
The software for this project first acquires the GPS signal by finding the approximate frequency and phase. The software then locks on to the carrier, figures out the phase, and receives the 50bps ‘NAV’ message that’s required to find a position solution for the antenna’s location. The first version of this software was exceptionally slow, taking over 6 hours to process 200 seconds of data. Now, [Mike] has improved the channel tracking code and made it 300 times faster. That’s real-time processing of GPS data, using commodity off-the-shelf hardware. All the software is available on the Gits, making this a project that can very easily be replicated by anyone. We would expect the US State Department or DOD to pay [Mike] a visit shortly.
Of course, this isn’t the first time someone has built a GPS receiver from scratch. A few years ago, less than 1-meter accuracy was possible with an FPGA and a homebrew RF board.
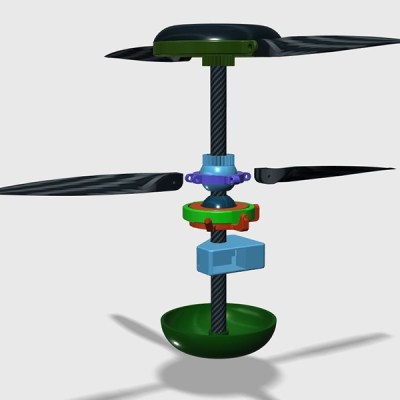 His focus is on designing small and very portable drones, preferably one that has folding arms and can fit into a backpack. His portfolio even includes a clone of the DJI Mavic, the gimbaled camera-carrying consumer drone known for its small volume when folded.