We’ve seen a variety of home-made laptops using the Raspberry Pi and other single board computers over the years. Usually, they combine off-the-shelf USB keyboards and trackpads with HDMI monitor panels, and cases made from layered laser cut sheet, or 3D printed plastic.
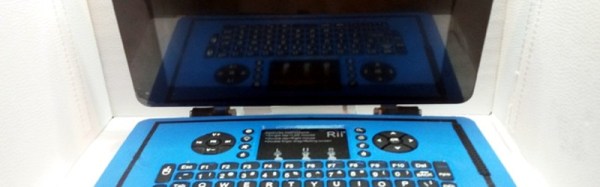
[Surferboy]’s Raspberry Pi laptop is the latest effort to come before us, and its claim to fame is the use of the official Raspberry Pi 7″ touchscreen as a display. Full instructions and 3D printer files are available on Thingiverse so you can have a go at replicating it if a portable Pi is your thing.
He’s taken the bold step of not attempting to place all the Pi’s interfaces next to the outside of the case. Instead, he’s desoldered the Ethernet and USB ports. The USB connections were wired directly to the keyboard, display, and a couple of external ports on the right-hand side of his case. This leaves the finished laptop with no Ethernet. However, losing ethernet is a worthy tradeoff for the thinner package.
[Surferboy] also brought the GPIO header to a female socket on the rear of the unit. It’s unclear exactly what battery he uses except for a reference to the battery from his keyboard. Since a keyboard battery will be too small for Pi and display we are guessing a larger pack will be necessary.
Though the Ethernet port and battery issue would probably be a dealbreaker here this has the makings of a useful and compact laptop, it will be interesting to see if it is picked up and refined by the community.
Quite a few early Pi laptops used the Motorola Lapdock, a mobile-phone-into-netbook peripheral. Some others we’ve featured have been a bit chunky, but sometimes they can be objects of beauty.
Via Recantha.co.uk.