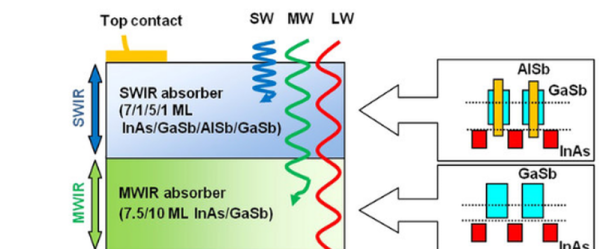
You can classify infrared light into three broad ranges: short wave, medium wave, and long wave. Traditionally, sensors concentrate on one or two bands, and each band has its own purpose. Short wave IR, for example, produces images similar to visible light images. Long wave is good for thermal imaging.
Researchers have announced a new detector that, by adjusting a bias, can detect all three bands using a simple approach that stacks different absorption layers over a semiconductor substrate. The device only requires two terminals and is very efficient, although the efficiency varies based on the band.
We’ve covered infrared sensing before. We’ve even seen DSLRs hacked into IR sensors. This new research might be a bit much to duplicate in your garage. After all, it requires tellurium doped gallium antimonide substrates and sophisticated processing equipment. However, this research will probably lead to practical devices that will find their way into projects before too long.

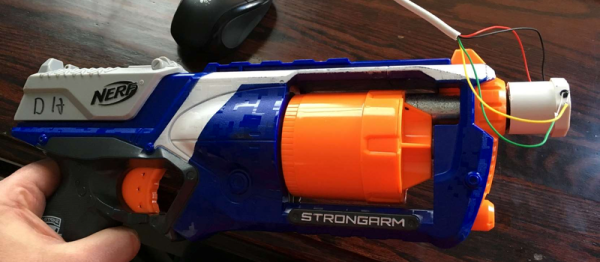
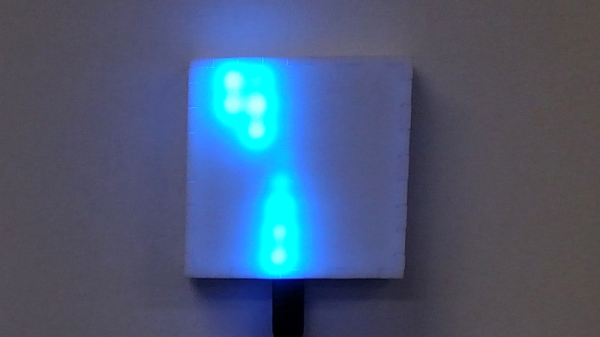
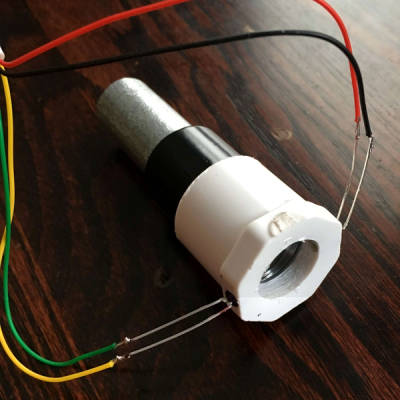 First, he prototyped a single beam-break detector (shown above) and then expanded his build to two in order to get velocity info. A Propeller microcontroller took care of measuring the timing. Then came the gratuitous statistics. He took six different darts and shot them each 21 times, recording the timings. Dart #3 was the winner, but they all had similar average speeds. You’re not going to win the office NERF war by cherry-picking darts.