We all love to see amazing hacks in their finished state and be dazzled by what our peers can do. But that’s just the summit of the hacker’s Everest. We all know that the real work is in getting there. Hackaday.io user [stopsendingmejunk] is working on an ESP8266-based IFTTT Button based on a simple breakout board so that anyone could rebuild it without having to do any soldering, and he’s looking for collaboration.
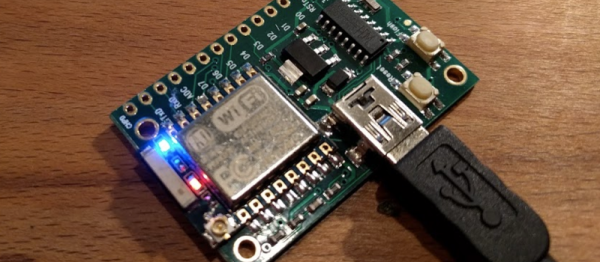
[stopsendingmejunk]’s project takes off from this similar project on different hardware. The board he’s chosen to use is the EZSBC ESP8266-07 breakout, which should have everything he needs, including an on-board button. It should be an easy enough job, but he’s having trouble getting the thing to stay asleep until the button is pressed.
We’ve seen more than a few hacks of the Amazon Dash button, but aside from hacking for hacking’s sake, we’re also happy to see a ground-up open redesign. Besides, this looks like it’ll be a great introductory project, requiring little fiddling around. With a little help. The code is up here on GitHub. Anyone game?