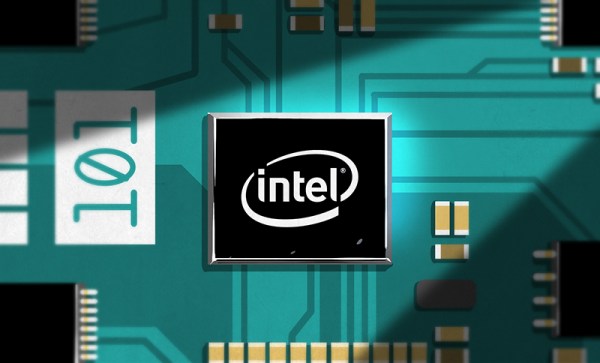
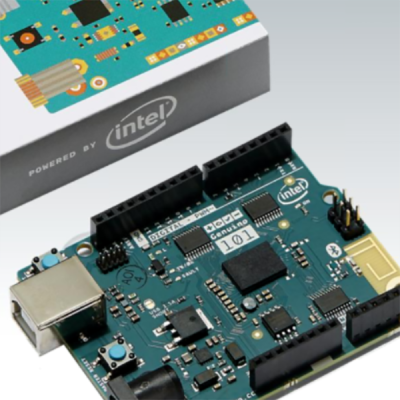
This week, Intel and Arduino are releasing their first product pushed directly on the education market, the Arduino/Genuino 101 board powered by the Intel Curie module.
The Intel Curie Module
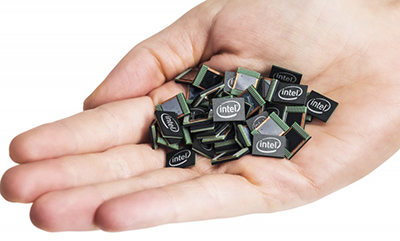
 The Arduino/Genuino 101 is the first development platform for the Intel Curie modules which are a recent development from Intel’s Maker and Innovator group. The button-sized Curie is a single package encapsulating microcontroller, Bluetooth, a 6-DOF IMU, and battery charging circuitry; the requisite hardware for anything marketed as a ‘wearable’. The Curie’s brain is a 32-bit Intel Quark microcontroller with 384kB of Flash 80kB SRAM, giving it about the same storage and RAM as a low-end ARM Cortex microcontroller.
Called a module, it needs a carrier board to interface with this hardware. This is where the Arduino/Genuino 101 comes in. This board – the third such collaboration between Intel and Arduino – provides the same form factor and pinout found in the most popular Arduino offering. While the Curie-based Arduino/Genuino 101 is not replacing the extraordinarily popular Arduino Uno and Leonardo, it is going after the same market – educators and makers – at a similar price, $30 USD or €27. For the same price as an Arduino Uno, the Arduino/Genuino 101 offers Bluetooth, an IMU, and strangely the same USB standard-B receptacle.
Intel has further plans in store for the Curie module; In 2016, Intel, [Mark Burnett] of reality television fame, and United Artists Media group will produce America’s Greatest Makers, a reality show featuring makers developing wearable electronics on TV. No, it’s not Junkyard Wars, but until the MacGyver reboot airs, it’s the closest we’re going to get to people building stuff on TV.
Intel’s Prior Arduino Offerings
In 2013, Intel and Arduino introduced the Galileo board, a dev board packed with I/Os, Ethernet, PCIe, and an Intel instruction set. This was a massive move away from all ARM, AVR, or PIC dev boards made in recent years, and marked Intel’s first foray into the world of education, making, and an Internet of Things. In 2014, Intel and Arduino released the Edison, a tiny, tiny board designed for the embedded market and entrepreneurs.
 The Arduino 101 and Genuino 101 – different names for the same thing and the first great expression of arduino.cc’s troubles with trademarks and the Arduino vs Arduino war – are targeted specifically at the ‘maker’ market, however ephemeral and hard to define that is. The form of the Arduino 101 follows directly in the footsteps of the Arduino Uno and Leonardo; The 101 has the same footprint, the same pinout, a single USB port as the Leonardo.
Being the ‘maker market Arduino’, this board is designed to bring technology to the classroom. In a conference earlier this week, [Massimo] framed the Arduino 101 as the educational intersection between technology, coding, art, and design. Students who would not otherwise learn microcontroller development will learn to program an Arduino for art and design projects. The Arduino/Genuino 101 is the board that puts the STEAM in STEM education.
Where the Curie is Going
Intel has big plans for the Curie module, with a few products in the works already. The Intel Edison has made its way into consumer electronics and wearables, including an electronic ski coach that will tell you when to pizza and when to french fry. The Curie will be available independently of the Arduino/Genuino 101, with both products being released in early 2016.


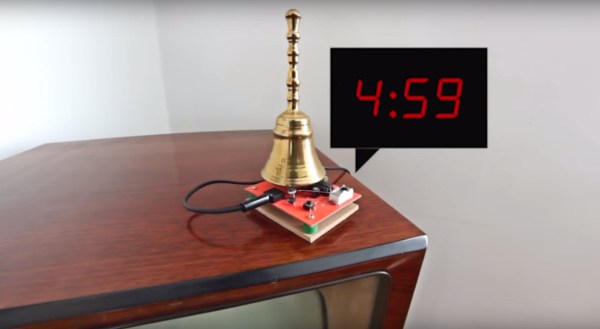
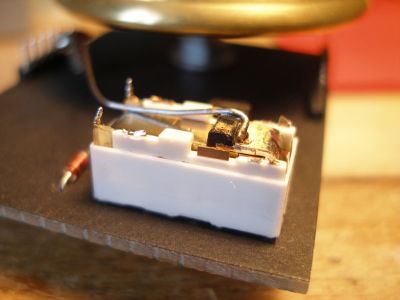 You’ll want to check out the video below to see the electronic base very nonchalantly striking the bottom of the handbell. It makes a nice ring and brings a smile to your face at how clever [Iam5volt] was with the fabrication. There aren’t any hints available on that video, but we searched around and found