Conductive filaments and printing solder are one thing, but what if you could spice up your 3D prints by embedding wire right inside the filament? That’s what [Bas] is doing, paving the way for printable electronics, PCBs, coils, and odd-shaped antenna.
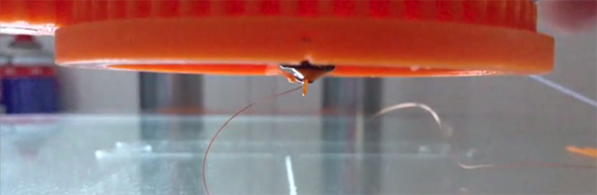
The general idea of [Bas]’ technique of embedding thin copper wire inside a single layer of a print is to lay the wire down in front of the nozzle, effectively turning bare wire into insulated wire in whatever shape you can imagine. The trick, however, is figuring out how to put wire down in front of a nozzle. [Baz] accomplished this with a slew ring turned by a stepper motor connected to a 5th axis on the control board.
There are a few things this prototype doesn’t cover – cutting the wire, connecting the wire to components, fine-tuning, and a host of other things that prevent [Bas]’ machine from building real functional circuits. Despite these limitations, the machine could probably fabricate the secondary for a tesla coil right now, something that’s really annoying to make unless you have a lathe.
Video demo below.


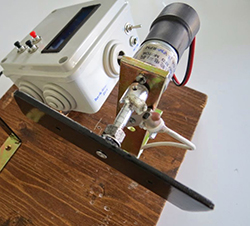 Back when electric guitars were a new thing, winding pickups was a very labor intensive and error-prone process. The number of windings could easily vary by a few hundred turns of wire, making the resulting pickup either anemic or much more powerful than the other pickups in the guitar. [Davide] is starting to wind his own pickups, and desiring a little more precision than simply guessing how many winds are on a coil
 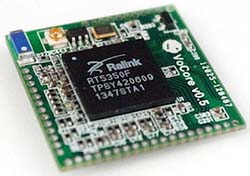 With tiny Linux boards popping up like dandelions, it was only a matter of time before someone came out with a really tiny Linux board.