 While they’re probably rare as hen’s teeth in the US, there have been a few major stores around the world that have started rolling out electronic shelf labels for every item in the store. These labels ensure every item on a shelf has the same price as what’s in the store’s computer, and they’re all controlled by an infrared transceiver hanging on the store’s ceiling. After studying one of these base stations, [furrtek] realized they’re wide open if you have the right equipment. The right equipment, it turns out, is a Game Boy Color.
The shelf labels in question are controlled by a base station with a decidedly non-standard carrier frequency and a proprietary protocol. IR driver chips found in phones are too slow to communicate with these labels, and old PDAs like Palm Pilots, Zauruses, and Pocket PCs only have an IrDA chip. There is one device that has an active development scene and an IR LED connected directly to a CPU pin, though, so [furrtek] started tinkering around with the hardware.
The Game Boy needed to be overclocked to get the right carrier frequency of 1.25 MHz. With a proof of concept already developed on a FPGA board, [furrtek] started coding for the Game Boy, developing an interface that allows him to change the ‘pages’ of these electronic labels, or display customized data on a particular label.
There’s also a much, much more facepalming implication of this build: these electronic labels’ firmware is able to be updated through IR. All [furrtek] needs is the development tools for the uC inside one of these labels.
There’s a great video [furrtek] put together going over this one. Check that out below.
Continue reading “Game Boy Vs. Electronic Shelf Labels” →
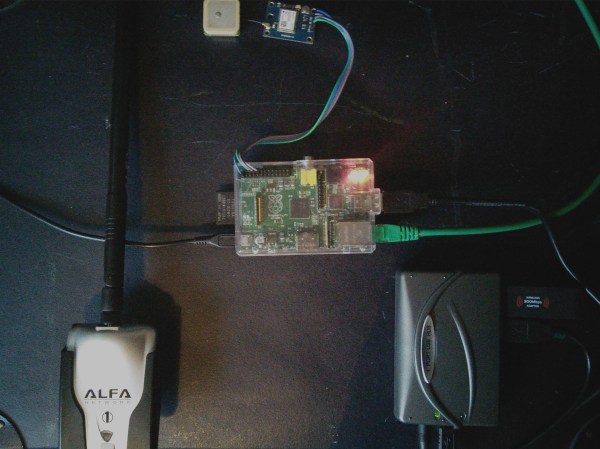
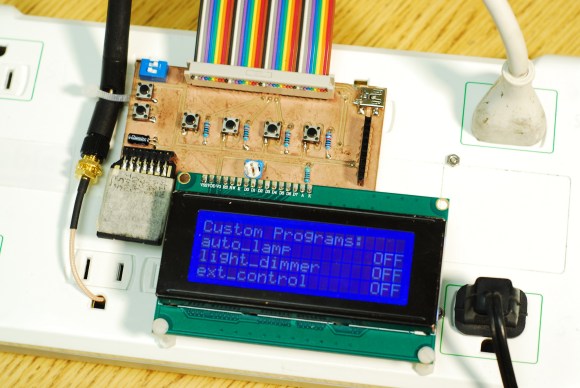 Things don’t always run the way we want them to or operate at the ideal temperature out of the box. Instead of spending extra for power controls that may or may not meet your needs, wouldn’t it make more sense to dial in the ideal level from the source? That’s what [dekuNukem] had in mind when he decided to make