[Ralph] wasn’t satisfied with the required 5 control pins to drive his nrf24l01+ transceiver module, so he used this circuit needing just 3 pin using an ATtiny85.
One of the key components was to effectively drive the chip select (CSN) line from the clock (SCK) line. The nrf24l01+ needs the CSN line to transition from high to low on the beginning of a communication. [Ralph] put the SCK line behind a diode, put a capacitor in parallel with the CSN line and altered the arduino-nrf24l01 library to encode extra delays for the clock line. This allowed the CSN line to be driven by the SCK line. Subsequent line transitions during transmission happen too fast to charge the capacitor, leaving the CSN line in a low state.
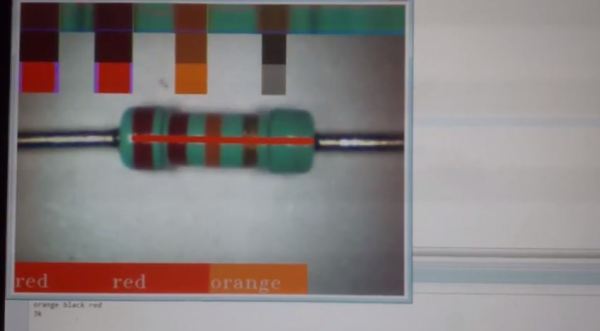
After tying the chip enable line high and dropping the 5V power line to 1.9-3.6V across a red LED, [Ralph] had an ATtiny85 controlling a nrf24l01+ module.
Though deceptively simple, a very cool hack that opens up a couple more lines on the ATtiny85.