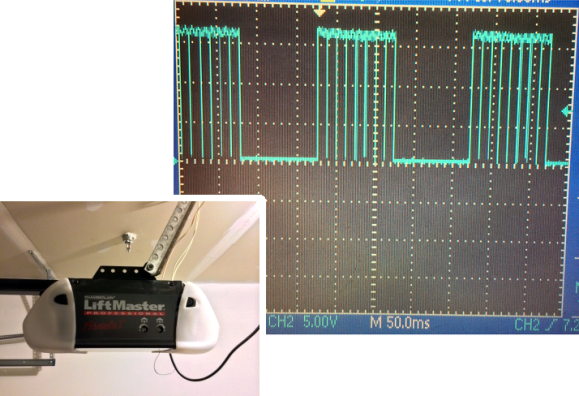
In addition to being something fun to do with an oscilloscope, this could be a valuable time-saver for anyone looking to tap into the wired communications on a garage door opener. If you own an older model you might be scratching your head. But newer units have more than just one button operation, usually extending to at least two extra buttons that control the lights on the motor unit and lock out wireless control. A quick probing turned up the communication scheme used by the button unit mounted next to the door into the house.
We’ve patched into our own garage door using a simple relay to interface with a microcontroller which will still work for opening and closing the door But if you’re looking for extended control you need to spoof one of the timing signals detailed in this post. We like the stated examples for future hacks: building a better wired button unit, or adding some type of RFID integration. We could see this approach for hacking in motion light control for door openers that don’t have it.
[Thanks Victor]
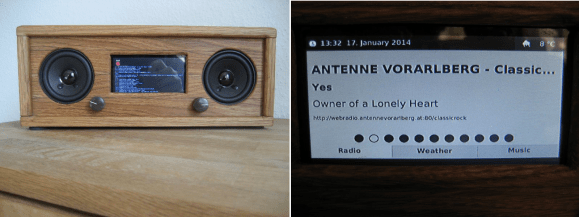 Avid Hackaday reader [Matthias] told us he takes a lot of inspiration from our site. That’s quite a compliment, because his work is both inspiring and beautiful. [Matthias] wanted to build a UI using JavaFX, so he made