Linux users now have a simple option for controlling the Modlet smart outlet. Hacklet is a Ruby script that can switch and read status information from Modlet.
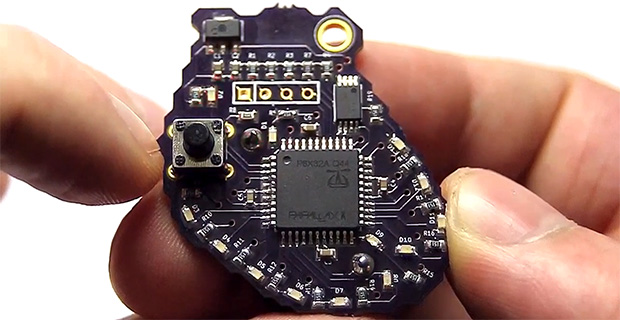
This is the first we remember hearing about Modlet. It’s another take on controlling your appliances remotely. Unlike WeMo, which puts control of one outlet on WiFi, the Modlet uses a USB dongle to control two outlets wirelessly. It has the additional benefit of reading how much current is being used by each plug. This does mean that you need a running computer with the USB dongle to control it. But cheap embedded systems like the Raspberry Pi make this less of an issue both in up-front cost, and the price to keep it running all the time.
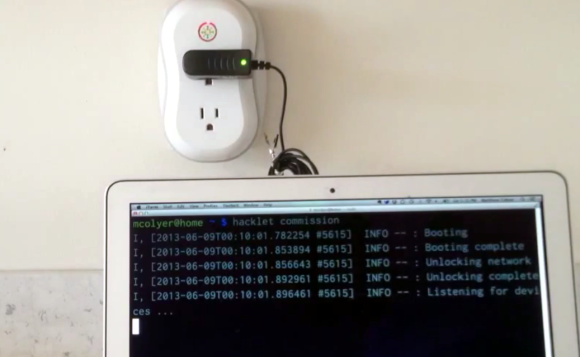
[Matt Colyer’s] demo video includes an unboxing of the $60 starter kit. The screen seen above shows his script pairing with the outlet. It goes on to demonstrate commands to switch it, and to pull the data from the device. He even provides an example of how to use IFTTT with the script.
Continue reading “Hacklet Adds Linux Control For The Modlet Smart Outlet”