One of the tropes of the space race back in the 1960s, which helped justify the spending for the part of the public who thought it wasn’t worth it, was that the technology developed for use in space would help us out here back on earth. The same goes for the astronomical expenses in Formula 1, or even on more pedestrian tech like racing bikes or cinematography cameras. The idea is that the boundaries pushed out in the most extreme situations could nonetheless teach us something applicable to everyday life.
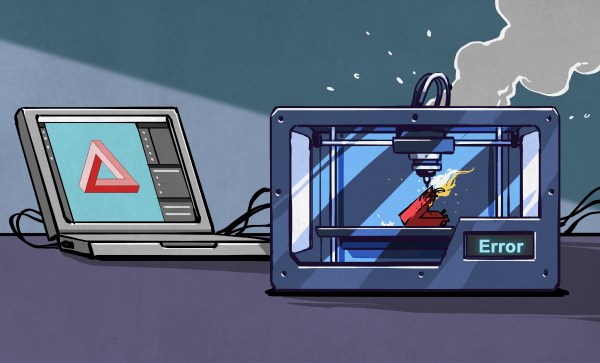
This week, we saw another update from the Minuteman project, which is by itself entirely ridiculous – a 3D printer that aims to print a 3D Benchy in a minute or less. Of course, the Minuteman isn’t alone in this absurd goal: there’s an entire 3D printer enthusiast community that is pushing the speed boundaries of this particular benchmark print, and times below five minutes are competitive these days, although with admittedly varying quality. (For reference, on my printer, a decent-looking Benchy takes about half an hour, but I’m after high quality rather than high speed.)
One could totally be forgiven for scoffing at the Speed Benchy goal in general, the Minuteman, or even The 100, another machine that trades off print volume for extreme speed. But there is definitely trickle-down for the normal printers among us. After all, pressure advance used to be an exotic feature that only people who were using high-end homemade rigs used to care about, and now it’s gone mainstream. Who knows if the Minuteman’s variable temperature or rate smoothing, or the rigid and damped frames of The 100, or its successor The 250, will make normal printers better.
So here’s to the oddball machines, that push boundaries in possibly ridiculous directions, but then share their learnings with those of us who only need to print kinda-fast, but who like to print other things than little plastic boats that don’t even really float. At least in the open-source hardware community, trickle-down is very real.


