Last weekend was the inaugural East Coast RepRap Festival in beautiful Bel Air, Maryland. Like it’s related con, the Midwest RepRap Festival, ERRF is held in the middle of nowhere, surrounded by farms, and is filled with only people who want to be there. It is the anti-Maker Faire; only the people who have cool stuff to show off, awesome prints, and the latest technology come to these RepRap Fests. This was the first ERRF, and we’re looking forward to next year, where it will surely be bigger and better.
One of the stand-out presenters at ERRF didn’t have a big printer. It didn’t have normal stepper motors. There weren’t Benchies or Marvins or whatever the standard test print is these days. [James] is showing off tiny printers. Half-scale printers. What’s half the size of a NEMA 17 stepper motor? A NEMA 8, apparently, something that isn’t actually a NEMA spec, and the two companies that make NEMA 8s have different bolt hole patterns. This is fun.


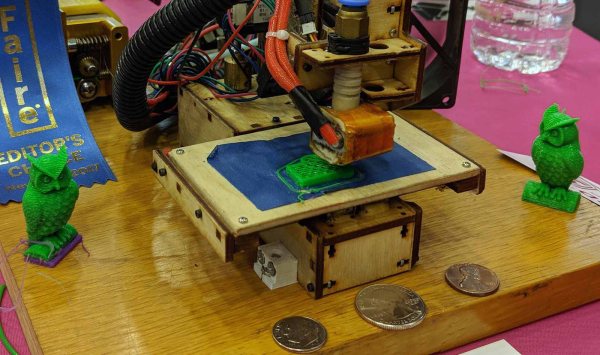
If these printers look familiar, you’re right. A few years ago at the New York Maker Faire, we checked out these tiny little printers, and they do, surprisingly, print. There are a lot of tricks to make a half-size printer, but the most impressive by far is the tiny control board. This tiny little board is just 2.5 by 1.5 inches — much smaller than the standard RAMPS or RAMBO you’d expect on a DIY printer. On the board are five stepper drivers, support for two heaters, headers for OLEDs and Graphic LCDs, and a switching regulator. It’s a feat of microelectronics that’s impressive and necessary for a half-size printer.
Since we last saw these tiny printers, [James] has been hard at work expanding what is possible with tiny printers. The most impressive feat from this year’s ERRF was a color-mixing printer built around the same electronics as the tiny printers. The setup uses normal-size stepper motors (can’t blame him) and a diamond-style hotend to theoretically print in three colors. If you’ve ever wanted a tiny printer, this is how you do it, and I assure you, they’re very, very cute.