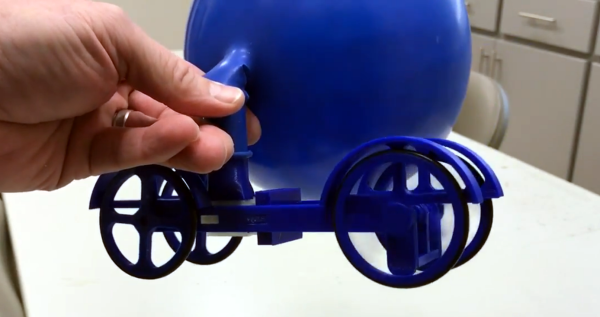
We’ve had our eye on [Greg Zumwalt]. He’s been working on some very clever 3D-printed mechanisms and his latest prototype is an air engine for a toy car. You can supply the air for the single cylinder with a compressor, or by blowing into it, but attaching an inflated balloon makes the system self-contained.
 Last week we saw the prototype of the engine by itself, and wondered if this had enough power to drive a little train engine. We were almost right as here it is powering the front wheels of a little car.
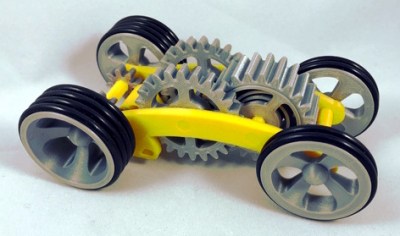
This isn’t [Greg’s] first rodeo. He’s been working on self-contained locomotion for a while now. Shown here is his spring-driven car which you pull backwards to load the spring. It’s a common feature in toys, and very neat to see with the included 3D-printed spring hidden inside of the widest gear.
That print looks spectacular, but the balloon-powered prototype tickles our fancy quite a bit more. Make sure you have your sound on when you watch the video after the break. It’s the chuga-chuga that puts this one over the top. [Greg] hasn’t yet posted files so you can print your own (it’s still a prototype) but browse the rest of his designs as you wait — they’re numerous and will bring an even bigger smile to your face. Remember that domino-laying LEGO bot [Matthias Wandel] built a few years back? [Greg] has a printable model for it!
Continue reading “Toy Car Pumps The Wheels With Balloon Power”

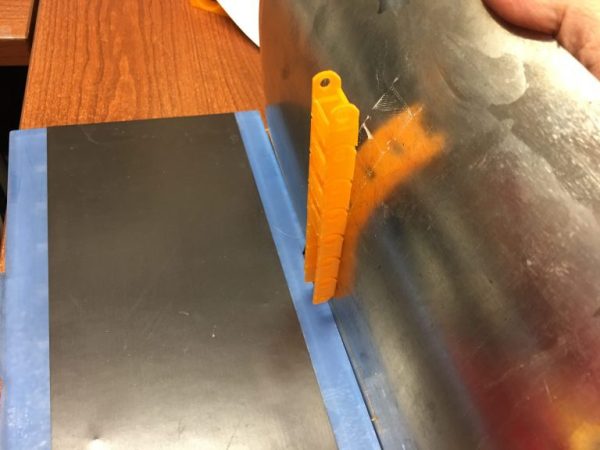
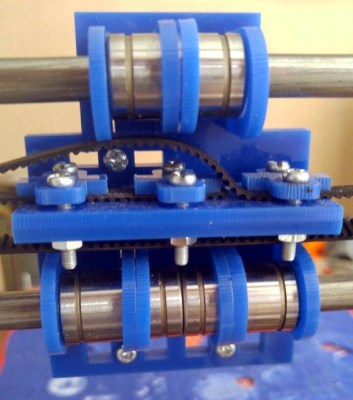 The printer design chosen for the project is the Prusa i3. We have certainly seen custom builds of this popular design before using laser-cut plywood for the frame. Still, these builds use 3D-printed parts for some of the more complicated parts like the extruder carriage and motor brackets. To the right is the X-carriage mechanism. It is complicated but requires no more than 6 mm and 3 mm acrylic stock and the type of hardware traditionally associated with printer builds.