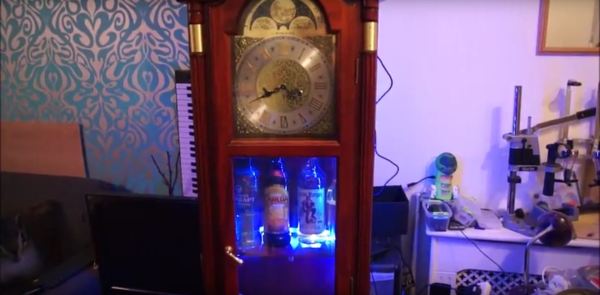
As the saying goes, it’s five o’clock somewhere; when the clock finally strikes the hour, that same clock can pour you a drink thanks to redditor [Diggedypomme].
This bar-clock can dispense beverages with up to four different spirits and four mixers, and takes orders over voice, keyboard, or web-controls. A belt-driven drink loading platform pushes out through a spring-loaded door and once the vessel is in place and the order received, peristaltic pumps dispense the spirits while servos open taps for the mixers — a far easier method to administer the often carbonated liquids. A Raspberry Pi acts as this old-timer’s brain, an Arduino controls the lights, and a HAT to controls the servos. Here’s a more in-depth tour of what’s going on behind the bar, but check out the video after the break for a full run through of a few drink orders!
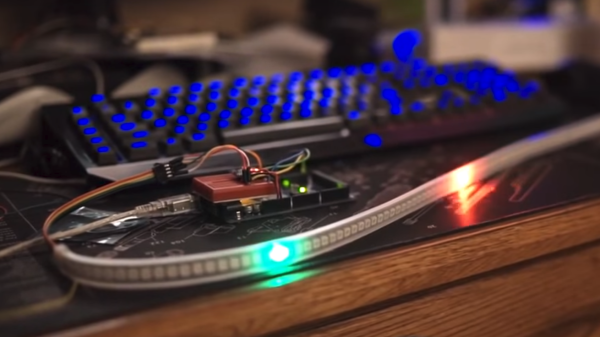
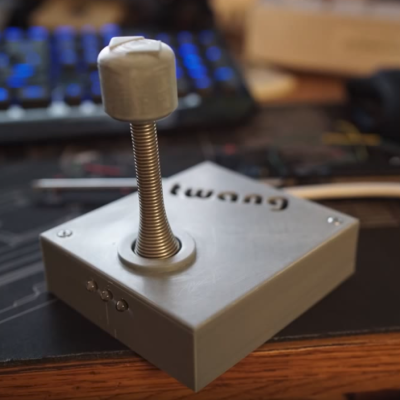 A delightful version of a clever one-dimensional game has been made by [Critters] which he calls


