Many people have their home network setup with a dynamic dns service in order to remote access their files, printers, or Pi based security camera systems. Many people also suffer from less than stellar internet connectivity and find themselves unable to access their home system due to a stalled signal.
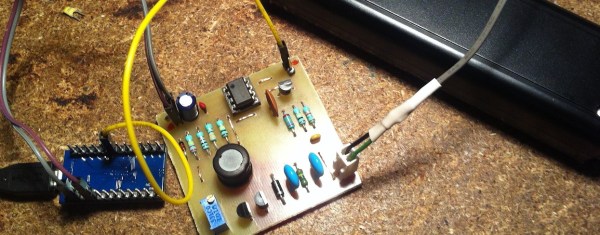
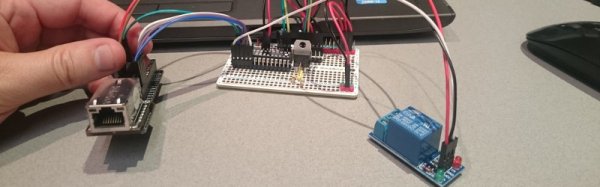
netBOOT is an Arduino based device that automatically resets your modem for you, when you are unable to. Core of the system is a standard issue ATMEGA328p based Arduino board combined with a W5100 Ethernet module, and a relay module. The software on the Arduino periodically pings a list of IP addresses and listens for a response. If none is found within 3 tries the relay module, which is connected inline with the DC power of your modem, is clicked open for 10 seconds and then returned closed. Once your modem has rebooted and re-synced everything should be good to go.
We don’t remember seeing this feature in the list of specs for Google’s new OnHub. The ability to reset bad connections seems like a feature that should be built into future-thinking routers, right?