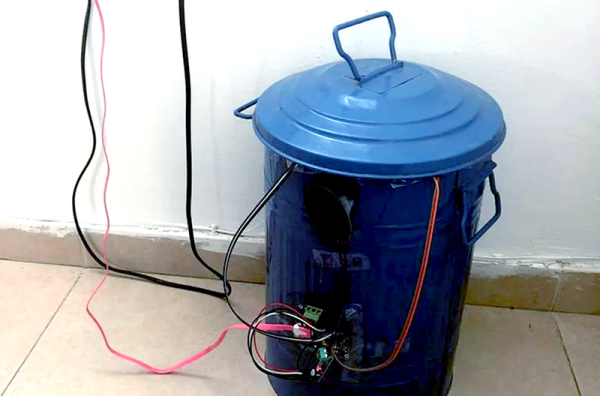
No matter who you are, you produce garbage of some kind or another. Two students decided they wanted to create a smart garbage can that could alert them when the can is full or even when it is stinky.
We will go on on the record: we didn’t know that an alcohol sensor could tell if your garbage is stinky, so if that works, that’s a new one on us. However, it makes a certain kind of sense because garbage ferments. We thought garbage smelled because of hydrogen sulfide and methane.
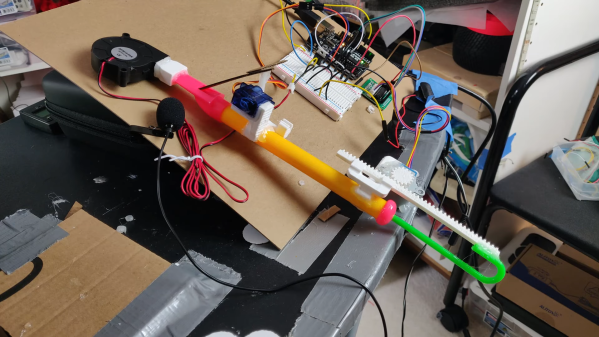
Trash cans have a tough life, so if you really want to duplicate this, you’ll probably want to mount things a bit more securely. The software, however, runs everything through a cloud service and from there can use Blynk for a phone app and IFTTT to ship things to a spreadsheet, should you care to track your garbage history statistics.