We’ve become used to finding models on websites such as Thingiverse and downloading them to print. After all, whose hackerspace doesn’t have a pile of novelty prints? How about printing them on paper? For the plotter enthusiast that can be particularly annoying. Never fear, [Trammell Hudson] is here with an online 3D to 2D converter just for plotters. [Trammell’s] creation makes a vector image suitable for a plotter while eliminating spurious behind-the-scenes lines.
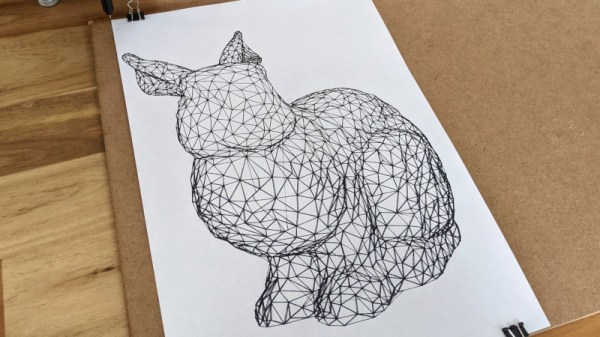
Plotter drawings are the pen-and-paper equivalent of a vector CRT display, in which the graphics are printed as continuous strokes. Rendering a 3D model as a wireframe for a plotter requires the removal of any pen strokes that comes from the 3D space behind the surface in view. Loading various models into the web page seemed to do a pretty good job of this, though the ubiquitous Benchy 3d printer test model lived up to its billing as a torture test in taking several minutes to render.
As anyone who has followed the #PlotterTwitter social media hashtag will know, there is a considerable community of pen plotter enthusiasts who are pushing the boundaries of what their machines can do. [Trammell] has posted his plotter producing some of the work created with this tool, and we can see that it’s likely to work better with lower-poly models.
We’ve featured a lot of plotters over the years as they seem to be a popular project. If you’d like one then they can be made from the most available parts, including those scavenged from scrap DVD drives, or printers.