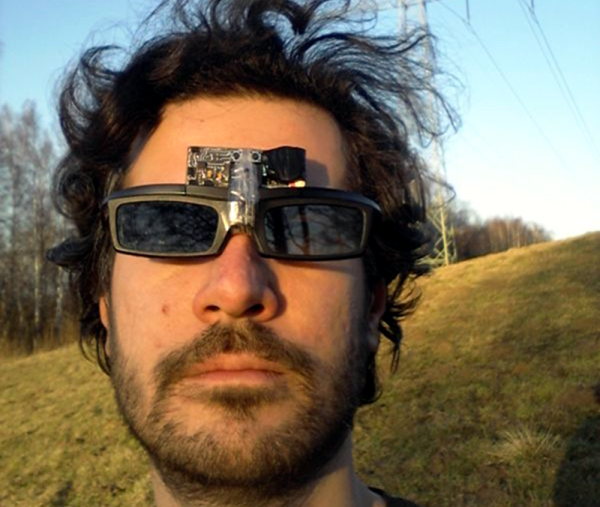
Lazy eye (technically Amblyopia) is a sight disorder that affects about 3% of the population where one eye is stronger than the other. Historically, treatment is via an eyepatch or special drops, but research shows that it may be better not to cover up the strong eye for long periods. It suggests that occluding the eye for short periods using a liquid crystal panel can yield better results. To that end, [Raninn] decided to hack some LCD glasses meant for 3D TV viewing to make a low-cost lazy eye treatment device.
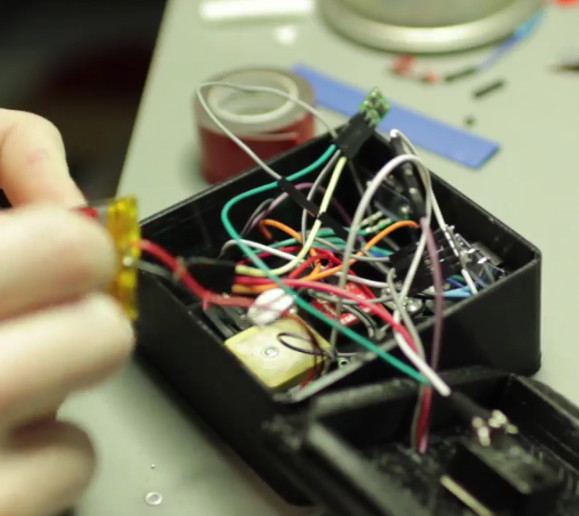
This is his second version of [Raninn’s] glasses. The first one took two batteries and didn’t generate enough voltage for the LCD panels. The newer design uses a Dickson charge pump to generate a higher voltage from the battery and surface mount MOSFETs to switch voltages to the panels.
The write up is very complete with details about how to create even the PC board. He didn’t get into a lot of details about hacking the glasses. We assume that’s because your glasses may be different from his. These shutter glasses aren’t too complicated, you’ll just need to find the connections to the panel.
One of our favorite shutter glasses hacks came from [Dino] who built a set of automatic sunglasses for himself. Many of us wear glasses and for those with bifocals we keep waiting for an eyeglasses hack that makes automatic mult-focals a reality.