Styrofoam is an ever-present waste material in modern society, being used to package everything from food to futons. It’s also not the easiest thing to deal with as a waste stream, either. With this in mind, [killbox] decided to have a go at recycling some styrofoam and putting it to better use.
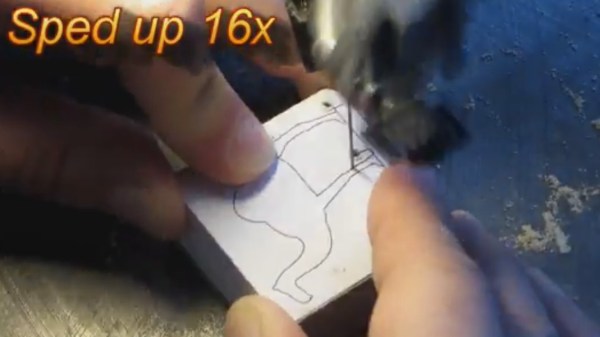
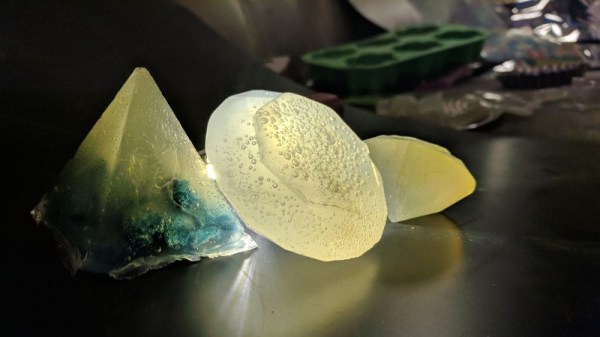
The process starts by combining the EPS styrofoam with a solvent called D-limonene. This was specifically chosen due to its low toxicity and ease of use. The solvent liquifies the solid foam and the air bubbles are then allowed to make their way out of the solution. If it’s desired to create a coloured end product, it’s noted that this can be achieved by using other plastic items to provide colour at this stage, such as a red Solo cup.
It’s a slow process thanks to the choice of solvent, but it makes the process much more palatable to carry out in the average home lab setup. It’s possible to then perform casting operations or further work with the recovered material, which could have some interesting applications. It’s not the first plastics recycling project we’ve seen, either – check out this full setup.
[Thanks to Adric for the tip!]