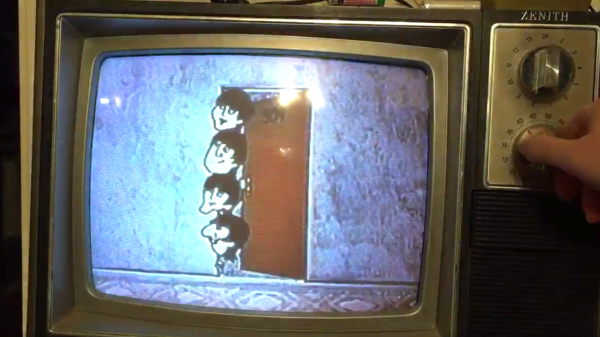
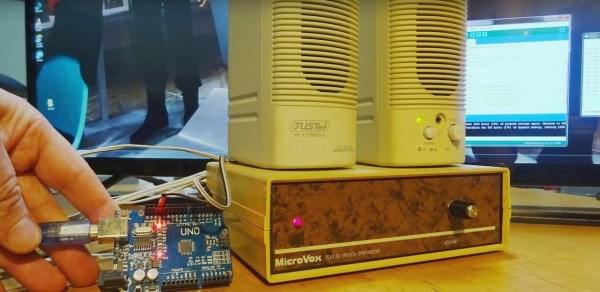
[Monta Elkins] got it in his mind that he wanted to try out an old-style speech synthesizer with the SC-01 (or SC-01A) chip, one that uses phonemes to produce speech. After searching online he found a MicroVox text-to-speech synthesizer from the 1980s based around the chip, and after putting together a makeshift serial cable, he connected it up to an Arduino Uno and tried it out. It has that 8-bit artificial voice that many of us remember fondly and is fairly understandable.
The SC-01, and then the SC-01A, were made by Votrax International, Inc. In addition to the MicroVox, the SC-01 and SC-01A were used in the Heath Hero robot, the VS-100 synthesizer add-on for TRS-80s, various arcade games such as Qbert and Krull, and in a variety of other products. Its input determines which phonemes to play and where it shines is in producing good transitions between them to come up with decent speech, much better than you’d get if you just play the phonemes one after the other.
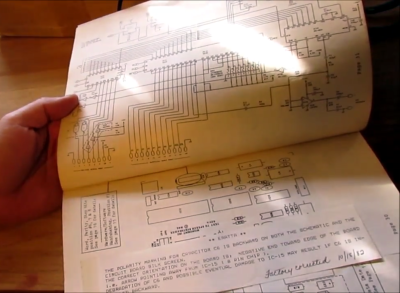 The MicroVox has a 25-pin RS-232 serial port as well as a parallel port and a speaker jack. In addition to the SC-01A, it has a 6502 under the hood. [Monta] was lucky to also receive the manual, and what a manual it is! In addition to a list of the supported phonemes and words, it also contains the schematics, parts list and details for the serial port which alone would make for fun reading. We really liked the taped-in note seen in this screenshot. It has a hand-written noted that says “Factory Corrected 10/18/82”.
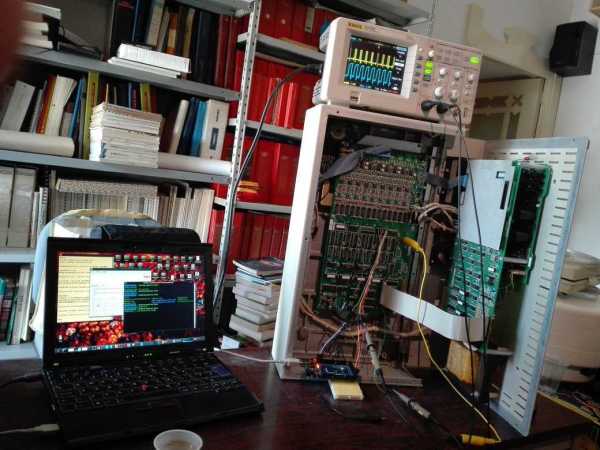
Following along with [Monta] in the video below, he finds the serial port’s input buffer chip datasheet online and verifies the voltage levels. Next he opens up the case and uses dips switches to set baud rate, data bits, parity, stop bits and so on. After hooking up the speakers, putting together a makeshift cable for RX, TX and ground, and writing a little Arduino code, he sends it text and out comes the speech.
Continue reading “MicroVox Puts The 80’s Back Into Your Computer’s Voice” →