Minimalistic Circuit Design

[David Terrill], whose exploits we have covered before, has shared with us his techniques for building circuits without a prototype or bread board. [David] managed to incorporate a Dual D flip-flop at the heart of the circuit, as well as an impressive number of transistors, diodes, and other passive components. Unfortunately, the circuit diagram is a little low resolution to really make out the real function, but based on the components, our best guess is a two-output blinking circuit. Maybe for an encore, someone out there will build a circuit built entirely around a battery so that it can be a self-contained system.

Let us know if you have a better copy of this schematic, or a guess at what the circuit does!

DS Goes Full Size – Pockets Everywhere Rally In Protest

It’s hard to believe we missed this one from a couple of years back but we’re thankful that reader [Christian] tipped us off about it. This a Nintendo DS with two tablet pc screens being used as an external display. He’s using an FPGA but not to emulate the processor. It is translating the video data from the DS board into usable signal for the larger LCD screens. In the video after the break you can see that pen input has been implemented, with the FPGA sending location data back to the DS.

[Neal], the creator, priced the project out at around $580. It’s worth a lot more considering the know-how needed to get the video scaling and pen input right using the FPGA. It won’t fit in your pocket, but it doesn’t have a case either so it’s not going anywhere anytime soon.

Continue reading “DS Goes Full Size – Pockets Everywhere Rally In Protest”

Uzebox In An NES Controller

[David Cranor] has managed to fit a fully working Uzebox system into an old NES controller. Uzebox, an open source gaming platform based on the ATmega 644 and an AD725 NTSC encoder, is one of a couple systems that are becoming more and more widespread and accessible. There are a number of ready-to-go Uzebox kits available, but for the more hands-on types, [David] has been very generous with his schematics and step by step instructions. These schematics can all be readily reshaped, and would easily fit into controllers with less fun applications and sentimental value.

USB To Serial Adapter

[Spikenzie] is at it again. This time he’s posted a nice USB to serial converter. He points out that you can buy a USB to serial adapter pretty cheaply, but sometimes you want this functionality built into your project enough to justify the greater cost. In those cases where you want to integrate it, this is an elegant solution. This design was made to be fairly compact and still usable on a breadboard. As usual, you can download the files from his website.  If his work looks familiar, it’s because we’ve covered his work several times before.

[via Flickr]

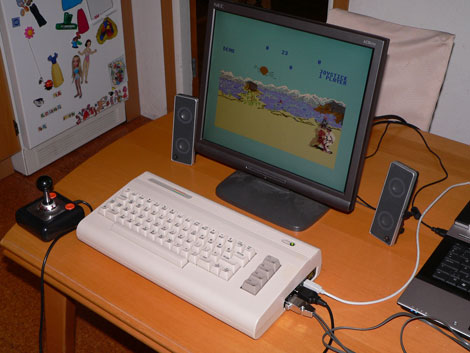
[M]ouse: A PS/2 To C64 Adapter

4100951630_8cb9dc6164 (Custom)

[svofski] has a friend who is a pixel artist. They really wanted to try out their skills on a c64, but were missing a mouse. The original mouse for the c64 was not only serial, but used a different method of communication than more modern mice. [svofski] built this adapter to translate the ps/2 data to something the c64 can use. The writeup describes the build in detail and even has the PCB and source code available for download.


[via flickr]

Battery Capacity Tester

battery-capacity-tester

[Moris_zen] built a device to accurately measure the capacity of batteries. He needed to have an accurate measurement for the batteries he uses in a RC airplane. Knowing the discharge time allows him to fly the friendly skies while avoiding crashes from lost communications.

He based the tester around the Arduino platform. Instead of using a pre-built Arduino board he referenced the open source schematics and built the device from components to fit his needs. His solution automatically detects the battery type (Lithium-Ion, Nickel Metal Hydride, etc) based on voltage when the battery is added to the circuit. It then uses a 2.2 Ohm resistor and ADC measurements to take the battery through a discharge cycle. A character display shows status information with the ability to track discharge information using a computer to graph the data.

Apart from flashing an LED this was his first Arduino project. It’s a great use of the platform and much more automatic than other solutions we’ve covered.

DIY Circuit Etching Video Tutorial

toner-paper

Circuit-bending blog GetLoFi has posted the best tutorial yet on home-made printed circuit boards using the toner transfer method.

We’ve covered homebrew PCB fabrication techniques about a billion times before. What sets this tutorial apart is that it collects many bits of knowledge otherwise scattered all about the web, and then depicts the entire process on video, from initial printing to cut PCB…because reading about it versus seeing it done are two different things entirely. They give a number of immensely useful tips throughout: choice of materials and where to get them, tools and techniques, and dispelling several myths about these methods (for example, they’re adamant about not using acetone to clean toner from the PCB). Well worth the 30 minutes to watch. If that’s too much and you’ve been stuck on just one part of the process, the tutorial is in three segments.

Trimming finished boards on a paper cutter? Who would’ve guessed?

[via Make]