Geeks of a certain vintage will have fond memories of games that were simplistic by today’s standards, but drew one in all the same. Their low fidelity graphics were often complimented by equally low fidelity music being forced through the afterthought of a speaker that inhabited most computers. Despite the technical constraints of the era, these games didn’t just offer gameplay. They told stories, and they were immersive in a way that some would think wouldn’t be relatable to a younger generation.
That didn’t stop [Thanassis Tsiodras] from sharing the classic “The Secret of Monkey Island” with his niece and nephew when they were young. Excited to see his family after a year of separation due to COVID-19, [Thanassis] wanted to give them a handmade gift: The music from “The Secret of Monkey Island” on a custom player. What an uncle!
[Thanassis] could have just recorded the music and played it back using any number of chips made for the purpose, but being a long time software engineer, he decided to take the scenic route to his destination. First, DOSBox was hacked to dump the speaker output into a file. Python, C, and 30 years of experience were leveraged to squeeze everything into the 8 KB storage of an ATtiny85. Doing so was no small feat, as it required that he create a custom implementation of Huffman compression to get the data small enough to fit on chip. And when it fit, but didn’t work, even more optimization was needed.
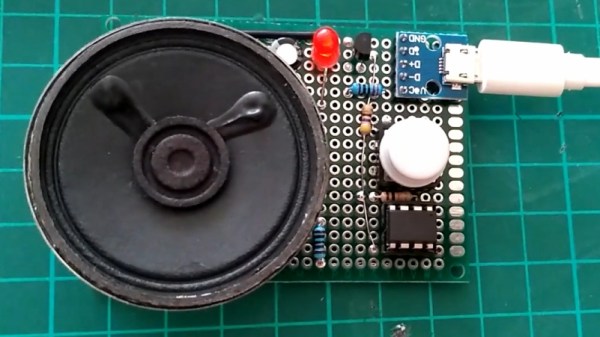
The end result was worth it however, with the music from “The Secret of Monkey Island” playing in its original form from a speaker driven by the ever so humble but useful 2n2222. [Thanassis]’ site is replete with details too intricate to post here, but too neat to miss. Watch the video below the break for a demonstration.
Continue reading “Custom Compression Squeezes Classic Computer Choruses Into A Tiny Controller”