Despite the name, BASIC isn’t exactly a language recommended for beginners these days. Technology has moved on, and now most people would steer you towards Python if you wanted to get your feet wet with software development. But for those who got their first taste of programming by copying lines of BASIC out of a computer magazine, the language still holds a certain nostalgic appeal.
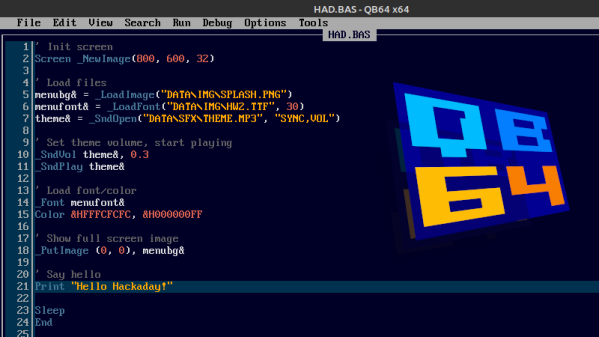
If that sounds like you, then may we heartily recommend QB64. The open source project seeks to modernize the classic programming language while retaining compatibility for QBasic 4.5, the late-80s BASIC environment Microsoft included with MS-DOS. That modernization not only includes the addition of contemporary technology like OpenGL, but cross-platform support that lets you run the same code on Windows, Linux, and Mac OS.
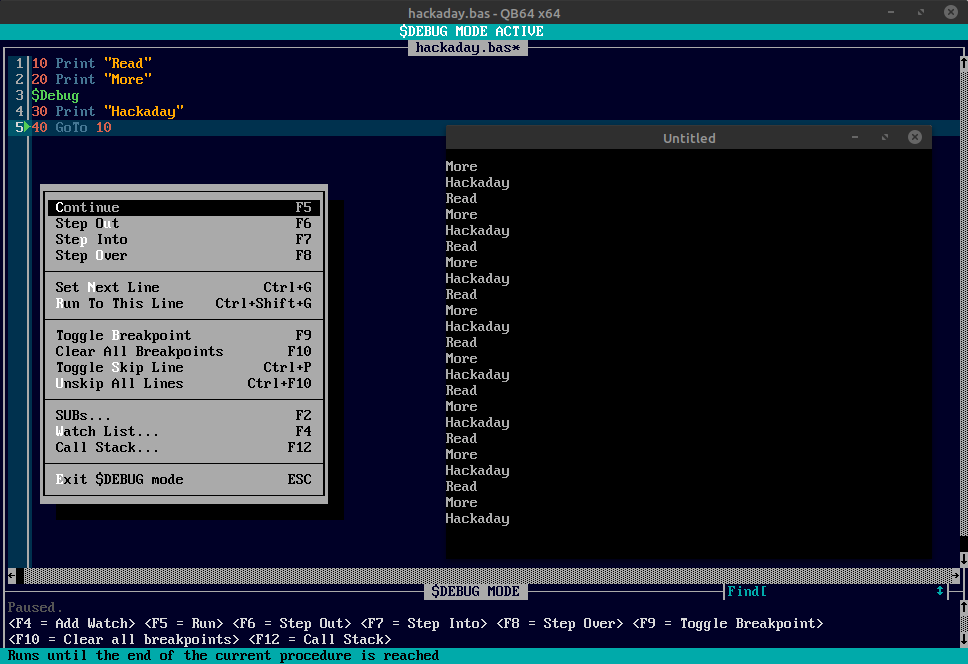
The QB64 team released version 2.0 just a few days ago, making this the perfect time to give the project a test drive if you haven’t tried it out yet. The changelog includes platform specific improvements for each supported operating system, as well as a long list of general fixes and updates. But arguably the biggest feature for this release is the inclusion of the $Debug metacommand.
When this command is included in your code, the IDE will insert a debugging stub into the compiled program. During execution, the QB64 IDE will switch over to debugging mode, and communicate with your program in real-time over a local TCP/IP connection. The debugging mode lets you step through the code line-by-line, check the values of variables, and set breakpoints. Once you’re done fussing with the code and want to release a final binary, you just need to remove that single $Debug command and recompile.
We’ve talked in the past about using QB64 to revitalize vintage code, and think the project is a fantastic melding of old and new technology. You never know when you might suddenly have the urge to dust off some code you wrote back in the 80s and run it on an OS that didn’t even exist at the time.