Ask Hackaday: Is Your Clock Tied To Mains Frequency?

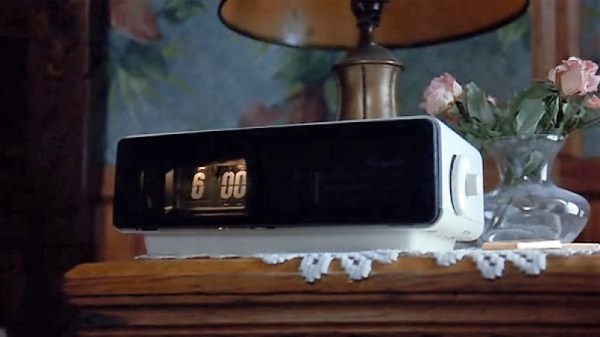
Earlier in March we heard about a quirk of the interconnected continental European electricity grid which caused clocks to lose about six minutes so far this year. This was due to a slight dip in the mains frequency. That dip didn’t put anything out of commission, but clocks that are designed to accumulate the total zero-crossings of the power grid frequency of 50 Hz don’t keep accurate time when that frequency is, say 49.985 Hz for an extended period of time.

An interesting set of conversations popped up from that topic. There were several claims that modern alarm clocks, and most devices connected to mains, no longer get their clock timing from mains frequency. I’ve looked into this a bit which I’ll go into below. But what we really want to know is: are your alarm clocks and other devices keeping time with the grid or with something else?

Continue reading “Ask Hackaday: Is Your Clock Tied To Mains Frequency?”

“Attempt” At Wristwatch Is A Solid Success

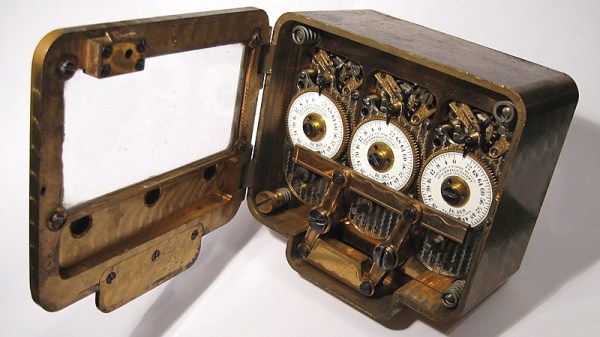
Sometimes silence is the best compliment to a DIY project, and that doesn’t just apply to homemade lockjaw toffee. When a watch is so well-made that it looks like one from a jewelry store, it is easy to keep quiet. [ColinMerkel] took many pictures of his fourth wristwatch attempt but “attempt” is his word because we call this a success. This time around he didn’t forget the crown for adjusting the time so all the pieces were in place.

His second “attempt” at wristwatch making was featured here and it had a classical elegance. Here, the proverbial game has been stepped up. Instead of using stock steel, the body is constructed of 303 stainless steel. The watch dial will definitely draw compliments if its DIY nature is revealed, which is equally mathematical and charming. Pictures of this process were enough to convey the build without words which is always a bonus if you only want a quick look or English isn’t your first choice for language.

Not only is [Colin] an upstanding horologist, he has a reputation with aftermarket door security and a looping guitar pedal.

It’s A Nixie! It’s A VFD! No, It’s A Custom LED Display In A Tube

Like the look of Nixies but they just seem a little overdone? Or perhaps you just don’t want the hassles of a high-voltage power supply? Then maybe these faux-Nixie LED “tube” displays will find a way into your next clock build.

For his 2018 Hackaday Prize entry, [bobricius] decided that what the world needs is a Nixie that’s not a Nixie. To that end, each display is formed by seven surface-mount LEDs soldered to a seven-segment shaped PCB and slipped into a glass tube. The LEDs are in 4014 packages so they’re only 4 millimeters long, but what they lack in size they make up for in brightness. We’re not sure if it’s a trick of the camera, but the LEDs certainly seem to put off a bluish glow that’s reminiscent of vacuum-fluorescent displays — it’s like a Nixie and a VFD all rolled up in one package.  The current case, which hides the clock circuitry on the lower part of the PCB, is just plastic, but this would look spiffy in a fine wooden case.

Could this be another Nixie tube killer that never was? Perhaps, but wherever it ends up, we like the look of it, and we’re glad it’s one of the early Hackaday Prize entries. Have you got something to enter in the greatest hardware competition on Earth? If not, get cracking!

Arduino Clock Jots Down The Time, In UV

We’re big fans of the impractical around here at Hackaday. Sure there’s a certain appeal to coming up with the most efficient method to accomplish your goal, the method that does exactly what it needs to do without any superfluous elements. But it’s just not as much fun. If at least one person doesn’t ask “But why?”, then you probably left something on the table, design wise.

So when we saw this delightfully complex clock designed by [Tucker Shannon], we instantly fell in love. Powered by an Arduino, the clock uses an articulated arm with a UV LED to write out the current time on a piece of glow-in-the-dark material. The time doesn’t stay up for long depending on the lighting in the room, but at least it only takes a second or two to write out once you press the button.

Things are pretty straightforward inside the 3D printed case. There’s an Arduino coupled with an RTC module to keep the time, which is connected to the two standard hobby servos mounted in the front panel. A UV LED and simple push button round out the rest of the Bill of Materials. The source code is provided, so you won’t have to figure out the kinematics involved in getting the two servos to play nicely together if you want to try this one at home.

We’ve seen many clocks powered by Arduinos over the years, occasionally they even have hands. But few can boast their own robotic arm.

Continue reading “Arduino Clock Jots Down The Time, In UV”

Neon Lamps Make For The Coolest Of Nixie Clocks

Revisiting old projects is always fun and this Nixie Clock by [pa3fwm] is just a classic. Instead of using transistors or microcontrollers, it uses neon lamps to clock and drive the Nixie Displays. The neon lamps themselves are the logic elements. Seriously, this masterpiece just oozes geekiness.

Inspired by the book “Electronic Counting Circuits” by J.B. Dance(ZIP), published in 1967, we covered the initial build a few years back. The fundamental concept of operation is similar to that of Neon Ring Counters. [Luc Small] has a write-up explaining the construction of such a device and some math associated with it. In this project, [pa3fwm] uses modern day neons that you find in indicators, so his circuit is also updated to compensate for the smaller difference in striking and maintaining voltages.

The original project was done in 2007 and has since undergone a few upgrades. [Pa3fwm] has modified the construction to make it wall mounted. Even though it’s not a precise timekeeper, the project itself is a keeper from its time. Check out the video below for a demonstration.

Feel inspired yet? Take a peek at the White Rabbit Nixie Clock and you are looking for a low voltage solution to powering Nixies then check out the 5-volt Nixie Power supply.

Continue reading “Neon Lamps Make For The Coolest Of Nixie Clocks”

Pulsar nixie clock ala 2001: A Space Odyssey clock

Mystery Nixie Clock From 2001: A Space Odyssey, And Pulsar

Every now and then something old comes along which we’re surprised has never been on Hackaday. That’s especially the case here since it includes nixie tubes and is a clock, two things beloved here by many. Then again, it’s not a hack, but it just should be (hint hint).

This clock’s origins are a bit of a mystery. As detailed in [Asto_Vidatu]’s Reddit post, he found it when cleaning out his mother’s garage. Larger photos of the clock internals are on his imgur page and are sure to delight and intrigue you. It looks very much like a clock widely thought to be the one which the Hamilton Watch Company made for Stanley Kubrick. In 1966, Kubrick commissioned Hamilton to make a futuristic looking clock and watches for his upcoming movie, 2001: A Space Odyssey. The watches appear in the movie on the wrists of the astronauts but the clock was left on the cutting room floor. After the movie was made, Kubrick gave the clock back to Hamilton, and it ended up in the possession of [Asto_Vidatu]’s grandfather, who worked on the team which made the clock.

All this might lead you to think that this is the clock made for the movie, instead of the one with the name Hamilton on it but the name Pulsar is thought to have been dreamed up around the time the movie came out. So where did it come from? Was it a hack by [Asto_Vidatu]’s grandfather or others at Hamilton? Was it a product which Hamilton had worked on, or perhaps a marketing gimmick for the Pulsar watch?

There’s one thing we do know, this is crying out for a modern remake. If you can find some nixie tubes then perhaps these driver boards will help. Or maybe do it with nixie tube lookalikes, such as these edge-lit acrylic digits.

Hacking A 30-year-old Russian VFD

Reddit user [InThePartsBin] found some VFDs (Vacuum Fluorescent Displays) on an old PCB on eBay. The Russian boards date from 1987 and have a bunch of through-hole resistors, transistors and a some mystery ICs, plastic wraps around the legs and the top of the tube is held steady by a rubber grommet (the tip itself goes through a hole in a board mounted perpendicular to the main board.) Being the curious kind of person we like, and seeing the boards weren’t too expensive, he bought some in order to play around with to see if he could bring them back to life.

After getting the VFDs lighting up and figuring out the circuitry on the back, [InThePartsBin] decided that a clock was the best thing to build out of it. It was decided that a specialized VFD driver chip was the easiest way to make the thing work, so a MAX6934 was ordered. To give the clock some brains, an ATmega328 was recruited and to keep time, [InThePartsBin] had some DS3231 real-time clock modules left over from a previous project, so they were recruited as well. A daughterboard was designed to sit on the back of the vintage board and hold the ‘328 and the VFD driver chip.

Once [InThePartsBin] soldered on the components it was time to fire it up and send 1’s to the driver to turn on all the segments on all the tubes. Success! The only thing that [InThePartsBin] has left to do is write the code for the clock, but all the segments and tubes are controllable now, so the hardware part is done. There are other VFD clock projects on the site: Check out this one, or this one, and bask in the beautiful steel-blue glow.

Via Reddit.