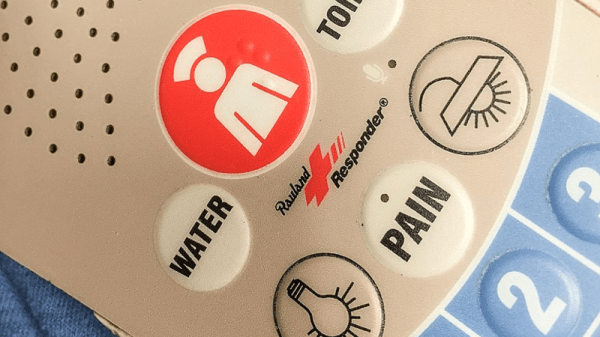
George Mallory, a famous English mountaineer, once suggested that it was of no use to climb mountains. Instead, he posited, the only reason to climb a mountain is because it is there. Likewise, when you become an expert in nurse call systems like those found in hospitals, you may find that you do things with them that are of similar use. Making a Turing-complete nurse call system is something you do because you can.
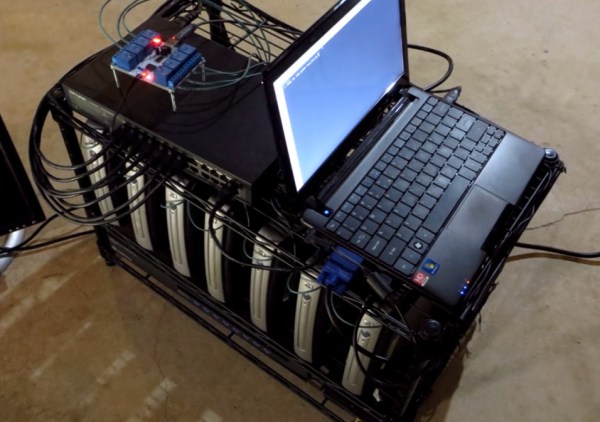
[Erik] has been working on this particular call system, known as Netrix, and used Wireshark to sniff out all of its protocols. With this information he realized that it would be possible to use the system’s routing features to perform all of the tasks that any Turing complete system can do: conditional branching and memory access. He set up a virtual machine and set about implementing all of these tasks using the nurse call system’s features.
The setup for this project is impressive, and belies an extensive knowledge of this one proprietary system but also of computer science in general. It’s interesting to see how something can be formed into a working computer system from parts that otherwise might not be used that way. Even things that aren’t electronic can be used as Turing-complete computers.