In the last episode, we put our circuit boards through the reflow process. Unfortunately, it’s not 100% accurate, and there are often problems that can occur that need to be detected and fixed. That’s what the inspection step is for. One could insert an inspection step after paste, after placement, and after reflow, but the first two are icing on the cake — the phase where most mistakes can be caught is after reflow.
Homebrew laser cutters are nifty devices, but scorching your pals, burning the house down, or smelling up the neighborhood isn’t anyone’s idea of a great time. Lets face it. A 60-watt laser that can cut plastics offers far more trouble than even the crankiest 3D-printers (unless, of course, our 3D printed spaghetti comes to life and decides to terrorize the neighborhood). Sure, a laser’s focused beam is usually pointed in the right direction while cutting, but even an unfocused beam that reflects off a shiny material can start fires. What’s more, since most materials burn, rather than simply melt, a host of awful fumes spew from every cut.
Despite the danger, the temptation to build one is irresistible. With tubes, power supplies, and water coolers now in abundance from overseas re-sellers, the parts are just a PayPal-push away from landing on our doorsteps. We’ve also seen a host of exciting builds come together on the dining room table. Our table could be riddled with laser parts too! After combing through countless laser build logs, I’ve yet to encounter the definitive guide that tells us how to take the proper first steps forward in keeping ourselves safe while building our own laser cutter. Perhaps that knowledge is implicit to the community, scattered on forums; or perhaps it’s learned by each brave designer on their own from one-too-many close calls. Neither of these options seems fair to the laser newb, so I decided to lay down the law here.
I know you’ve heard of both synchronous and asynchronous communications. But do you really know the differences between the two?
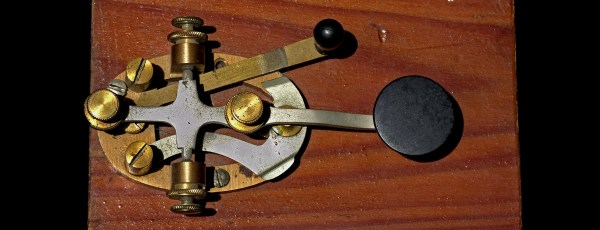
Serial communication was used long before computers existed. A predecessor is the telegraph system using Morse Code, one of the first digital modes of communication. Another predecessor is the teletype, which set standards that are still used today in your Arduino or Raspberry Pi.
All you need is two wires for serial communications, which makes it simple and relatively robust. One wire is ground and the other the signal. By interrupting the power with predefined patterns, information can be transferred over both short and long distances. The challenge is receiving the patterns correctly and quickly enough to be useful.
I was a bit surprised to find out the serial port on the Arduino Uno’s ATmega328P microcontroller is a Universal Synchronous Asynchronous Transmitter Receiver (USART). I’d assumed it was only a UART (same name, just leave out synchronous) probably because my first work with serial communications was with the venerable Intel 8251 “Programmable Communication Interface”, a UART, and I didn’t expect the microcontroller to be more advanced. Silly me. Later I worked with the Zilog 8530 Serial Controller Chip, a USART, the term I’ll use for both device types.
All these devices function in the same way. You send a byte by loading it into a register and it is shifted out one bit at a time on the transmit (TX) line as pulses. The receiver accepts the pulses on a receive (RX) input and shifts them into a register, which is then read by the system. The transmitter’s job is pretty easy it just shifts out the bits at a known clock rate. The receiver’s task is more complex because it needs to know when to sample the incoming signal. How it does this is the difference between asynchronous and synchronous communications.
It’s the easiest thing in the world — simple, straightforward serial data. It’s the fallback communication protocol for nearly every embedded system out there, and so it’s one that you really want to work when the chips are down. And yet! When you need it most, you may discover that even asynchronous serial can cost you a few hours of debugging time and add a few gray hairs to your scalp.
In this article, I’m going to cover most (all?) of the things that can go wrong with asynchronous serial protocols, and how to diagnose and debug this most useful of data transfer methods. The goal is to make you aware enough of what can go wrong that when it does, you’ll troubleshoot it systematically in a few minutes instead of wasting a few hours.
Some tools in a toolbox are versatile. You can use a screwdriver as a pry bar to open a paint can, for example. I’ve even hammered a tack in with a screwdriver handle even though you probably shouldn’t. But a chainsaw isn’t that versatile. It only cuts. But man does it cut!
AWK is a chainsaw for processing text files line-by-line (and the GNU version is known as GAWK). That’s a pretty common case. It is even more common if you produce a text file from a spreadsheet or work with other kinds of text files. AWK has some serious limitations, but so do chainsaws. They are still super useful. Although AWK sounds like a penguin-like bird (see right), that’s an auk. Sounds the same, but spelled differently. AWK is actually an acronym of the original author’s names.
If you know C and you grok regular expressions, then you can learn AWK in about 5 minutes. If you only know C, go read up on regular expressions and come back. Five minutes later you will know AWK. If you are running Linux, you probably already have GAWK installed and can run it using the alias awk. If you are running Windows, you might consider installing Cygwin, although there are pure Windows versions available. If you just want to play in a browser, try webawk.
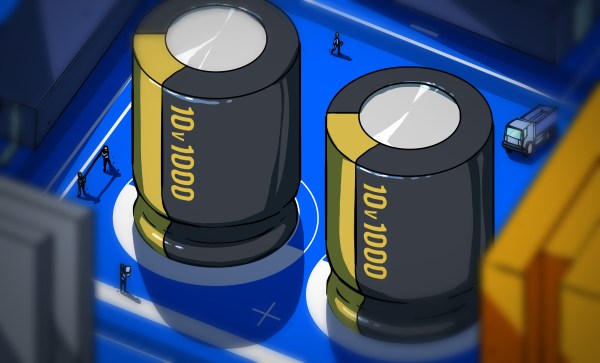
If you build electronic circuits on a regular basis the chances are you will have used capacitors many times. They are a standard component along with the resistor whose values are lifted off the shelf without a second thought. We use them for power supply smoothing and decoupling, DC blocking, timing circuits, and many more applications.
Different capacitor applications. By Elcap (Own work) [CC0], via Wikimedia CommonsA capacitor though is not simply a blob with two wires emerging from it and a couple of parameters: working voltage and capacitance. There is a huge array of capacitor technologies and materials with different properties. And while almost any capacitor with the right value can do the job in most cases, you’ll find that knowing more about these different devices can help you make something that doesn’t just do the job, but does the best possible job. If you’ve ever had to chase a thermal stability problem or seek out the source of those extra dBs of noise for example you will appreciate this.
The handheld screw driver is a wonderful tool. We’re often tempted to reach for its beefier replacement, the power drill/driver. But the manually operated screw driver has an extremely direct feedback mechanism; the only person to blame when the screw strips or is over-torqued is you. This is a near-perfect tool and when you pull the right screwdriver from the stone you will truly be the ruler of the fastener universe.
A Bit of Screw Driver History:
The kind of fun you can have with really cheap bits.
In order to buy a good set of screw drivers, it is important to understand the pros and cons of the geometry behind it. With a bit of understanding, it’s possible to look at a screw driver and tell if it was built to turn screws or if it was built to sell cheap.
Screw heads were initially all slotted. This isn’t 100 percent historically accurate, but when it comes to understanding why the set at the big box store contains the drivers it does, it helps. (There were a lot of square headed screws back in the day, we still use them, but not as much.)
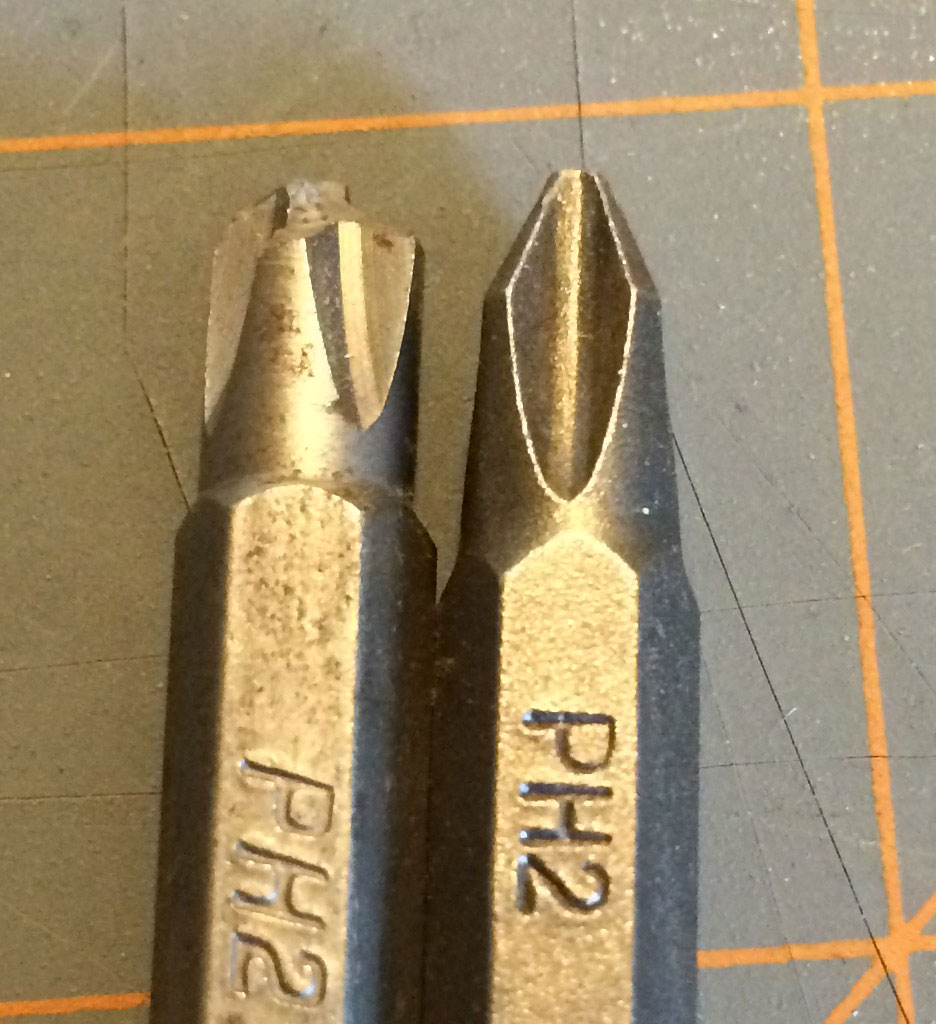
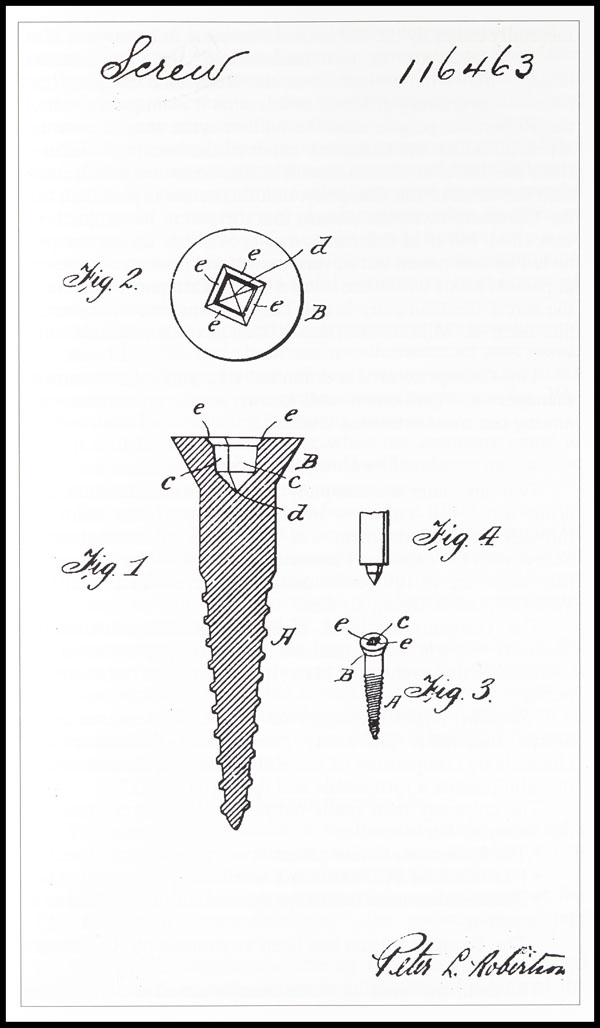
Believe it or not the “Robertson” screw came out before the Phillips. Robertson just hated money and didn’t want to license his patents. So it’s only now that they’re in common use again.
Flat head screws could be made with a slitting saw, hack saw, or file. The flat-head screw, at the time, was the cheapest to make and had pretty good torque transfer capabilities. It also needed hand alignment, a careful operator, and would almost certainly strip out and destroy itself when used with a power tool.
These shortcomings along with the arrival of the industrial age brought along many inventions from necessity, the most popular being the Phillips screw head. There were a lot of simultaneous invention going on, and it’s not clear who the first to invent was, or who stole what from who. However, the Philips screw let people on assembly lines turn a screw by hand or with a power tool and succeed most of the time. It had some huge downsides, for example, it would cam out really easily. This was not an original design intent, but the Phillips company said, “to hell with it!” and marketed it as a feature to prevent over-torquing anyway.
The traditional flathead and the Phillips won over pretty much everyone everywhere. Globally, there were some variations on the concept. For example, the Japanese use JST standard or Posidriv screws instead of Philips. These do not cam out and let the user destroy a screw if they desire. Which might show a cultural difference in thinking. That aside, it means that most of the screws intended for a user to turn with a screw driver are going to be flat-headed or Philips regardless of how awful flat headed screws or Philips screws are.


![Different capacitor applications. By Elcap (Own work) [CC0], via Wikimedia Commons](https://hackaday.com/wp-content/uploads/2016/06/capacitors-overlapping-applications.png)