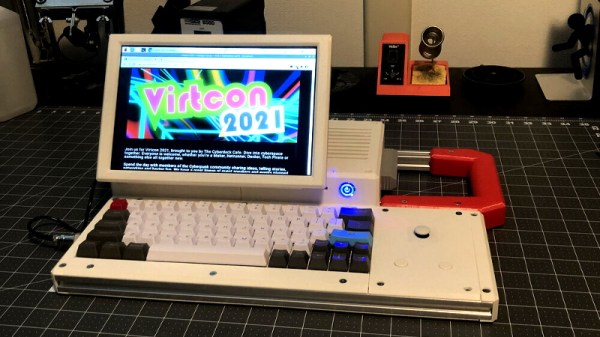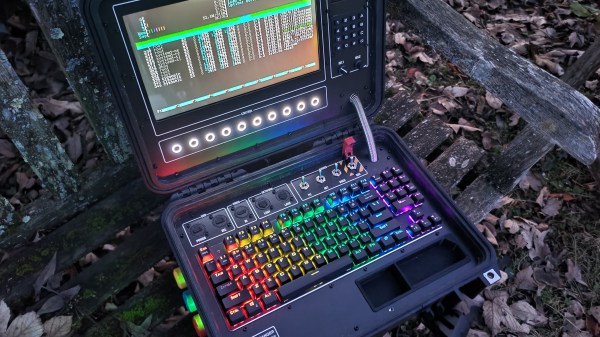
Many people build cyberdecks just for the heck of it, and there’s nothing wrong with that at all. On the other hand, [cyzoonic]’s rugged ‘deck is a bit more purpose-built. In this instance, the purpose is software-defined radio.
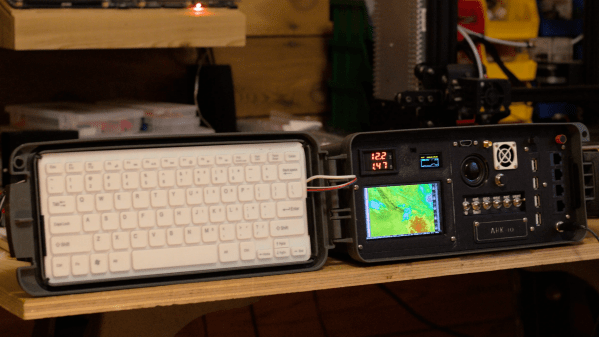
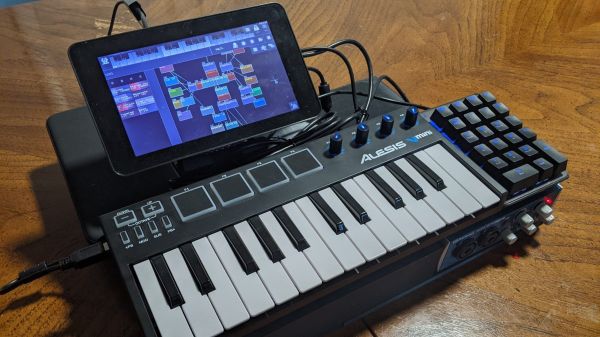
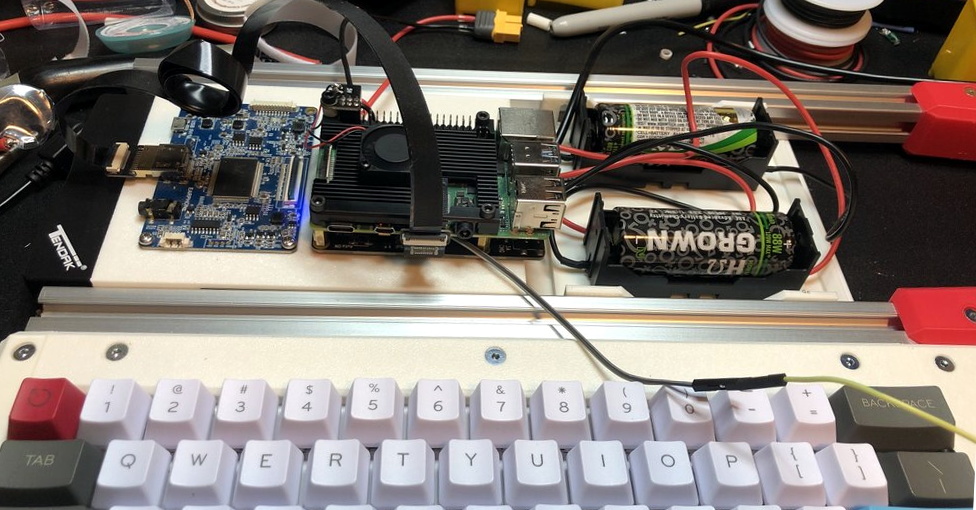
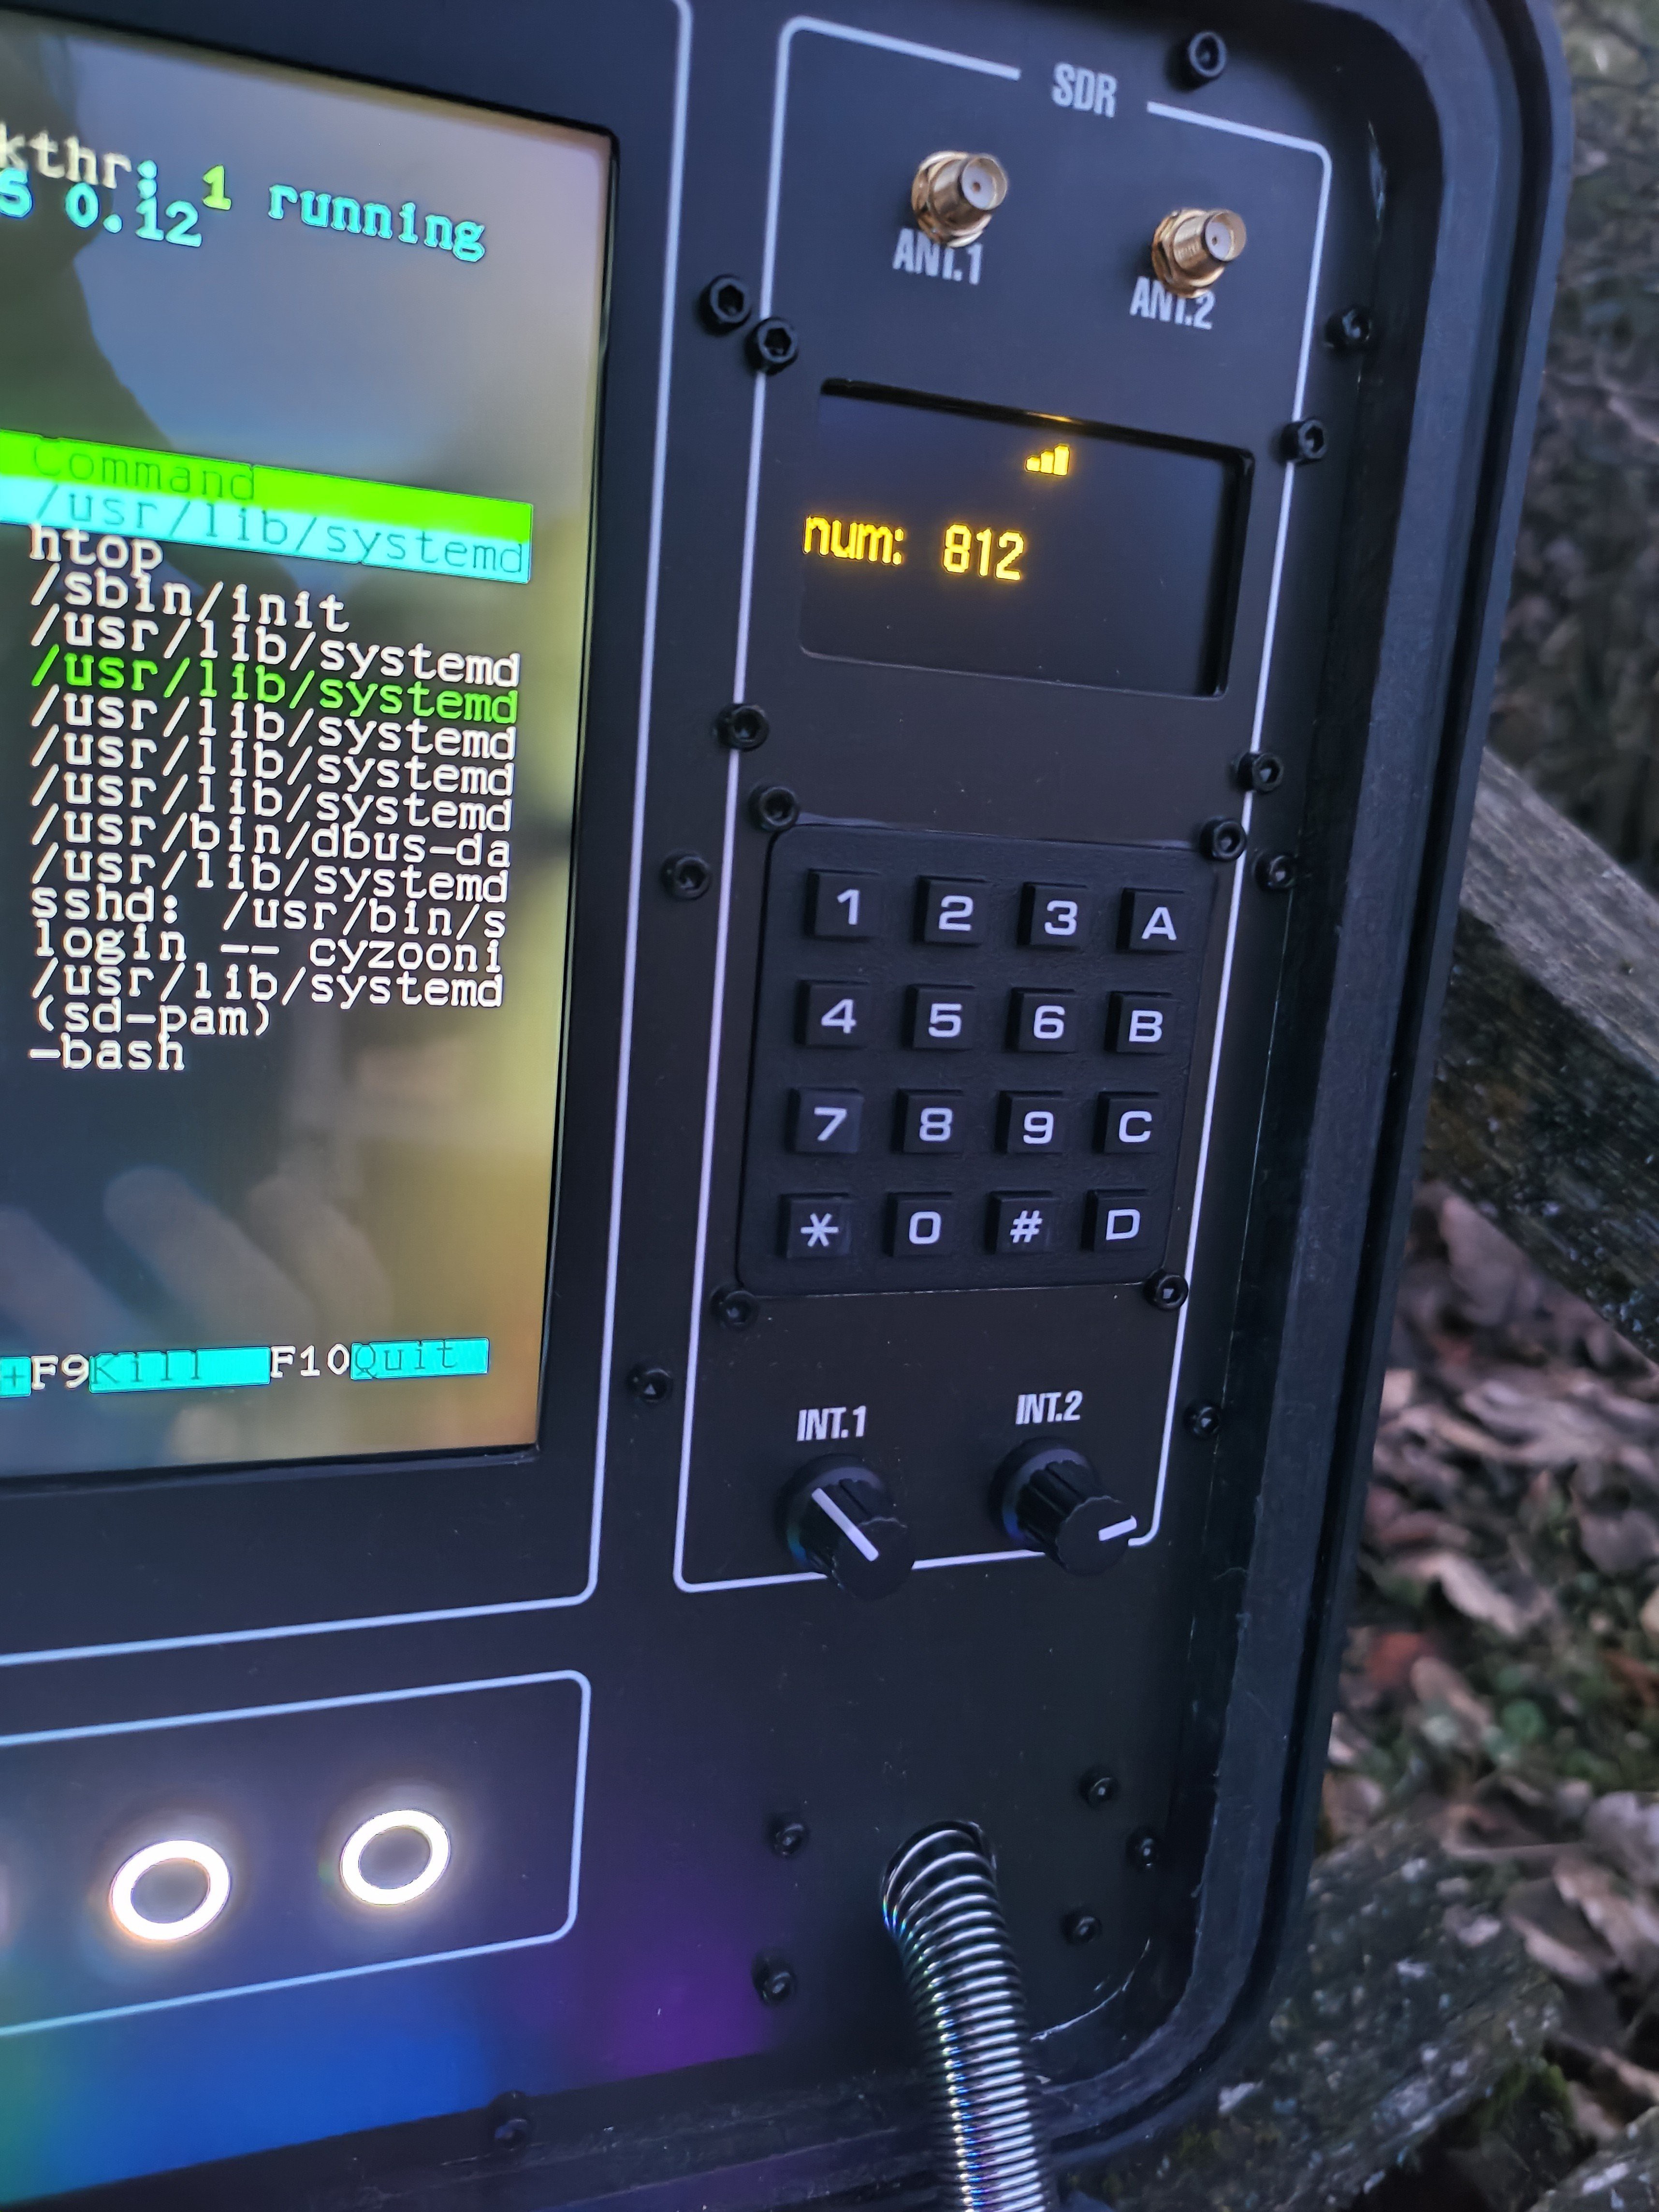 Underneath those sweet custom-cut panels lies a Raspberry Pi 3B and a BOM full of parts that can be had on Ali Express. There’s also an ESP32 that takes input from the keypad plus the 5 buttons that control the display, and the two potentiometers. [cyzoonic] can dial in frequencies with the knobs, or by punching in digits on the keypad.
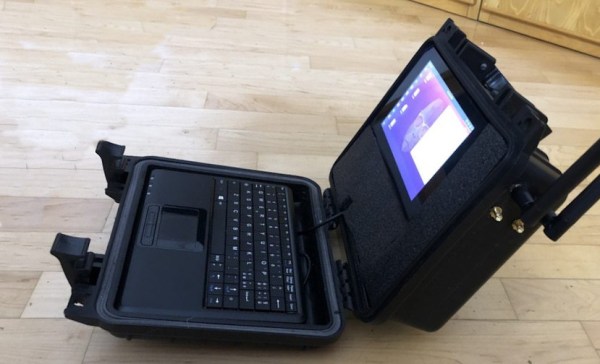
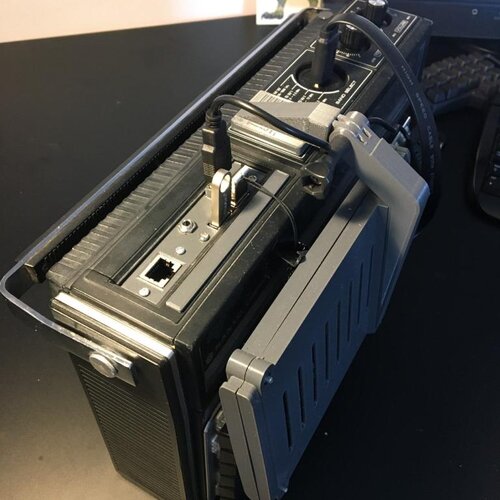
One of the problems with using a Pelican case is this — how do you install any type of panel without compromising the case’s water-tightness? [cyzoonic] mentions in the comments that Pelican makes a bracket that allows for panels and things to be screwed down without breaching the case. But in this case, [cyzoonic] made their own brackets in a similar fashion.
Another problem with Pelican cases (and cyberdecks in general that are built into hinged boxen) is something that doesn’t get enough attention: typing ergonomics. Personally, we take comfortable and ergonomic typing fairly seriously, and would love to see a cyberdeck that speaks to this issue.
In the meantime, we’ll have to take [cyzoonic]’s word that while it’s not terribly comfortable to type with the ‘deck on a tabletop, sitting on the floor hunched over the thing like a true hacker is much better. This is a work in progress (at least the IO project anyway), so we’ll be tuning back in occasionally to see if any more instructions appear.
Speaking of ergonomic cyberdecks, here’s the one that drew the line in the sand for us — [Tinfoil_Haberdashery]’s lovely ErgoDox-based NUC machine.