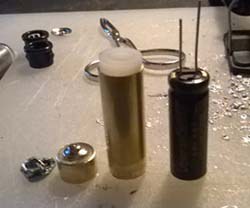
This week on the Hacklet we’re looking at Hackaday.io projects that are all about animals! Hackers and makers are well-known animal lovers, in fact many a hacker can be found with a pet curled up at their feet, or on their keyboard!
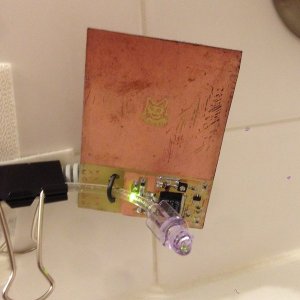 [Brian’s] cat Roger loves drinking from the bathtub faucet. Unfortunately Roger hasn’t learned how to operate the faucet himself, so it gets left on quite a bit. To keep Roger happy while saving water, [Brian] created the Snooty Cat Waterer. Cat’s still don’t have thumbs, so [Brian] turned to capacitive sensing in the form of a Microchip MTCH10 capacitive proximity sensor chip. Coupled with a home etched PC board, the waterer can detect a cat at 3 inches. A valve and water feed teed off the toilet provide the flow. The project is moving along well, though Roger has been slow to warm up to this new water source.
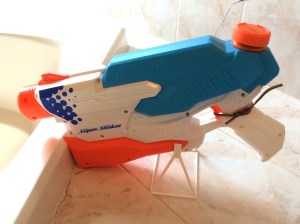 [Jsc] has the opposite problem. His cat has decided that bathtubs are the perfect litter boxes. [Jsc] is taking aim at this little problem with his Cat Dissuader. After a servo controlled squirt bottle proved too anemic for his needs, [Jsc] turned to the Super Soaker Hydrostorm. These electric water guns can be had for as little as $16 on sale. [JSC] didn’t want to permanently modify the gun, so he 3D printed a switchable battery pack.The replacement pack is actually powered by a simple wall wart. Power to the gun is controlled by an Arduino, which senses his cat with a passive infrared sensor. Since the dissuader was installed, [Jsc’s] cat has been a model citizen!
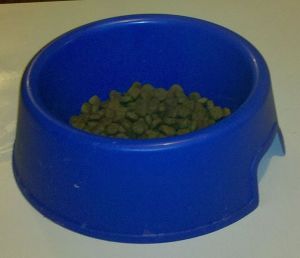 Cat’s don’t get all the love though, plenty of engineers and hackers have dogs around the house. [Colin] loves his dog, but he and his family were forgetting to feed it. He created Feed the Dog to help the household keep its four-legged member from going hungry. [Colin] tried a microcontroller, but eventually settled on implementing the circuit with old-fashioned 4000 series CMOS logic chips. He used a 4060 (14-stage ripple counter w/ internal oscillator) as an 8 hour timer, and 4013 dual flip-flop. Operation of Feed the Dog is as simple as wagging your tail. Once the dog is feed, the human presses a button. A green “Just fed” LED will glow for 30 minutes, then go dark. After about 6 hours, a red LED turns on. After 8 hours, the red LED starts blinking, letting everyone know that it’s time to feed the dog.
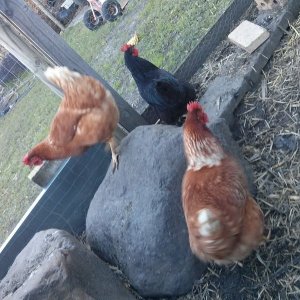
[Steve] has outdoor pets. Chooks to be exact, or chickens for the non Australians out there. He loves watching his birds, especially Darth Vader, who is practicing to become a rooster. To keep track of the birds, he’s created What the Chook?, a sensor suite for the hen-house. He’s using a GCDuiNode with a number of sensors. Temperature, humidity, even a methane detector for when the bedding needs to be replaced. An OV528 JPEG camera allows [Steve] to get pictures of his flock. The entire project connects via WiFi. Steve hopes to power it from a couple of AA batteries. [Steve] also entered What the Chook? in The Hackaday Prize. If he wins, this will be the first case of flightless birds sending a human to space!

Hey – Did you know that Hackaday is building a Hackerspace in Pasadena California? We’re rounding up the local community while our space is being built out. Join us at a Happy Hour Show & Tell Meetup Event hosted by our own [Jasmine Brackett] August 18th! It’s an informal show and tell, so you don’t have to bring a hack to attend. If you’re local to Pasadena, come on down and say hello!


 This week on the Hacklet, we’re spending some time looking at bugs and fire!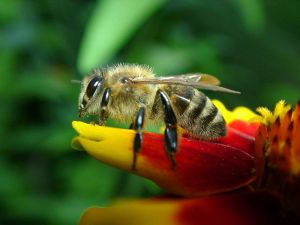
 candles have become a staple at wedding ceremonies.[Quinn] has taken things to the next level and beyond

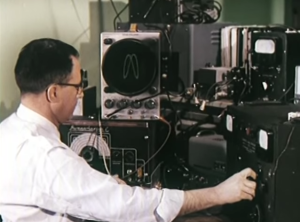 While it’s almost cliché to say they don’t make things like they used to, this week’s Retrotechtacular offers fairly conclusive proof that, at the very least, they used to put more time and effort into manufacturing consumer electronics. Gather your homemade wisecrackin’ robots and settle in front of